RSLED-Installation High Bay
advertisement
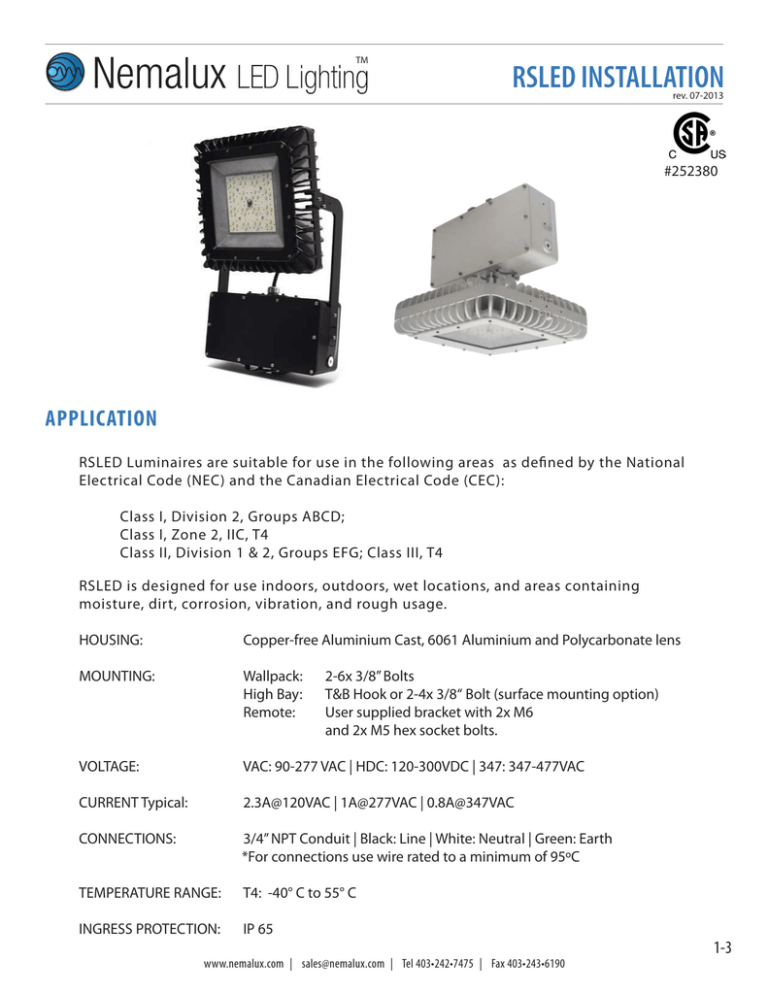
TM RSLED INSTALLATION rev. 07-2013 #252380 APPLICATION RSLED Luminaires are suitable for use in the following areas as defined by the National Electrical Code (NEC) and the Canadian Electrical Code (CEC): Class I, Division 2, Groups ABCD; Class I, Zone 2, IIC, T4 Class II, Division 1 & 2, Groups EFG; Class III, T4 RSLED is designed for use indoors, outdoors, wet locations, and areas containing moisture, dirt, corrosion, vibration, and rough usage. HOUSING: Copper-free Aluminium Cast, 6061 Aluminium and Polycarbonate lens MOUNTING: Wallpack: High Bay: Remote: VOLTAGE: VAC: 90-277 VAC | HDC: 120-300VDC | 347: 347-477VAC CURRENT Typical: 2.3A@120VAC | 1A@277VAC | 0.8A@347VAC CONNECTIONS: 3/4” NPT Conduit | Black: Line | White: Neutral | Green: Earth *For connections use wire rated to a minimum of 95ºC TEMPERATURE RANGE: T4: -40° C to 55° C INGRESS PROTECTION: IP 65 2-6x 3/8” Bolts T&B Hook or 2-4x 3/8“ Bolt (surface mounting option) User supplied bracket with 2x M6 and 2x M5 hex socket bolts. www.nemalux.com | sales@nemalux.com | Tel 403•242•7475 | Fax 403•243•6190 1-3 TM RSLED INSTALLATION rev. 07-2013 WARNING WARNING To avoid the risk of fire, explosion, or electric shock, this product should be installed, inspected, and maintained by a qualified electrician only, in accordance with all applicable electrical codes. WARNING To avoid electric shock: • Be certain electrical power is OFF before and during installation and maintenance. • Luminaire must be connected to a wiring system with an equipment-grounding conductor. POTENTIAL ELECTROSTATIC Avoid electrostatic discharge : • Clean Lens surface with damp cloth only CHARGING HAZARD HIGH BAY INSTALLATION (HANGING) Step 2 1. Inspect shipping package and contents to ensure no damage has occurred during shipping 2. Hang RSLED from installed High Bay hook to the appropriate selected suspension system (chain, cable, etc.) 3. If required, connect safety backup connection to High Bay backup bracket which can be mounted to the side of the RSLED Head Box A or B Step 3 B A www.nemalux.com | sales@nemalux.com | Tel 403•242•7475 | Fax 403•243•6190 2-3 TM RSLED INSTALLATION rev. 07-2013 HIGH BAY INSTALLATION (HANGING) Step 4 4. Open RSLED Box lid. 5. Connect desired conduit/wire runs to the desired 3/4” NPT entry and run wire as per applicable standards for area of use. 6. Connect AC in feed to labeled wires in RSLED box as per applicable standards for area of use. For connections use wire rated to a minimum of 95ºC. 7. Close RSLED Box lid. Torque lids screws according to diagram. 8 4 70 in·lbf 10 7 2 1 Step 7 6 9 3 5 8. Energize fixture. ACCESSORIES Optional 2-3/8” Tenon Pole Mount can be attached directly to the RSLED Box. Secure to Pole with supplied 3x 3/8” Hex bolts. 3-3 www.nemalux.com | sales@nemalux.com | Tel 403•242•7475 | Fax 403•243•6190
