B e l f
advertisement
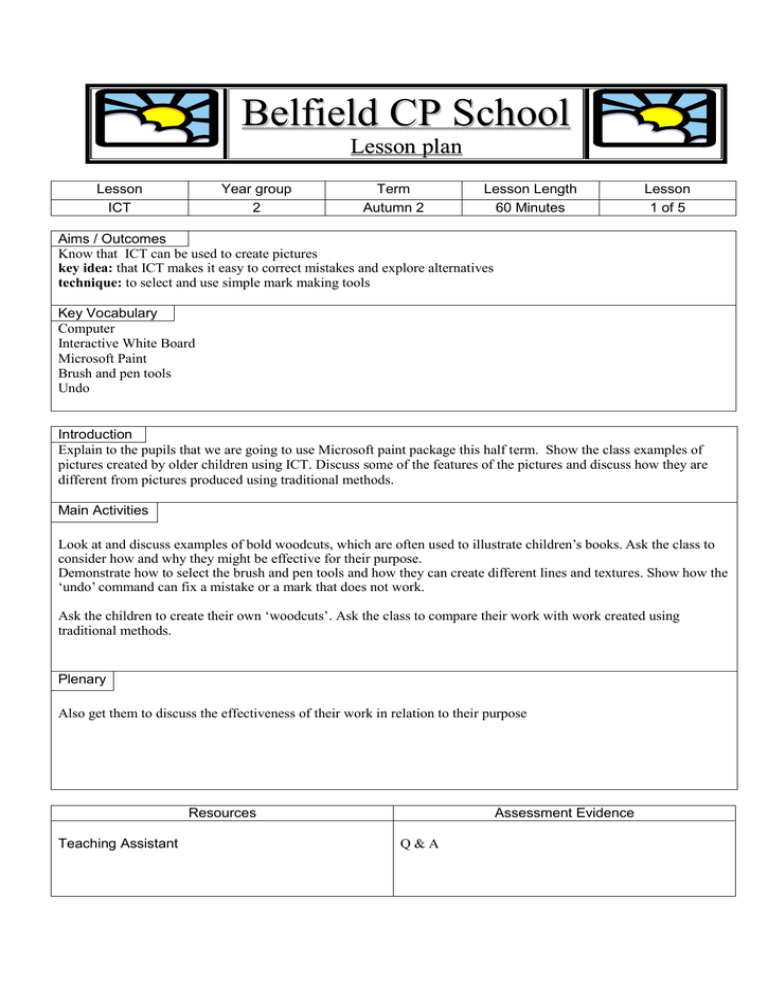
Belfield CP School Lesson plan Lesson ICT Year group 2 Term Autumn 2 Lesson Length 60 Minutes Lesson 1 of 5 Aims / Outcomes Know that ICT can be used to create pictures key idea: that ICT makes it easy to correct mistakes and explore alternatives technique: to select and use simple mark making tools Key Vocabulary Computer Interactive White Board Microsoft Paint Brush and pen tools Undo Introduction Explain to the pupils that we are going to use Microsoft paint package this half term. Show the class examples of pictures created by older children using ICT. Discuss some of the features of the pictures and discuss how they are different from pictures produced using traditional methods. Main Activities Look at and discuss examples of bold woodcuts, which are often used to illustrate children’s books. Ask the class to consider how and why they might be effective for their purpose. Demonstrate how to select the brush and pen tools and how they can create different lines and textures. Show how the ‘undo’ command can fix a mistake or a mark that does not work. Ask the children to create their own ‘woodcuts’. Ask the class to compare their work with work created using traditional methods. Plenary Also get them to discuss the effectiveness of their work in relation to their purpose Resources Teaching Assistant Assessment Evidence Q&A Cross Curricular Links Art SoW / NC ref and level Unit 2B Differentiation Q&A Support given Outcome EAL Oracy 1, 2, 3, 4, 5, 6, 7, 8, 9, 11, 12. Literacy 2, 3, 6, 8. Belfield CP School Medium Term Plan Subject: ICT Topic: Creating Pictures SoW / NC Unit 2B Week 1 Learning Objectives Know that ICT can be used to create pictures key idea: that ICT makes it easy to correct mistakes and explore alternatives technique: to select and use simple mark making tools Term: Autumn 2 Teacher: Mrs Helen Crompton Pupil Activities Explain to the pupils that we are going to use Microsoft paint package this half term. Show the class examples of pictures created by older children using ICT. Discuss some of the features of the pictures and discuss how they are different from pictures produced using traditional methods. Assessment Evidence Q&A Yea Resources TA IWB Laptops with Microsoft Paint Look at and discuss examples of bold woodcuts, which are often used to illustrate children’s books. Ask the class to consider how and why they might be effective for their purpose. Demonstrate how to select the brush and pen tools and how they can create different lines and textures. Show how the ‘undo’ command can fix a mistake or a mark that does not work. Ask the children to create their own ‘woodcuts’. Ask the class to compare their work with work created using traditional methods. Also get them to discuss the effectiveness of their work in relation to their purpose Unit 2B 2 technique: to use the flood fill tool to create highlights of colour technique: to use ‘save as’ Explain to the pupils that this week they will be using the fill tool to colour in a picture of Elmer. Group one – Red and Blue groups Half the class should traditionally colour the template of Elmer, using their choice of crayon, felt tip or pencil crayons. Group two – Orange and Green groups The other half of the group open Q&A Two pictures of Elmer in particular the Paint version. TA IWB Laptops with Microsoft Paint. Templates of Elmer Printed templates of Elmer. A4 Paper Microsoft Paint and Teacher and TA open the Template of Elmer and demonstrate how to flood fill the certain areas. Pupils save work onto floppy disc or computer depending on whether work can be printed to remote printer from laptops, if it cannot, save to disc to be printed on main class computer. Crayons, pencil crayons and felt tips. Swap groups, the second computer group will close the computers at the end of the session. Come back together to look at the differences between the traditional method and flood fill. Recap on how we flood fill. Unit 2B 3 technique: to select and use the straight line, geometric shapes and flood fill tools Tell the pupils that this week we will be using the flood fill tools again and also the geometric shapes and straight line tool to make a picture. One artist that painted this way was Mondrian, show class pictures produced by the artist. Discuss the horizontal and vertical lines, primary colours and white space and show how Mondrian has used the spaces to fill with colour. Group One - Orange and Green groups In two groups, one group working independently on creating a traditional picture from straight lines using a ruler, and colouring in areas of colour, in the style of Mondrian Group Two - Red and Blue groups With the other group Ask pupils to open the Paint program. Ask the children to create pictures in the style of Mondrian Demonstrate on the interactive white board using the straight line and rectangle-drawing tools. Ask them to experiment with colour using the flood fill tool. They could create warm colour pictures, cool colour pictures and pictures in which one colour is made to stand out from the others. Also demonstrate what would happen if the edges of a shape were not closed together when using the flood fill tool. (It would fill over the area required.) Pupils save work onto floppy disc or computer depending on whether work can be printed to remote printer from laptops, if it Q&A Two pictures in particular the Paint version. TA IWB Laptops with Microsoft Paint A4 Paper Crayons, pencil crayons and felt tips. Pictures of Mondrian cannot, save to disc to be printed on main class computer. Swap groups, the second computer group will close the computers at the end of the session. Come back together to look at the differences between the traditional method and computer version, recap on tools used. www.stephen.com/mondrimat can be used to do a version of the Mondian picture using a program on the internet. Unit 2B 4 technique: to select and use the spray tool Tell the pupil that this week we will be using the skills we have learned so far, the geometric shapes and flood fill tools and we will also be using the spray tool. Discuss the differences between light and colour when viewed on screen and in print, using two examples of the same picture. Introduce the idea of ‘painting with light’. Demonstrate how to use the spray tool to select colours and patterns. Tell the pupils that they will be doing a night time scene, ask what colour the background will be? – black. Split into two groups. Group one - Red and Blue groups Create a picture of a Christmas tree with all the lights and trimmings, using wax or pencil crayons on black paper. Group two - Orange and Green groups Create a picture of a Christmas tree with all the lights and trimmings. Ask them to use the flood fill tool to create a black screen and then to use mark making tools and various colours to explore the quality of light and colour on the screen. Swap groups, the second computer group will close the computers at the end of the session. Extension – HA could alter the size of the spray tool. Come back together to look at the differences between the traditional Q&A Two Christmas tree pictures in particular the Paint version. TA IWB Laptops with Microsoft Paint Two examples of the same picture. Black paper Wax and Pencil crayons method and computer version, recap on tools used. Unit 2B 5 Integrated Task to select and use different techniques to communicate ideas through pictures Tell the pupils that today they will be creating two pictures of a Christmas scene of their choosing from a book or memory. They will make one traditionally and another using ‘Paint’ on the computer. Ask the pupils what type of colours will be used and are the colours expressing sadness, anger fear or joy? – joy. What would the colours be like of a picture expressing the other feelings? – darker colours not bright and joyful. Discuss with the pupils how the geometric shapes can be used and the lights along a street. How some lights look fuzzy in the black of night and what can be used to create this affect – spray tool Group One – Orange and Green groups Create their Christmas scene on the computer using ‘Paint’ Group Two - Red and Blue groups Create their Christmas scene using the traditional method using paper, and their choice of colouring implement. For this lesson try to have available as many computers as possible enough for half the class, as to assess more accurately. Celebrate the pupils work, look at the comparisons. What have the pupils learned to do in this topic. Q&A Christmas scene using ‘Paint’ Independent work unless stated. TA IWB Main computer suite. Laptops with Microsoft Paint Christmas scene pictures. Belfield CP School Lesson plan Lesson ICT Year group 2 Term Autumn 2 Lesson Length 60 Minutes Lesson 3 of 5 Aims / Outcomes technique: to select and use the straight line, geometric shapes and flood fill tools Key Vocabulary Computer Interactive White Board Microsoft Paint Flood fill Shape tool Brush and pen tools Undo Introduction Tell the pupils that this week we will be using the flood fill tools again and also the geometric shapes and straight line tool to make a picture. One artist that painted this way was Mondrian, show class pictures produced by the artist. Discuss the horizontal and vertical lines, primary colours and white space and show how Mondrian has used the spaces to fill with colour. Main Activities Group One - Orange and Green groups In two groups, one group working independently on creating a traditional picture from straight lines using a ruler, and colouring in areas of colour, in the style of Mondrian Group Two - Red and Blue groups With the other group Ask pupils to open the Paint program. Ask the children to create pictures in the style of Mondrian Demonstrate on the interactive white board using the straight line and rectangle-drawing tools. Ask them to experiment with colour using the flood fill tool. They could create warm colour pictures, cool colour pictures and pictures in which one colour is made to stand out from the others. Also demonstrate what would happen if the edges of a shape were not closed together when using the flood fill tool. (It would fill over the area required.) Pupils save work onto floppy disc or computer depending on whether work can be printed to remote printer from laptops, if it cannot, save to disc to be printed on main class computer. Swap groups, the second computer group will close the computers at the end of the session. Plenary Come back together to look at the differences between the traditional method and computer version, recap on tools used. Resources Assessment Evidence Teaching Assistant Interactive White Board Laptops with Microsoft Paint A4 Paper Crayons, pencil crayons and felt tips. Pictures of Mondrian Q&A Two pictures in particular the Paint version. Cross Curricular Links Differentiation Art SoW / NC ref and level Unit 2B Q&A Support given Outcome EAL Oracy 1, 2, 3, 4, 5, 6, 7, 8, 9, 11, 12. Literacy 2, 3, 6, 8. Belfield CP School Lesson plan Lesson ICT Year group 2 Term Autumn 2 Lesson Length 60 Minutes Lesson 4 of 5 Aims / Outcomes technique: to select and use the spray tool Key Vocabulary Computer Interactive White Board Microsoft Paint Flood fill Shape tool Spray tool Brush and pen tools Undo Introduction Tell the pupil that this week we will be using the skills we have learned so far, the geometric shapes and flood fill tools and we will also be using the spray tool. Main Activities Discuss the differences between light and colour when viewed on screen and in print, using two examples of the same picture. Introduce the idea of ‘painting with light’. Demonstrate how to use the spray tool to select colours and patterns. Tell the pupils that they will be doing a night time scene, ask what colour the background will be? – black. Split into two groups. Group one - Red and Blue groups Create a picture of a Christmas tree with all the lights and trimmings, using wax or pencil crayons on black paper. Group two - Orange and Green groups Create a picture of a Christmas tree with all the lights and trimmings. Ask them to use the flood fill tool to create a black screen and then to use mark making tools and various colours to explore the quality of light and colour on the screen. Swap groups, the second computer group will close the computers at the end of the session. Extension – HA could alter the size of the spray tool. Plenary Come back together to look at the differences between the traditional method and computer version, recap on tools used. Resources Assessment Evidence Teaching Assistant Interactive White Board Laptops with Microsoft Paint Two examples of the same picture. Black paper Wax and Pencil crayons Q&A Two Christmas tree pictures in particular the Paint version. Cross Curricular Links Differentiation Art SoW / NC ref and level Unit 2B Q&A Support given Outcome EAL Oracy 1, 2, 3, 4, 5, 6, 7, 8, 9, 11, 12. Literacy 2, 3, 6, 8. Belfield CP School Lesson plan Lesson ICT Year group 2 Term Autumn 2 Lesson Length 60 Minutes Lesson 5 of 5 Aims / Outcomes Integrated Task to select and use different techniques to communicate ideas through pictures Key Vocabulary Computer Interactive White Board Microsoft Paint Flood fill Shape tool Spray tool Brush and pen tools Undo Introduction Tell the pupils that today they will be creating two pictures of a Christmas scene of their choosing from a book or memory. They will make one traditionally and another using ‘Paint’ on the computer. Main Activities Ask the pupils what type of colours will be used and are the colours expressing sadness, anger fear or joy? – joy. What would the colours be like of a picture expressing the other feelings? – darker colours not bright and joyful. Discuss with the pupils how the geometric shapes can be used and the lights along a street. How some lights look fuzzy in the black of night and what can be used to create this affect – spray tool Group One – Orange and Green groups Create their Christmas scene on the computer using ‘Paint’ Group Two - Red and Blue groups Create their Christmas scene using the traditional method using paper, and their choice of colouring implement. For this lesson try to have available as many computers as possible enough for half the class, as to assess more accurately. Plenary Celebrate the pupils work, look at the comparisons. What have the pupils learned to do in this topic. Resources Assessment Evidence Teaching Assistant Interactive White Board Main computer suite. Laptops with Microsoft Paint Christmas scene pictures. Q&A Christmas scene using ‘Paint’ Independent work unless stated. Cross Curricular Links Differentiation Art SoW / NC ref and level Unit 2B Q&A Support given Outcome EAL Oracy 1, 2, 3, 4, 5, 6, 7, 8, 9, 11, 12. Literacy 2, 3, 6, 8.
