ISE Modelsim Tutorial
advertisement
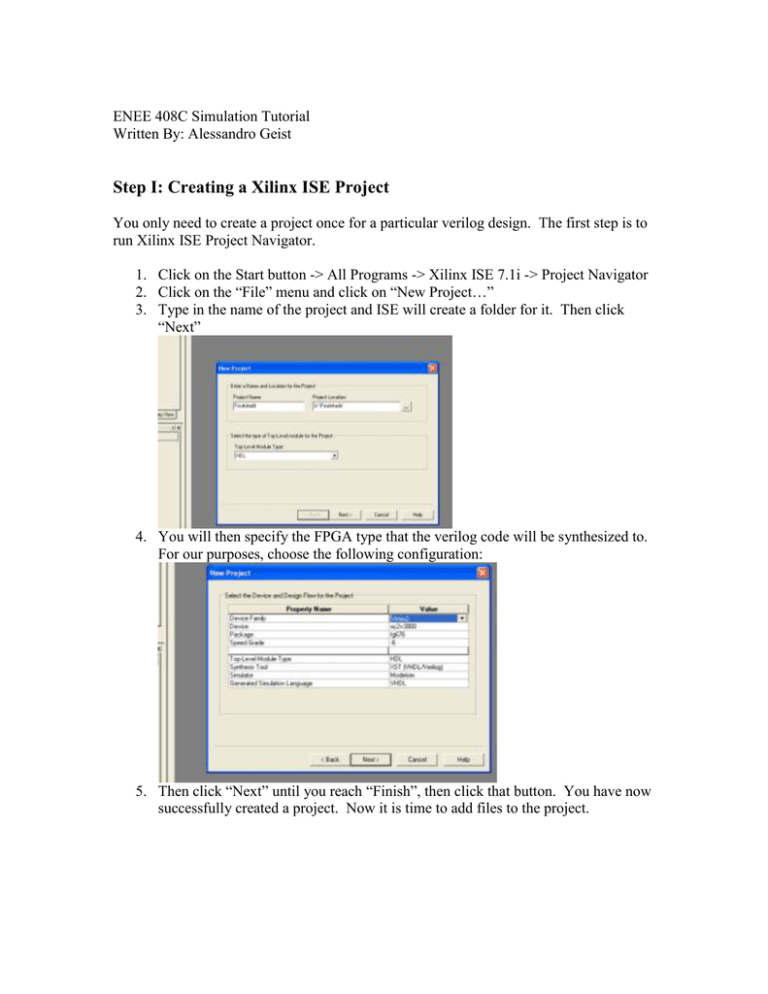
ENEE 408C Simulation Tutorial Written By: Alessandro Geist Step I: Creating a Xilinx ISE Project You only need to create a project once for a particular verilog design. The first step is to run Xilinx ISE Project Navigator. 1. Click on the Start button -> All Programs -> Xilinx ISE 7.1i -> Project Navigator 2. Click on the “File” menu and click on “New Project…” 3. Type in the name of the project and ISE will create a folder for it. Then click “Next” 4. You will then specify the FPGA type that the verilog code will be synthesized to. For our purposes, choose the following configuration: 5. Then click “Next” until you reach “Finish”, then click that button. You have now successfully created a project. Now it is time to add files to the project. Step II: Adding Verilog files to a project You will add your verilog design files separately from your verilog testbench files. 1. Click on the “Project” menu. Click on “Add source…” Then select the verilog design file(s) and hit “Ok”. You can select more than one at a time. 2. A box will come up like the one shown below, asking what type of file it is. 3. Select Verilog Design Files for each of your design files (not your testbenches though) 4. Now add your testbench to the project. Repeat step 1, but when the dialog box comes up asking what type of file it is, choose “Verilog Test Fixture File” 5. You have now successfully added your Verilog design files to your project! Step III: Running the Modelsim Simulator Now you will run your testbench and simulate your verilog design 1. Click on your verilog testbench file in the “Sources in Project” window. This should highlight your testbench. 2. Now expand the “Modelsim Simulator” entry in the Process View window. You can do this by click on the plus sign and you should see a window like the one shown below: 3. Now Double-click on “Simulate Behavioral Model.” This should open Modelsim and display a waveform if your design files and your testbench are all correct. This should look something like: You may have to zoom in/out or move the waveform window left or right to view the important parts of the waveform
