With the current setup, we are using a CISCO Catalyst... CISCO Lab Chapter 3 VLAN Commands
advertisement
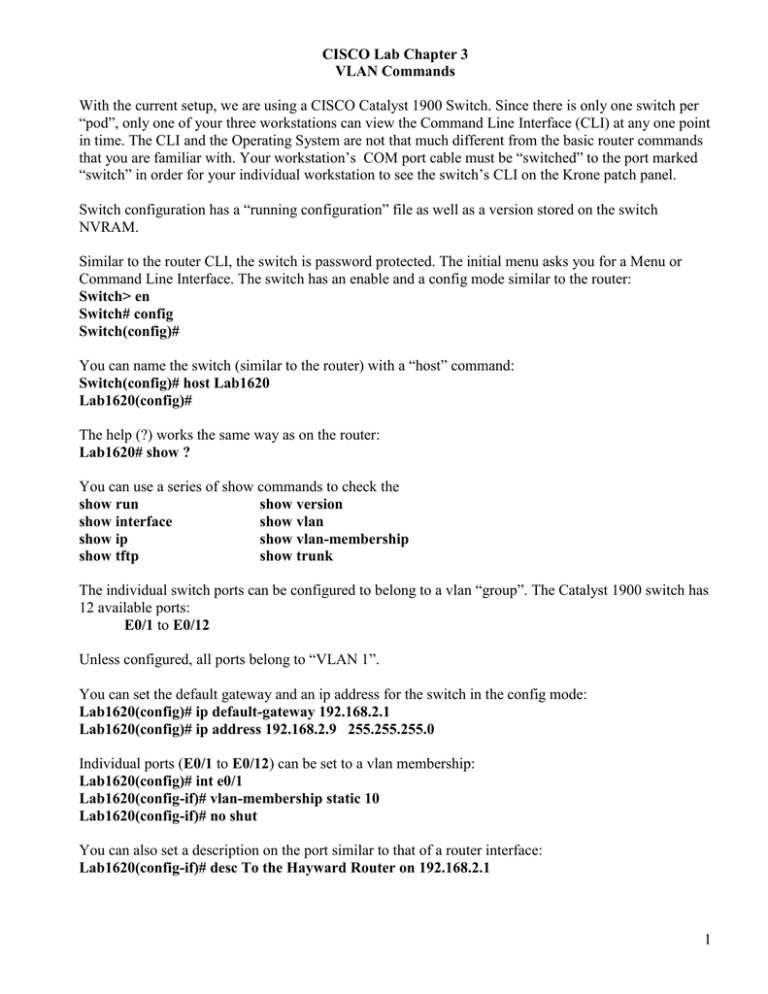
CISCO Lab Chapter 3 VLAN Commands With the current setup, we are using a CISCO Catalyst 1900 Switch. Since there is only one switch per “pod”, only one of your three workstations can view the Command Line Interface (CLI) at any one point in time. The CLI and the Operating System are not that much different from the basic router commands that you are familiar with. Your workstation’s COM port cable must be “switched” to the port marked “switch” in order for your individual workstation to see the switch’s CLI on the Krone patch panel. Switch configuration has a “running configuration” file as well as a version stored on the switch NVRAM. Similar to the router CLI, the switch is password protected. The initial menu asks you for a Menu or Command Line Interface. The switch has an enable and a config mode similar to the router: Switch> en Switch# config Switch(config)# You can name the switch (similar to the router) with a “host” command: Switch(config)# host Lab1620 Lab1620(config)# The help (?) works the same way as on the router: Lab1620# show ? You can use a series of show commands to check the show run show version show interface show vlan show ip show vlan-membership show tftp show trunk The individual switch ports can be configured to belong to a vlan “group”. The Catalyst 1900 switch has 12 available ports: E0/1 to E0/12 Unless configured, all ports belong to “VLAN 1”. You can set the default gateway and an ip address for the switch in the config mode: Lab1620(config)# ip default-gateway 192.168.2.1 Lab1620(config)# ip address 192.168.2.9 255.255.255.0 Individual ports (E0/1 to E0/12) can be set to a vlan membership: Lab1620(config)# int e0/1 Lab1620(config-if)# vlan-membership static 10 Lab1620(config-if)# no shut You can also set a description on the port similar to that of a router interface: Lab1620(config-if)# desc To the Hayward Router on 192.168.2.1 1 You can name the vlan “group” with: Lab1620(config)# vlan 20 name tralfaz You can set passwords on the switch: Lab1620(config)# enable password level 1 cisco Lab1620(config)# enable password level 15 chabot (user password) (enable password) You can display the number of ethernet and fast ethernet ports with: Lab1620# show port block multicast Lab1620# show port unicast multicast The warm boot command for the 1900 Catalyst Switch is: Lab1620# reload To quit the CLI, you can use the exit command: Lab1620# exit The banner command is similar to the router’s banner command: Lab1620(config)# banner motd xWelcome to Switch Number 2x Use a letter (such as x or w) that is NOT in the message as a delimiter Fast Ethernet ports This 1900 Catalyst switch has 2 “fast” switches, Number 26 and 27. You can set them to “full duplex: Lab1620(config)# int fastEthernet 0/26 Lab1620(config-if)# duplex full-flow-control (for a trunk to another switch) Lab1620(config-if)# int fastEthernet 0/27 Lab1620(config-if)# duplex full Deleting the NVRAM You can delete the configuration file stored in the NVRAM by entering: Lab1620# delete nvram Pinging and Telneting into the Switch Since we have only one switch, only one terminal can access the CLI at a time. We can ping and telnet into the switch from any of the pod’s “LANs”. 1. Among the 3 different LANs, must know the IP address of the switch (set with the ip address commmand, such as 192.168.2.9) 2. Must know which of the 3 Pod routers’ E0 interface ip address has been set as the switch’s default gateway such as Fremont (192.168.1.1), Hayward (192.168.2.1) or Oakland (192.168.3.1). You will be connecting that router’s cable from the gray Transceiver on the router into one of the switch’s ports. 3. Since we have only one switch, must connect the router with the switch default gateway into the switch port. 4. Must connect the NIC cables to the switch port of the VLAN. 5. On each Pod terminal, can telnet or ping into the switch from the router: Fremont# ping 192.168.2.9 Fremont# telnet 192.168.2.9 6. Cannot telnet from within the switch. 2

