Document 11101966
advertisement

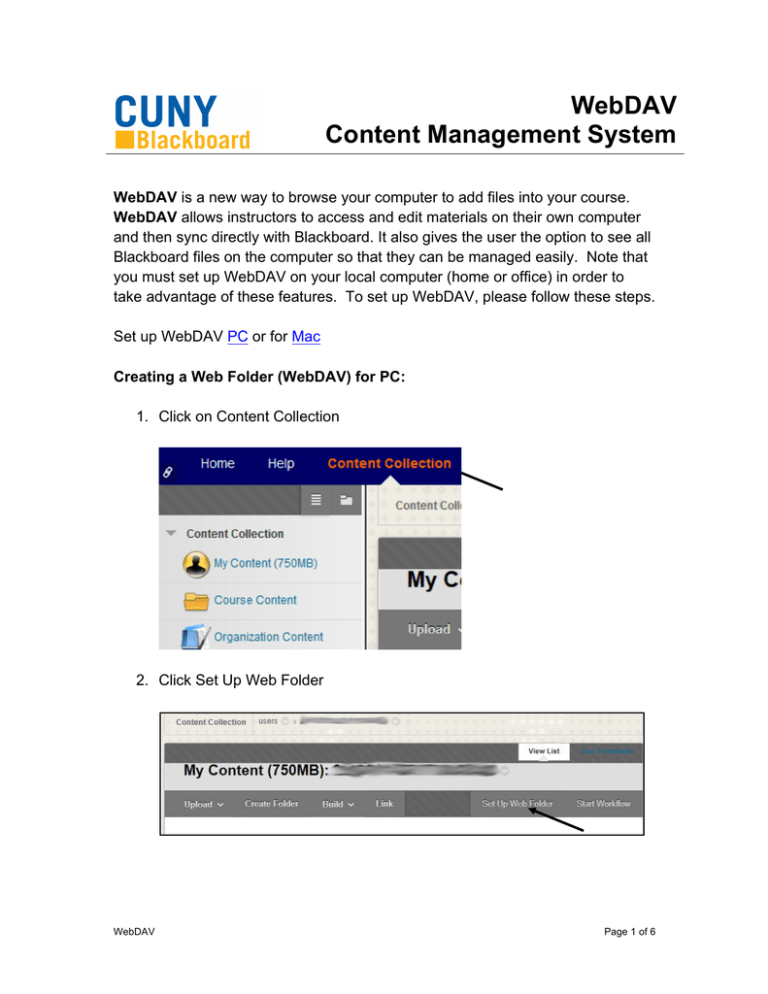
WebDAV Content Management System WebDAV is a new way to browse your computer to add files into your course. WebDAV allows instructors to access and edit materials on their own computer and then sync directly with Blackboard. It also gives the user the option to see all Blackboard files on the computer so that they can be managed easily. Note that you must set up WebDAV on your local computer (home or office) in order to take advantage of these features. To set up WebDAV, please follow these steps. Set up WebDAV PC or for Mac Creating a Web Folder (WebDAV) for PC: 1. Click on Content Collection 2. Click Set Up Web Folder WebDAV Page 1 of 6 3. On your PC, go to Start > Computer and right click on an empty space and select Add a network location 4. Click Next, then select Choose a custom network location, then click Next again. 5. Under Internet or network address copy the Current Web address from the Using Web Folders page on Blackboard, then click next WebDAV Page 2 of 6 6. Enter your Blackboard username and password and click OK. WebDAV Page 3 of 6 7. Type in a name for the folder, click Next 8. Click Finish on the Completing the Add Network Location Wizard page, and the web folder will open. You will be able to add and delete files from the folder as a normal windows folder. Creating a Web Folder (WebDAV) for Mac: 1. Click on Content Collection WebDAV Page 4 of 6 2. Click Set Up Shared Location 3. On your Mac, press ⌘ + K, or go to the Finder bar select Go > Connect to Server 4. Under Server Address in Connect to server copy the Current Web address from the Using Shared Locations page on Blackboard, then click Connect WebDAV Page 5 of 6 5. Enter your Blackboard username and password and click Connect. 6. The shared location should open, you will also be able to find it as a drive on your desktop or under Shared in the computer sidebar. You can add and delete files from the folder as a normal folder on your Mac. WebDAV Page 6 of 6


