Manual connecting laptop to beamer
advertisement
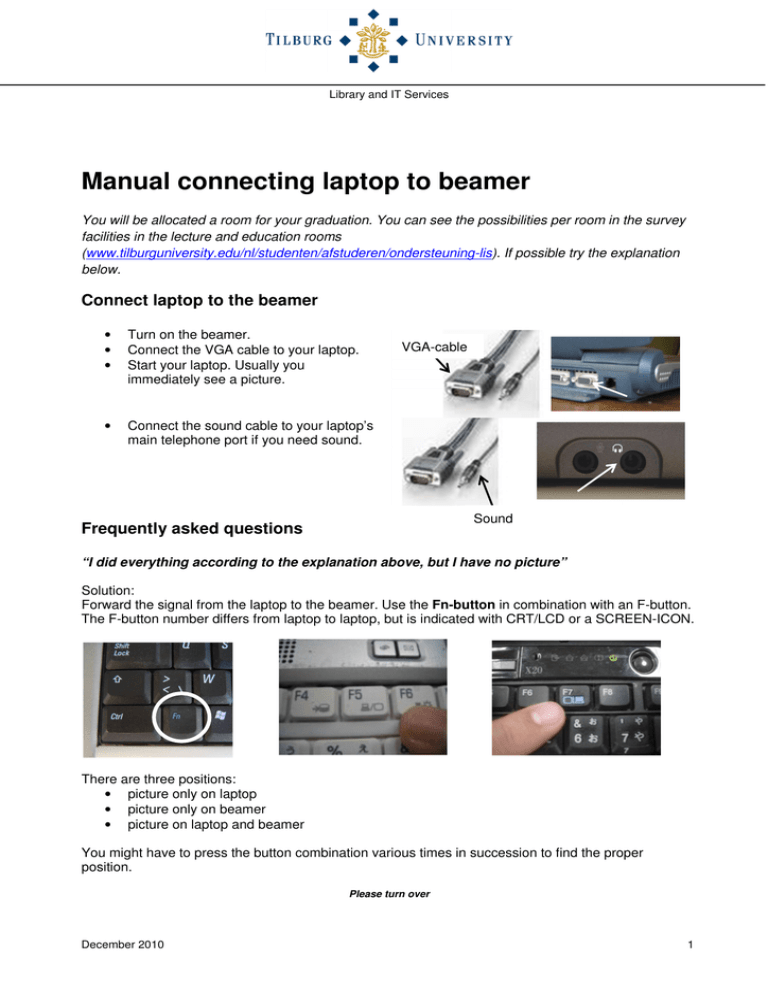
Library and IT Services Manual connecting laptop to beamer You will be allocated a room for your graduation. You can see the possibilities per room in the survey facilities in the lecture and education rooms (www.tilburguniversity.edu/nl/studenten/afstuderen/ondersteuning-lis). If possible try the explanation below. Connect laptop to the beamer • • • Turn on the beamer. Connect the VGA cable to your laptop. Start your laptop. Usually you immediately see a picture. • Connect the sound cable to your laptop’s main telephone port if you need sound. VGA-cable Sound Frequently asked questions “I did everything according to the explanation above, but I have no picture” Solution: Forward the signal from the laptop to the beamer. Use the Fn-button in combination with an F-button. The F-button number differs from laptop to laptop, but is indicated with CRT/LCD or a SCREEN-ICON. There are three positions: • picture only on laptop • picture only on beamer • picture on laptop and beamer You might have to press the button combination various times in succession to find the proper position. Please turn over December 2010 1 Library and IT Services – Manual connecting laptop to beamer Tilburg University Mind! • Always wait some seconds after switching a position. • A menu screen appears on some models (see picture) when you make the Fn + F* combination. Keep the Fn-button pressed and press the F-button various times. Release at the required position. “I have forwarded the signal to the beamer, but I still have no picture” or “I do receive a picture on the projection screen but a piece of my presentation falls outside the screen” Solution: The resolution is too high, try again with a lower resolution. To adjust the resolution: • Click the desktop with your right mouse button • Choose ‘Display Properties’ • Choose ‘Settings’ • Drag the slider to the left to 1024x768 “I see my desktop’s background on the projection but without icons” Solution: • The desktop is extended to the projection, instead of cloned. • Click the desktop with your right mouse button. • Choose ‘Display Properties’ • Choose ‘Settings’ • Select monitor 2 and mark the option ‘Extend my Windows desktop onto this monitor’ off For more information see www.tilburguniversity.edu/nl/studenten/afstuderen/ondersteuning-lis/ December 2010 2

