Document
advertisement
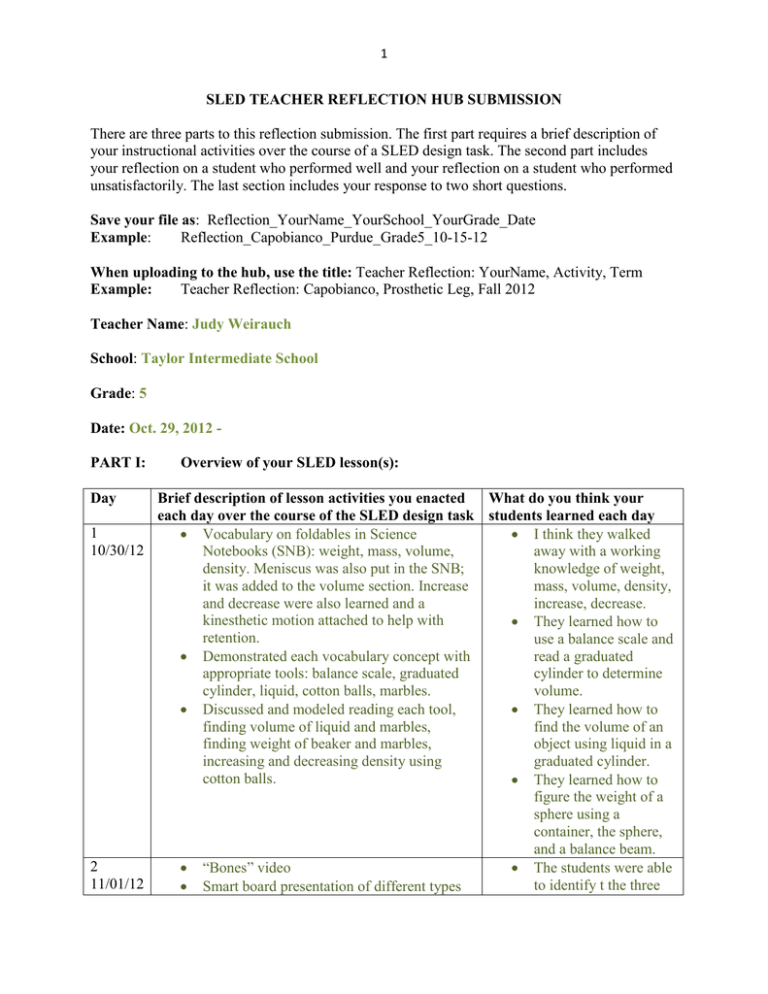
1 SLED TEACHER REFLECTION HUB SUBMISSION There are three parts to this reflection submission. The first part requires a brief description of your instructional activities over the course of a SLED design task. The second part includes your reflection on a student who performed well and your reflection on a student who performed unsatisfactorily. The last section includes your response to two short questions. Save your file as: Reflection_YourName_YourSchool_YourGrade_Date Example: Reflection_Capobianco_Purdue_Grade5_10-15-12 When uploading to the hub, use the title: Teacher Reflection: YourName, Activity, Term Example: Teacher Reflection: Capobianco, Prosthetic Leg, Fall 2012 Teacher Name: Judy Weirauch School: Taylor Intermediate School Grade: 5 Date: Oct. 29, 2012 PART I: Day Overview of your SLED lesson(s): Brief description of lesson activities you enacted What do you think your each day over the course of the SLED design task students learned each day 1 Vocabulary on foldables in Science I think they walked 10/30/12 Notebooks (SNB): weight, mass, volume, away with a working density. Meniscus was also put in the SNB; knowledge of weight, it was added to the volume section. Increase mass, volume, density, and decrease were also learned and a increase, decrease. kinesthetic motion attached to help with They learned how to retention. use a balance scale and read a graduated Demonstrated each vocabulary concept with appropriate tools: balance scale, graduated cylinder to determine cylinder, liquid, cotton balls, marbles. volume. Discussed and modeled reading each tool, They learned how to finding volume of liquid and marbles, find the volume of an finding weight of beaker and marbles, object using liquid in a increasing and decreasing density using graduated cylinder. cotton balls. They learned how to figure the weight of a sphere using a container, the sphere, and a balance beam. 2 “Bones” video The students were able 11/01/12 to identify t the three Smart board presentation of different types 2 3 11/06/12 of joints. Discussion on where the types of joints are found in the body. Added foldable with pictures and places found for the following joints: ball & socket, hinge, gliding. Reviewed vocabulary and how to use balance scales. Divided class into two smaller groups. Students spent major part of class time using balance scale to find mass/weight of objects listed on the chart. Came together as a group and compared/contrasted our data. (We could have only two groups because we had only two double beam scales for the entire class. When I showed how to use the triple beam scale, we had to all work together because we have only one of those.) 4 11/08/12 Reviewed vocabulary using a quick Q & A. Worked as a class to find mass of liquids. This is a difficult concept and they all already struggle with mathematical concepts so we did this section as a group. 5 11/13/12 Introduced and discussed design process using foldables in the Science NB: 5 steps to process. Introduced/delineated between difficult vocabulary used in design process: client, user, constraints, and criteria. Used foldables in Science NB to go over these words. types of joints we wanted them to know (ball & socket, hinge, gliding) when given a picture cue. The students were able to list at least two places in the body where these three joints are located. Students learned how to use the double beam balance scales. Students got practice entering data. The discussions were great. They became excited about using the tools and discussing data. They did a pretty good job of recording their data. By the end of the class they were all able to tell me how to figure the mass of a specific amount of water using a subtraction calculation. By the end of the class, they were able to talk me through the steps to find the mass of water using a subtraction calculation. I’m not sure my students learned much because we were so rushed. We had little time to discuss. I will do a quick review and be sure to use the needed vocabulary as we engage in the prosthetic leg activity. 3 6 11/15/12 7 11/19/12 8 11/20/12 Watched smart board videos on prosthetic leg and reviewed joints Glued the SLED design task sheet into the notebooks and filled in the index. Read activity paper, discussed and entered into the notebook the following points: - Who is the client? - Who is the user? - What are the criteria? - What are the constraints? Discussed materials available for prototype. Drew individual designs. Divided class into teams of two. As we worked through each step, we stopped and looked at our design process foldables pages to discuss where we were in the process. This was an extra class session scheduled because we are behind the gen. ed. students. It helped but we are still behind at least one class time. Gave 5 minutes for teams to plan design. The rest of the time was spent on design. It was a good review of the types of joints. I took extra time today to talk the class through the expected process of filling out the notebooks. I have decided to spend extra time on this each class session throughout the prosthetic leg activity because my students are still struggling with this so much. This may put me behind the others in schedule but if I want them to have a successful year I think this is going to be important. Gained more of an understanding of what is expected in the notebook. (I am focusing on this and taking extra time to help them cement more what is needed.) Students demonstrated a sound knowledge of client and user. They continue to struggle with criteria and constraint. Will work on that more throughout this year. The students are gaining a clearer understanding of the steps in the design process. This was quite difficult for these students. Most of them struggle with planning and problem solving. I was not 4 9 11/27/12 10 11/29/12 Opened with a review of the design process. Did a review of vocabulary (mass, weight, density, volume, added matter). Discussed Ping-Pong/golf balls and soccer/bowling balls. Tested the prototypes. Worked on table of measurements for Ping Pong and golf balls. Gave the students 5 minutes to draw a prototype with corrections they would make if we had the time to do a re-test. Handed out reflection paper from power point and discussed then answers. Filled this out together. Administered the post-test. Had the students enter the following four questions in their journal and assigned it as HW due the next class session. 1. Two things I liked. 2. Two thinks I did not like. 3. Three things I learned. 4. One thing I would do differently. Please answer the questions below: 1. What worked well? able to stick to my original rule that they could only use what they had on paper. Some of them didn’t even have a brad in the drawing. We are two classes behind the gen ed population. This is taking this class so much more time and much of it has to be done as a whole group because they are struggling so this. The Thanksgiving break did not help us any. I think the students are beginning to get the feel for the design process. They were disappointed when I told them we simply do not have the time to do a redesign. We worked on finding volume of a sphere using a beaker with water but they are still quite lost on this concept. The students commented on how much more they felt they knew this time on the posttest than when they took the pretest. I used this as a springboard to get their brains thinking about what they have learned through this activity. 5 1. My class joined Mrs. Stamm’s for the opening power point presentation for this project. They enjoyed this and it helped set the stage for what was to come next. 2. Much of this activity was done with the class as a group; they weren’t ready to do this on their own. They really struggled with the design part of this project. 3. The modeling and question and answer format used through the course of instruction I believe helped the class pick up more information than they normally would have. 4. I also created a new rubric for grading the notebook. I’m sure that, as I continue to do this, I will tweak this more. I feel like this is still in the beginning stages. 2. What are two ways you can improve your efforts toward integrating design? 1. I think the first thing I need to do is simply review, review, review. These kids need lots of review and I feel like they did not get enough of that. In the stress of completing the activity, I often did not review as I should have. I need to stop more through the course of the lessons, have the students go back to the notebook pages on the design process, and discuss where we are in the process and what should happen next. 2. I need to figure out a way to shorten this to use less time. This project took 10 class sessions and we didn’t get to a re-design. I don’t know what I would leave out, though. As it was I didn’t do the hand like the other students did. PART II: Reflection#1 on student performance: Include an image of work from one student who you thought performed well on the task. Insert the image here within the Word document. This image may be a copy of the student’s notebook entry(s) or an image of the team’s artifact or an actual picture of the student at work. In the space below describe what the image(s) is about and why you would explain or characterize the student’s performance as mastery or excellent. The above pictures are of one student’s notebook, final product, and working session. This student’s prototype indicates that he understands the correlation between the parts of the prototype and the anatomical parts they are to represent and mimic. His notebook was well planned, neat, and well labeled. He also worked well with his partner to accomplish the task. 6 Reflection#2 on student performance: Include an image of work from one student who you thought did not perform as well (unsatisfactory) on the task. Insert the image here within the Word document. This image may be a copy of the student’s notebook entry(s) or an image of the team’s artifact or an actual picture of the student at work. In the space below describe what the image is about and why you would explain or characterize the student’s performance as unsatisfactory. The above pictures are examples of work from a student who struggled with this activity. His notebook is disorganized and difficult to follow. The prototype demonstrates that, in his mind, there was not a connection between the anatomical representations of the prototype materials. His partner’s ideas were more connected to the desired representations but he wouldn’t listen to or work with his partner. PART II: Reflection #3 Describe one thing you enjoyed about instructing this SLED task. I enjoy using the notebooks and foldables. I think that these are great interactive instructional tools and they provide a great source of review for the students. They also provide the students with their own artifacts, which they enjoy and are proud of. I also think this is a great tool for teaching organizational and study skills, not to mention offering a bridge between concrete and abstract thinking, which can be very difficult for exceptional children. Describe one thing in your practice you would improve upon next time you implement this engineering design task or another SLED design task. Time is a serious problem and the design activity takes a great deal of time. This takes time away from direct instructional time so I would try to balance the time devoted to direct instruction and design. The activities are great fun and they are good for building problem solving skills and thinking skills. However, exceptional children need a great deal of direct, explicit instruction to build the schemas needed to make sense of the design activities. When we finally wrapped this activity up, I felt that the exceptional students had not developed the necessary schemas to make the connections needed to learn what was expected of them.
