Distribution of Water on Earth
advertisement
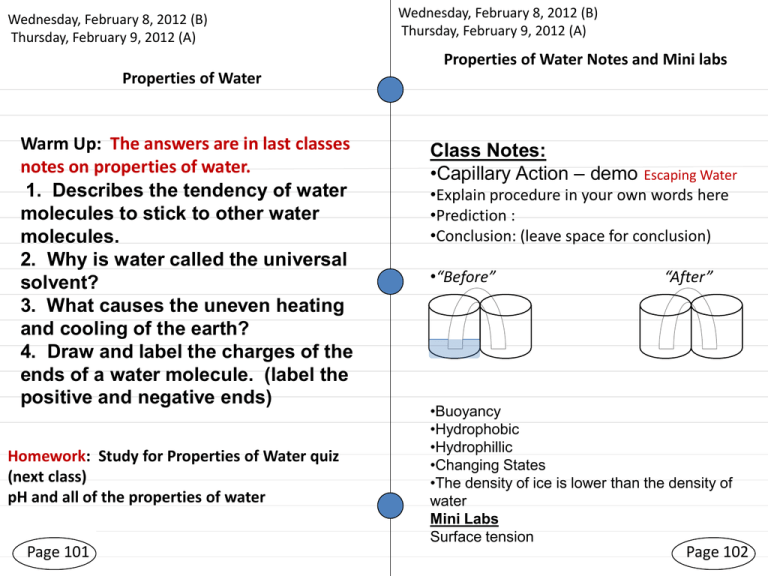
Wednesday, February 8, 2012 (B) Thursday, February 9, 2012 (A) Wednesday, February 8, 2012 (B) Thursday, February 9, 2012 (A) Properties of Water Notes and Mini labs Properties of Water Warm Up: The answers are in last classes notes on properties of water. 1. Describes the tendency of water molecules to stick to other water molecules. 2. Why is water called the universal solvent? 3. What causes the uneven heating and cooling of the earth? 4. Draw and label the charges of the ends of a water molecule. (label the positive and negative ends) Homework: Study for Properties of Water quiz (next class) pH and all of the properties of water Page 101 Class Notes: •Capillary Action – demo Escaping Water •Explain procedure in your own words here •Prediction : •Conclusion: (leave space for conclusion) •“Before” “After” •Buoyancy •Hydrophobic •Hydrophillic •Changing States •The density of ice is lower than the density of water Mini Labs Surface tension Page 102 Friday, February 10, 2012 Monday, February 13, 2012 Properties of Water Quiz Friday, February 10, 2012 Monday, February 13, 2012 The Water Cycle and Distribution of Water on Earth Warm Up: Copy this chart Substance Specific Heat (J/g ⁰C) Aluminum .90 Calcium .65 Water 4.18 Ethanol .95 Condensation Solar Solar Energy Energy Precipitation 1. You find a piece of metal with a specific heat of .65 J/g ⁰C. Identify the metal. 2. Coolants keep warm materials cool. Explain why water might be used as coolant? 3. Describe the relationship between density, buoyancy and the ability of an object to float or sink. 4. Ice floats in water. Why is solid water less dense than liquid water? 5. Why is polarity such an important factor in the properties of water? Transpiration Surface Runoff Infiltration Water Table Ground Water Evaporation from Lake and Water Lake Aquifer Page 103 Homework: 1. Finish Distribution of Water on Earth Circle Graph Page 104 Distribution of Water on Earth Copy the following table into your notebook: Distribution of Water on Earth Water Source Percent Degrees on a circle graph Salt Water 97 .97 x 360 = 349 Fresh Water 3 - Water vapor .037 - Lakes and rivers .34 - Deep ground 11 Infiltration - Shallow ground 12 - ice 76 Aquifer Use this data to complete your pie chart showing the distribution of water on Earth. (*If you are absent on this day, see me to get pie chart!!) Tuesday, February 14, 2012 Wednesday, February 15, 2012 Summarize a River Basin in a flow chart or paragraph Study for Distribution of Water, Water Cycle, and River Basin Quiz Review pages 16C – 22C Warm Up: 1. Get the handout titled “Water on Earth” This is yours to write on. 2. Read the Guide for Reading Questions 3. Read handout 4. Answer questions on the back 5. Go back and answer the guide for reading questions on the front. Tuesday, February 14, 2012 Wednesday, February 15, 2012 Parts of a River Basin Vocabulary Activity: Where Oh Where does my Water Flow? Divide: Boundary that marks the outermost limit of a watershed. It is the boundary between one river basin and another river basin. Headwaters: Also called the source. It is the beginning of the river. The headwaters are often located in mountains. Watershed/River Basin/ Drainage Basin: The tract of land that supplies water to a river system. People’s actions within a watershed can affect the overall quality of its rivers. Tributary: A smaller stream or river that joins a larger stream or main river Main Channel/Main River: The main river channel is the primary channel and course of a river Infiltration Homework: 1. Summarize a River Basin in a flow chart or para. 2. Study for Distribution of Water, Water Cycle, and River Basin Quiz 3. Review pages 16C – 22C Page 105 Floodplain: The floodplain is relatively flat land through which a river flows, which may flood during heavy rain. The soil here is usually very rich and good for growing food. Mouth: The mouth is the place where a river flows into a Aquifer larger body of water, such as another river, a lake or an ocean Page 106 Watershed Watershed Major US Watersheds Where, Oh Where Does My Water Flow? Procedure: • • • • • • • Crumple the white paper. Unfold the white paper. Do NOT flatten the paper. The paper should have ridges and valleys created by the crumpling process. Tape the edges of the crumpled paper to the cardstock so that it looks like a relief map with ridges and valleys. Place the cardstock in the shallow pan. Use a different colored marker to “highlight” each ridge. Draw the landscape that has been created by the crumpled paper in the data section. Be sure to show the colored ridges. Gently spray the ridges with the water bottle. Continue to spray the ridges until the pattern of flow for the water is evident. Draw the landscape after the “rain” in the data section. Be sure to show the flow of water (how the color spread).
