Significant Task for Drawing 1
Measuring the Figure – Collaboration
Objectives: Students will:
a. proceed and describe basic figure proportion
b. compare body measurements vertically and horizontally
c. apply measurements to 2-D and 3-D forms
d. understand that artists create studies or sketches for practice
e. create sketches of live models showing different poses
f.
upon completion of objectives, students may enhance correct figure drawing to transform into action
figure
State Standards:
1. Students will understand and use visual arts as a means for creative self-expression and interpersonal
communication.
2. Processes will understand processes of media.
4. Students will demonstrate a capacity for critical and sensitive response to various visual arts experiences.
6. Making connects between visual arts and other disciplines
Figure Drawing Measuring
Name__________ Period ____
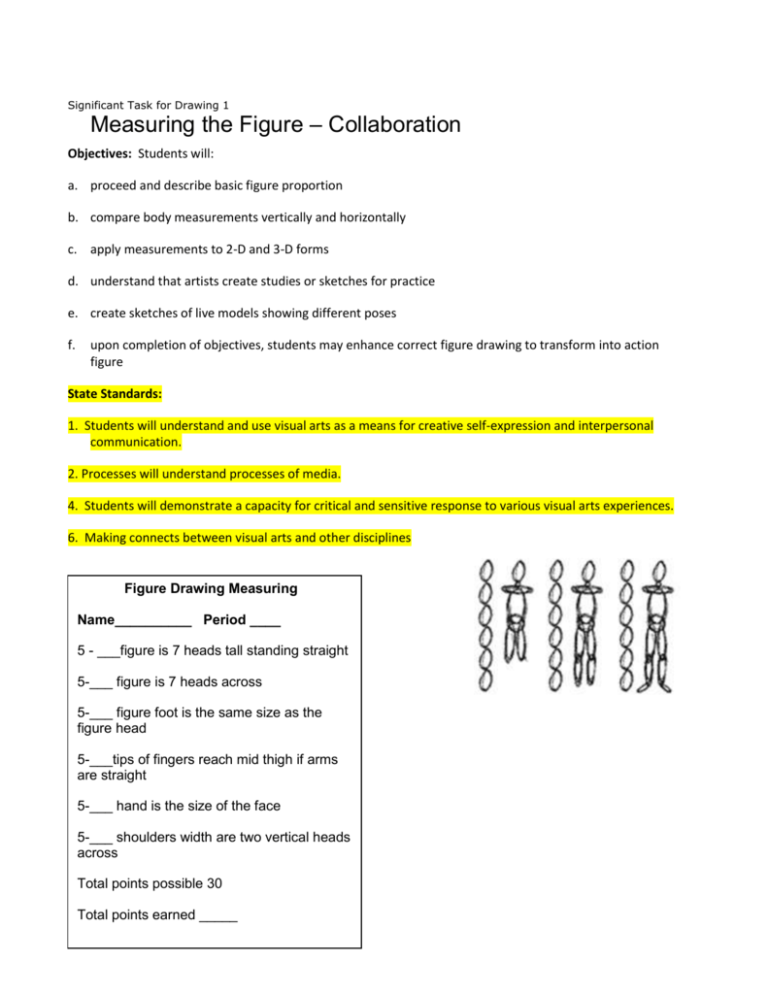
5 - ___figure is 7 heads tall standing straight
5-___ figure is 7 heads across
5-___ figure foot is the same size as the
figure head
5-___tips of fingers reach mid thigh if arms
are straight
5-___ hand is the size of the face
5-___ shoulders width are two vertical heads
across
Total points possible 30
Total points earned _____
Significant Task for Drawing 1
Measuring the Figure – Collaboration
Materials: pencil, 2 yardsticks, sticky notes, or masking tape
Groups: 3 students per group
Objective: follow instructions to determine approximate proportion of an average human
figure
1. Select a student from your group to be the one to measure. Student A stands
with heels, head, and back against the wall. Students B and C places yardstick
flat on top of A’s head while placing a sticky note or tape to mark on wall. Next,
move yardstick to bottom of model’s head and mark. Student A can now move
away from the wall.
Measure distance from floor to top of the head (height) and record __________
Measure distance between sticky notes for head size and record ___________
Now find the height of the figure in number of heads by dividing head
measurement into the total body height.
Conclusion: THE AVERAGE FIGURE IS ABOUT ________ HEADS TALL.
2. Student A (model) again stands against the wall. Student B holds yardstick even
with the edge of each shoulder while placing a sticky note next to the yardstick
on each side. Use the yardstick to measure the width of shoulders. Repeat
process for the width of the head and record on notes. Now find the width of the
shoulders b dividing the head measurement into the shoulder total.
Conclusion: THE AVERAGE WIDTH OF SHOULDERS IS ________ HEADS.
3. Student A returns to the wall with arms outstretched flat against the wall. Mark
with sticky notes where the fingertips end. Measure the distance between the
notes after the model steps aside.
Conclusion: THE AVERAGE FIGURE’S ARMSPAN IS ABOUT THE SAME AS
________________________________________________(refer to head size)
Summary
Many artists study the proportion of the human body to make figures look real. Artists often make quick
sketches or "studies" of live models to learn about anatomy and how the human body moves. Students will
learn the basics of figure proportion and create oval figures which show the human body in motion.
Online Activities
If you have a computer with Internet access in your classroom, you can introduce your students to
proportion online. A Lifetime of Color web site (www.alifetimeofcolor.com ) offers online
activities/tutorials about proportion. You can also find helpful Technique Demos, ArtEdventures and Lessons
which will reinforce the concepts and techniques taught here.
Background
Students should have the fine motor skills to draw ovals and circles. They should understand the concept of
overlap.
Objectives
Students will:
a) perceive and describe basic figure proportion
b) understand that artists draw from life
c) understand that artists create studies or sketches for practice or planning a final artwork
d) create sketches of live models showing different poses
Vocabulary
proportion
oval action figure
studies/sketches
live model
overlap
Preparation
Teaching Materials/Resources
yardstick
dry/eraseboard or an easel or a chalkboard and writing tool
interesting props for live models (hats, balls, poles...) (optional)
Student Materials/Resources
scratch paper
Mirado® writing pencil
Pink Pearl® or White Pearl® eraser
Mr. Sketch® pencils or markers
Schedule: One or two class periods.
Set-up
Gather teacher and student studio materials.
Arrange classroom furniture to create a discussion area to ensure maximum participation and ability to see
visuals and models. Choose one to three sturdy tables or chairs throughout the classroom for live models to
stand on.
Background Information and Tips
Oval action figures are made up of loosely-drawn, overlapping ovals. Draw a new oval for each
major body part and joint.
The trick is getting your students to concentrate on recording movement and action rather than on the
neatness and perfection of the drawing. Start them out just drawing ovals. Have them hold their pencils or
pens loosely and draw round and round. Do not allow them to erase--they can correct the shape and size as
they draw.
Also, be sure you emphasize overlapping the ovals or they'll create snowmen or Michelin tire men.
Proportion should be very general for younger students and more sophisticated for third and fourth graders.
Some basic rules of proportion you may want to include are:
The average adult human figure is seven and a half heads tall (children have bigger heads).
Shoulders are wide enough for three heads.
Fingertip to fingertip with your arms out to the side equals your height.
Arms and hands at the side fall halfway between knees and hips.
Arms and legs bend at the halfway point.
Hips are halfway down the body-you can fold in half.
You may also want to look at Technique Demo: Oval Action Figures.
Procedure
Introduction: group discussion
Introduce the idea that some artists want to draw the human figure realistically. To do this they must learn
the basics of figure proportion-or how big each body part is compared to the other body parts. Artists also
study the way the body moves and bends. Artists study live models and make many sketches or studies to
practice. Together, we will discover some basic rules of figure proportion and anatomy. We will learn how to
make oval action figures so we can sketch quickly.
Large group exploration: proportion and anatomy
Explain that you will teach them a quick and easy way to sketch the human body. All they have to draw are
ovals.
Choose a student model of medium height and have her or him stand in front of the class. Ask students
what shape the head is (oval) and draw an oval. When you draw, be sure to go around and around your oval
at least three times. Stress that this is a sketch, not a final drawing, so you want to draw quickly and hold
pencils or pens loosely.
With the yardstick or a strip of paper or cardboard, have students measure the model's head. Use that
measurment to figure out how many heads tall the student is (around six for a child). Draw a stack of head
ovals to the side of the figure to show final height.
Ask students what you should draw after the head (neck). Draw a small overlapping circle. Explain that you
need a new oval for each joint or place they bend.
Shoulders come next. Bring up two more (taller) students to demonstrate that the model's shoulders have
room for three heads. They can go behind the model then rest their heads on each shoulder. Draw the
shoulder oval.
Draw the torso oval overlapping the shoulder oval.
Have students figure out that the you can fold the model in half-that hips are halfway down. Count down
halfway down the stack of heads. The middle of hip circle should be halfway down. Draw the hip circle (an
oval gives you "tutu" hips).
Guide students to discover that legs bend into two equal sections. Draw the two leg ovals and repeat for
second leg. Add feet.
Have students discover that arms also bend into two equal sections. Ask how far the model's entire arm plus
hands hangs down (halfway down the thigh). Draw the arms and hands.
Guided Practice
Have students go to their work tables/desks and distribute sketch paper and pencils or pens.
Have students begin by making ovals of different sizes on their papers. Walk around and make sure they
have the technique down.
Have them create their first oval figure by following you step-by-step as you draw on the board or easel.
Then have them create several more as you walk around and check.
Choose another student model to stand on a table or chair so everyone has a good view. Have them strike a
pose (front views only to begin). Demonstrate how you can draw oval action figures to record the position of
the model.
Add one or two more models around the room so all students have a reasonable front view. Have them
strike a new pose and have students draw them. Repeat many times.
Extensions
As students master the basic oval action figure you can:
try more complicated poses-but avoid poses which require foreshortening
add props to make them more interesting Copyright 1998-2004 Sanford. All Rights Reserved.
try side views (shoulders become circles and one arm and leg are partially hidden)
begin timing them and shorten drawing time to encourage rapid drawing
rotate models often so many students get a chance to model have students pair up and model for
each other
have students draw a series of figures showing a sequence of motion (running, throwing, jumping)
create flip books Try This: Action Figure Flip or cartoon panels showing a series of
actions/movements
Critique
Have students do an individual, partnered or group critique. See Tips for Successful Critiques.
Tips for Successful Critiques
Learning to critique or assess art is a vital part of an artist's growth. Teach your students how to critique
themselves, with a partner, in small groups and in large groups. It takes practice and modeling to ensure
respectful, beneficial critiquing.
Display the artworks. Pin or tape them to a board so you can get a good look. Be sure everyone has a good
view. For a large group display you may choose to critique anonymously. Be aware that some students may
be uncomfortable displaying their artworks. You may want to begin by invitation. After the critique process
feels safe and friendly, more students will want to participate.
Set the ground rules for the style of questions, comments and suggestions that are courteous and
constructive. Encourage positive phrasing and focus on each artwork's strengths. Be inclusive and try to
address each artwork. Avoid words like favorite, the best... Focus on the objectives!
Emphasize the learning process rather than the final result.
When you are first starting, have students brainstorm and practice appropriate phrasing. Use one of your
demos to practice with. Here are some phrases that might help students get started.
What really caught my eye was______________ .
That artwork shows __________ really well.
I think ____________ would improve that artwork.
I'd like to see more of ____________.
That artist is really skilled at ____________.
I am a little confused by ____________.
At first, you may spend more time on the critiquing process than the actual critique but it is essential to
build an atmosphere of trust and encouragement.
National Visual Art Standards
The following National Visual Art Standards can be applied to this lesson:
Content Standard #1: Understanding and applying media, techniques, and processes
Achievement Standard:
Students use different media, techniques, and processes to communicate ideas, experiences, and stories
Students use art materials and tools in a safe and responsible manner
Content Standard #2: Using knowledge of structures and functions
Achievement Standard:
Students use visual structures and functions of art to communicate ideas
Content Standard #5: Reflecting upon and assessing the characteristics and merits of their work
and the work of others
Achievement Standard:
Students understand there are various purposes for creating works of visual art

