Router Commands - Mr. Dixon's Classes
advertisement
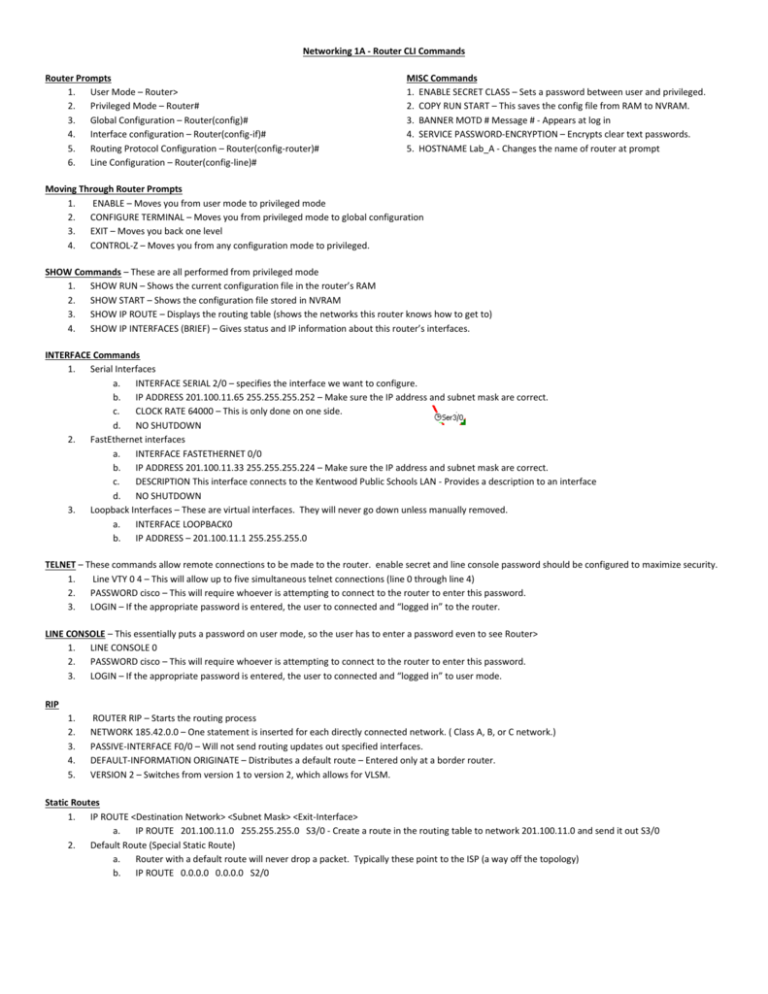
Networking 1A - Router CLI Commands Router Prompts 1. User Mode – Router> 2. Privileged Mode – Router# 3. Global Configuration – Router(config)# 4. Interface configuration – Router(config-if)# 5. Routing Protocol Configuration – Router(config-router)# 6. Line Configuration – Router(config-line)# MISC Commands 1. ENABLE SECRET CLASS – Sets a password between user and privileged. 2. COPY RUN START – This saves the config file from RAM to NVRAM. 3. BANNER MOTD # Message # - Appears at log in 4. SERVICE PASSWORD-ENCRYPTION – Encrypts clear text passwords. 5. HOSTNAME Lab_A - Changes the name of router at prompt Moving Through Router Prompts 1. ENABLE – Moves you from user mode to privileged mode 2. CONFIGURE TERMINAL – Moves you from privileged mode to global configuration 3. EXIT – Moves you back one level 4. CONTROL-Z – Moves you from any configuration mode to privileged. SHOW Commands – These are all performed from privileged mode 1. SHOW RUN – Shows the current configuration file in the router’s RAM 2. SHOW START – Shows the configuration file stored in NVRAM 3. SHOW IP ROUTE – Displays the routing table (shows the networks this router knows how to get to) 4. SHOW IP INTERFACES (BRIEF) – Gives status and IP information about this router’s interfaces. INTERFACE Commands 1. Serial Interfaces a. INTERFACE SERIAL 2/0 – specifies the interface we want to configure. b. IP ADDRESS 201.100.11.65 255.255.255.252 – Make sure the IP address and subnet mask are correct. c. CLOCK RATE 64000 – This is only done on one side. d. NO SHUTDOWN 2. FastEthernet interfaces a. INTERFACE FASTETHERNET 0/0 b. IP ADDRESS 201.100.11.33 255.255.255.224 – Make sure the IP address and subnet mask are correct. c. DESCRIPTION This interface connects to the Kentwood Public Schools LAN - Provides a description to an interface d. NO SHUTDOWN 3. Loopback Interfaces – These are virtual interfaces. They will never go down unless manually removed. a. INTERFACE LOOPBACK0 b. IP ADDRESS – 201.100.11.1 255.255.255.0 TELNET – These commands allow remote connections to be made to the router. enable secret and line console password should be configured to maximize security. 1. Line VTY 0 4 – This will allow up to five simultaneous telnet connections (line 0 through line 4) 2. PASSWORD cisco – This will require whoever is attempting to connect to the router to enter this password. 3. LOGIN – If the appropriate password is entered, the user to connected and “logged in” to the router. LINE CONSOLE – This essentially puts a password on user mode, so the user has to enter a password even to see Router> 1. LINE CONSOLE 0 2. PASSWORD cisco – This will require whoever is attempting to connect to the router to enter this password. 3. LOGIN – If the appropriate password is entered, the user to connected and “logged in” to user mode. RIP 1. 2. 3. 4. 5. ROUTER RIP – Starts the routing process NETWORK 185.42.0.0 – One statement is inserted for each directly connected network. ( Class A, B, or C network.) PASSIVE-INTERFACE F0/0 – Will not send routing updates out specified interfaces. DEFAULT-INFORMATION ORIGINATE – Distributes a default route – Entered only at a border router. VERSION 2 – Switches from version 1 to version 2, which allows for VLSM. Static Routes 1. IP ROUTE <Destination Network> <Subnet Mask> <Exit-Interface> a. IP ROUTE 201.100.11.0 255.255.255.0 S3/0 - Create a route in the routing table to network 201.100.11.0 and send it out S3/0 2. Default Route (Special Static Route) a. Router with a default route will never drop a packet. Typically these point to the ISP (a way off the topology) b. IP ROUTE 0.0.0.0 0.0.0.0 S2/0
