Windows XP Test Review
advertisement

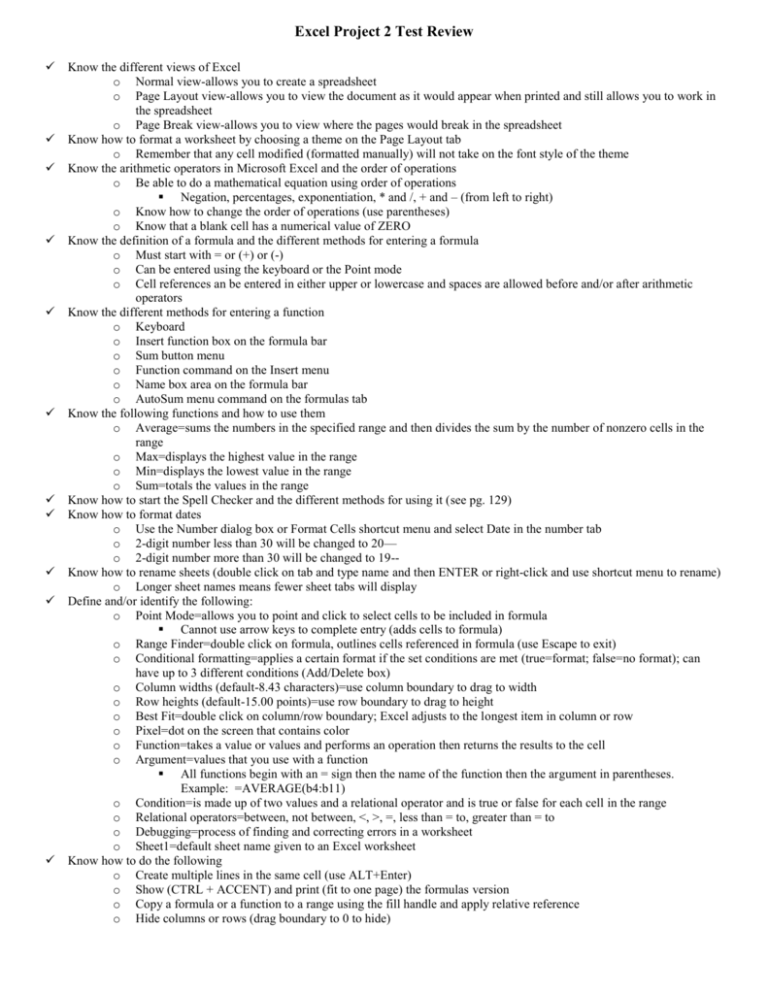
Excel Project 2 Test Review Know the different views of Excel o Normal view-allows you to create a spreadsheet o Page Layout view-allows you to view the document as it would appear when printed and still allows you to work in the spreadsheet o Page Break view-allows you to view where the pages would break in the spreadsheet Know how to format a worksheet by choosing a theme on the Page Layout tab o Remember that any cell modified (formatted manually) will not take on the font style of the theme Know the arithmetic operators in Microsoft Excel and the order of operations o Be able to do a mathematical equation using order of operations Negation, percentages, exponentiation, * and /, + and – (from left to right) o Know how to change the order of operations (use parentheses) o Know that a blank cell has a numerical value of ZERO Know the definition of a formula and the different methods for entering a formula o Must start with = or (+) or (-) o Can be entered using the keyboard or the Point mode o Cell references an be entered in either upper or lowercase and spaces are allowed before and/or after arithmetic operators Know the different methods for entering a function o Keyboard o Insert function box on the formula bar o Sum button menu o Function command on the Insert menu o Name box area on the formula bar o AutoSum menu command on the formulas tab Know the following functions and how to use them o Average=sums the numbers in the specified range and then divides the sum by the number of nonzero cells in the range o Max=displays the highest value in the range o Min=displays the lowest value in the range o Sum=totals the values in the range Know how to start the Spell Checker and the different methods for using it (see pg. 129) Know how to format dates o Use the Number dialog box or Format Cells shortcut menu and select Date in the number tab o 2-digit number less than 30 will be changed to 20— o 2-digit number more than 30 will be changed to 19-Know how to rename sheets (double click on tab and type name and then ENTER or right-click and use shortcut menu to rename) o Longer sheet names means fewer sheet tabs will display Define and/or identify the following: o Point Mode=allows you to point and click to select cells to be included in formula Cannot use arrow keys to complete entry (adds cells to formula) o Range Finder=double click on formula, outlines cells referenced in formula (use Escape to exit) o Conditional formatting=applies a certain format if the set conditions are met (true=format; false=no format); can have up to 3 different conditions (Add/Delete box) o Column widths (default-8.43 characters)=use column boundary to drag to width o Row heights (default-15.00 points)=use row boundary to drag to height o Best Fit=double click on column/row boundary; Excel adjusts to the longest item in column or row o Pixel=dot on the screen that contains color o Function=takes a value or values and performs an operation then returns the results to the cell o Argument=values that you use with a function All functions begin with an = sign then the name of the function then the argument in parentheses. Example: =AVERAGE(b4:b11) o Condition=is made up of two values and a relational operator and is true or false for each cell in the range o Relational operators=between, not between, <, >, =, less than = to, greater than = to o Debugging=process of finding and correcting errors in a worksheet o Sheet1=default sheet name given to an Excel worksheet Know how to do the following o Create multiple lines in the same cell (use ALT+Enter) o Show (CTRL + ACCENT) and print (fit to one page) the formulas version o Copy a formula or a function to a range using the fill handle and apply relative reference o Hide columns or rows (drag boundary to 0 to hide) Know how to create conditional formatting for cells or a range of cells o Home tab-Conditional Formatting-New Rule o Set conditions and format using the rules dialog box Know the different formatting tools and how to use them o Currency style=adds $, commas, and two decimals to figures Fixed $=use the Accounting Number format on the Number tab ($ appears at far left of cell) Floating $=use the currency tab on the format cells menu ($ appears next to first digit) o Comma style=adds commas and 2 decimals to figures Use the comma style button on the Number tab o Percentage style=adds % sign and rounds to nearest percent o Increase/Decrease decimals=adds more decimal places or takes away decimal places o Alignment buttons=left, right, center (aligns data in cells) on Ribbon Vertical alignment tool centers vertically and is found in the format cells dialog box o Font and font size o Wrap text as an alternative to Alt+Enter (format cells dialog box-alignment tab) Know smart tag icons and functions o Paste Options=specifies how moved or pasted items should appear o Autofill Options=options for filling cells following a fill operation o Insert Options=lists formatting options following the insertion of rows, columns or cells o AutoCorrect Options=undoes automatic corrections, stops future corrections o Smart Tag Actions=lists information options for cells containing data recognized by Excel o Trace Error=lists error checking options following the assignment of an invalid formula to a cell o Copy, copy with formatting, copy without formatting Know what Web queries that Office can do and how to import external data to do one o MSN Money Central Investor 1) Currency Rates, 2) Major Indices, and 3) Stock Quotes Must have Internet access in order to do web queries Know what cell referencing is and how it works (automatically adjust rows or columns when formulas are copied to a range) Know how to print the formulas version o Press Control + ` to show formulas instead of values o Print in Black & White using the sheet tab in Page Setup Know all the print options and print preview options o Print button on Quick Access toolbar does not allow you to set print options so the print dialog box does NOT appear o Use the Print Preview dialog box and tabs Use the scaling buttons Fit to one page Scale to ____ % Print what Selection Worksheet Workbook Name all the print preview buttons on toolbar o Orientation Landscape (wider) Portrait (narrower) Know that Excel automatically recalculates after every cell entry o Turn off auto recalculate and manually recalculate using F9 function key Know the sheet tab navigation buttons and how to use them o First sheet o Right one sheet (next) o Left one sheet (previous) o Last sheet Know the different SAVE options


