CLOTHING II-REVIEW FOR STANDARD 3 Pre
advertisement
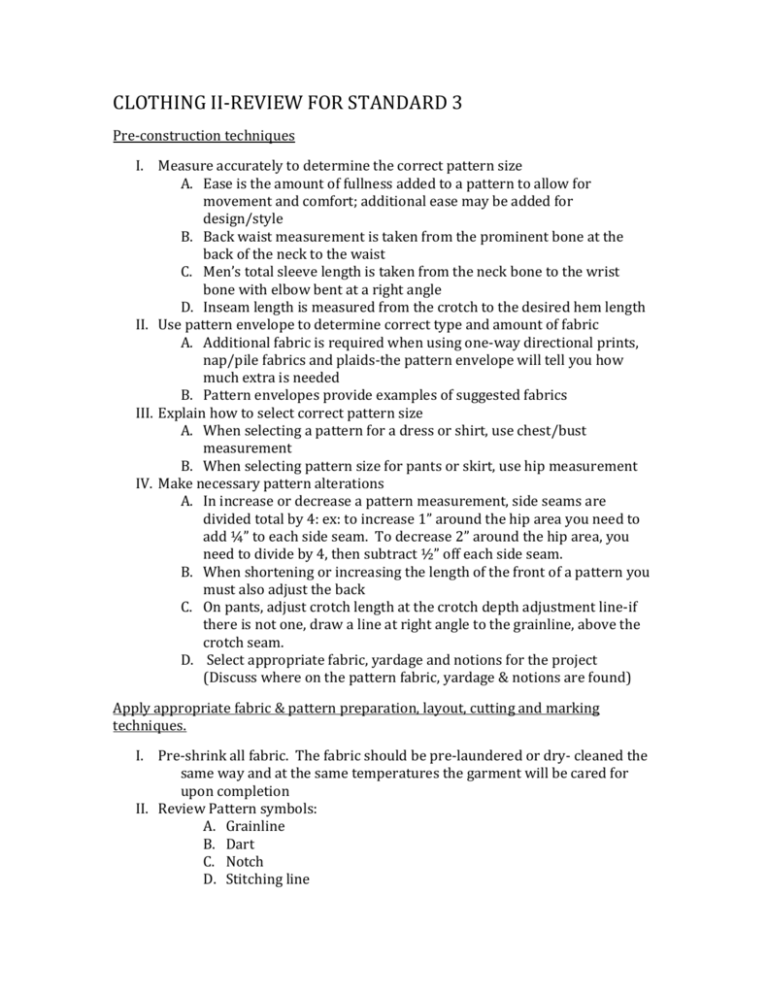
CLOTHING II-REVIEW FOR STANDARD 3 Pre-construction techniques I. Measure accurately to determine the correct pattern size A. Ease is the amount of fullness added to a pattern to allow for movement and comfort; additional ease may be added for design/style B. Back waist measurement is taken from the prominent bone at the back of the neck to the waist C. Men’s total sleeve length is taken from the neck bone to the wrist bone with elbow bent at a right angle D. Inseam length is measured from the crotch to the desired hem length II. Use pattern envelope to determine correct type and amount of fabric A. Additional fabric is required when using one-way directional prints, nap/pile fabrics and plaids-the pattern envelope will tell you how much extra is needed B. Pattern envelopes provide examples of suggested fabrics III. Explain how to select correct pattern size A. When selecting a pattern for a dress or shirt, use chest/bust measurement B. When selecting pattern size for pants or skirt, use hip measurement IV. Make necessary pattern alterations A. In increase or decrease a pattern measurement, side seams are divided total by 4: ex: to increase 1” around the hip area you need to add ¼” to each side seam. To decrease 2” around the hip area, you need to divide by 4, then subtract ½” off each side seam. B. When shortening or increasing the length of the front of a pattern you must also adjust the back C. On pants, adjust crotch length at the crotch depth adjustment line-if there is not one, draw a line at right angle to the grainline, above the crotch seam. D. Select appropriate fabric, yardage and notions for the project (Discuss where on the pattern fabric, yardage & notions are found) Apply appropriate fabric & pattern preparation, layout, cutting and marking techniques. I. Pre-shrink all fabric. The fabric should be pre-laundered or dry- cleaned the same way and at the same temperatures the garment will be cared for upon completion II. Review Pattern symbols: A. Grainline B. Dart C. Notch D. Stitching line E. Line to shorten or lengthen F. Place pattern on fold G. Buttonholes III. Review pattern placement and layout A. Identify basic pattern pieces-back/front shirt, skirt, pants, sleeve, facing, collar B. When the layout diagram shows a pattern piece halfway ff the fabric, open the fabric to a single layer & cut out that piece after cutting out all the others C. Inverted pattern pieces are shaded or have diagonal lines & should be placed on the fabric, print side down D. If the layout diagram has 2 pattern pieces of the same number; cut it out twice IV. Discuss one-way directional/nap layout A. Without nap examples include broadcloth, calico, etc. B. With nap examples include velvet, corduroy, terrycloth, etc. C. Plaids/stripes-match corresponding notches on the same lines of the plaid/stripe D. Even plaids/stripes-same on both sides of dominant line E. Uneven plaids/stripes-varies on both side of dominant line V. Review fabric terms A. Lengthwise B. Crosswise, C. Bias D. Selvage Practice correct cutting techniques I. II. III. Select & use appropriate cutting tools: Scissors have handles that are the same size (use for trimming, etc.) Shears have handles that are different sizes (used to cut fabric out with) Pinking Shears, have zig-zag edge, rotary cutters only used on mats & transparent rulers (used for straight cuts in quilting) Keep the fabric as flat as possible when cutting pieces out Cut notches away from the seam allowance (out into the fabric) Demonstrated correct marking techniques I. II. III. Things that should be marked on the fabric BEFORE removing the pattern pieces are: Pleats, buttonholes, darts, center front/back, pockets, tops of sleeves, fold lines, any dots, squares or other markings Identify Methods of markings: tracing wheel & paper, tailor’s chalk, tailors’s pencil, thread, water-soluble marker Select and use the best type of marking for that fabric (fabric that can’t be washed should be marked with tailor’s chalk/pencil or thread)

