Assignment 1 - Jon Measures
advertisement
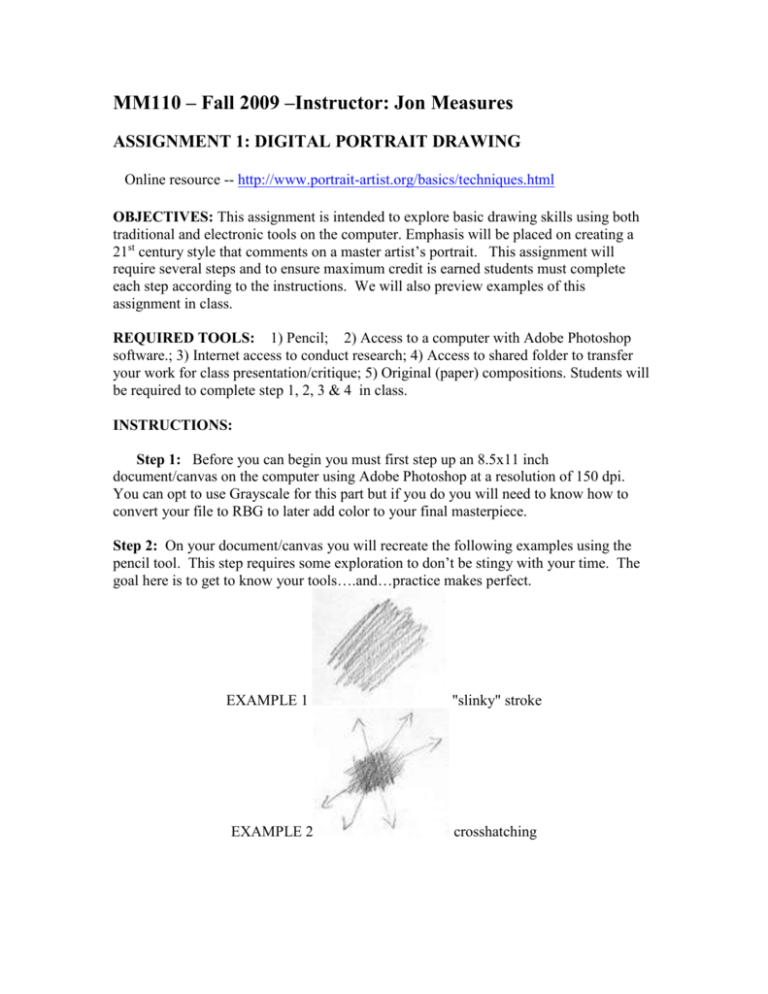
MM110 – Fall 2009 –Instructor: Jon Measures ASSIGNMENT 1: DIGITAL PORTRAIT DRAWING Online resource -- http://www.portrait-artist.org/basics/techniques.html OBJECTIVES: This assignment is intended to explore basic drawing skills using both traditional and electronic tools on the computer. Emphasis will be placed on creating a 21st century style that comments on a master artist’s portrait. This assignment will require several steps and to ensure maximum credit is earned students must complete each step according to the instructions. We will also preview examples of this assignment in class. REQUIRED TOOLS: 1) Pencil; 2) Access to a computer with Adobe Photoshop software.; 3) Internet access to conduct research; 4) Access to shared folder to transfer your work for class presentation/critique; 5) Original (paper) compositions. Students will be required to complete step 1, 2, 3 & 4 in class. INSTRUCTIONS: Step 1: Before you can begin you must first step up an 8.5x11 inch document/canvas on the computer using Adobe Photoshop at a resolution of 150 dpi. You can opt to use Grayscale for this part but if you do you will need to know how to convert your file to RBG to later add color to your final masterpiece. Step 2: On your document/canvas you will recreate the following examples using the pencil tool. This step requires some exploration to don’t be stingy with your time. The goal here is to get to know your tools….and…practice makes perfect. EXAMPLE 1 "slinky" stroke EXAMPLE 2 -crosshatching - - - - ---------- EXAMPLE 3 EXAMPLE 4 dark dark tones/strict crosshatch tappering & squiggles STEP 3: After you complete the exercises you will save them and name your file YourNameTechniques.jpg (ie: JacalynTechniques.jpg). If you do not have a storage device with you must save a copy on the shared folder so that you can retrieve you files to continue working on them and/or to submit for grading. STEP 4: For this next step you will use the computer to create from memory a selfportrait. Use the techniques you learned in Step 1 to embellish your portrait. Make sure your canvas is 8.5x11inches at 150dpi. Do not flatten your work and save your computer drawing on an external storage device and/or on the shared folder. Title your self-portrait drawing YourNameSP1.jpg (ie: JacalynSP1.jpg) STEP 5: Using a new canvas you will create a blind contour drawing of the self portrait in Step 4. To complete this step you should NOT look at your canvas while creating the contour drawing. If you do you should start over. The goal here is to keep your eye on the original artwork and not stop until you have finished making your last mark. Follow the same instructions in STEP 4 to set up and save your file. Only this time you will title your continuous contour drawing YourNameContour.jpg. (ie: JacalynContour.jpg) STEP 6: This step will require integrating aspects from Step 4 & Step 5 to create your final masterpiece. For this step anything goes. Be creative, take risks and be prepared to discuss your ideas. STEP 7: Upon completion everyone is required to submit your work (properly labeled) on the shared folder. Save your file: YourNameASSG1.psd - Keep in mind that you should also save a copy on an external storage device for your own records. STEP 8: Be prepared to discuss your work during the critique. VIP INSTRUCTIONS – Do NOT flatten the layers. Late assignments are penalized 1 letter grade regardless of the quality of work. This means your work must be posted on the shared folder prior to the beginning of class on the date it is due. If you have questions do not hesitate to ask and/or send me an email message to: iam@artelunasol.com THIS ASSIGNMENT IS DUE: Tuesday, September 9 at the beginning of class.
