Lab Guide
advertisement
Windows Mobile Application Development
Lab 1: Use ActiveSync connect Smartphone and PC
1.1 Objectives
In this lab, you will learn:
Connect Smartphone and PC using ActiveSync
1.2 Prerequisites
No special requirements.
1.3 Anticipated Time
10-15 Minutes
1.4 Detailed Steps
1.
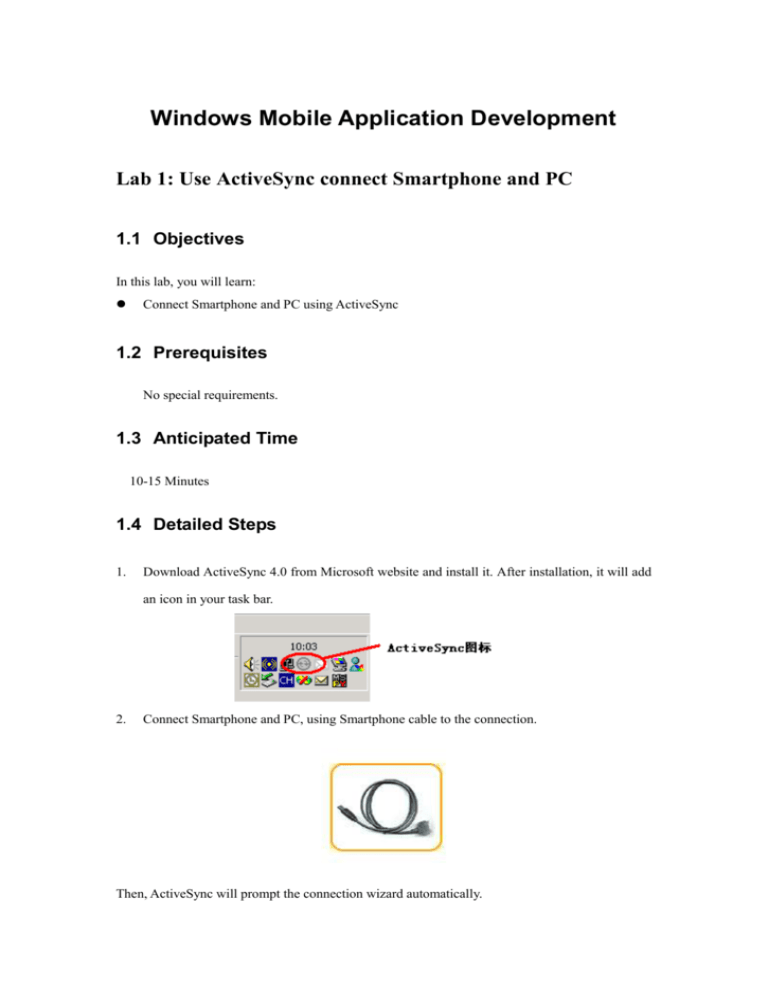
Download ActiveSync 4.0 from Microsoft website and install it. After installation, it will add
an icon in your task bar.
2.
Connect Smartphone and PC, using Smartphone cable to the connection.
Then, ActiveSync will prompt the connection wizard automatically.
3.
Configure the connection following the connection wizard.
Configure the ActiveSync connection wizard, if you don’t need data synchronization, you can
select Guest relationship to connect to your PC. After connected successfully, you can find
connection status in ActiveSync.
Hint: The main function of ActiveSync is to synchronize the data between mobile components
and PC, and we even can use ActiveSync to download and debug the program. Sure we can use
serial port or TCP/IP to do the same thing, but ActiveSync is the simplest and easiest way.
2 Create Managed Application based on Smartphone
2.1 Objectives
In this lab you will learn:
Introduction to Smartphone based of Windows CE
The structure of Smartphone application
Became familiar with Smartphone development kits and tools
2.2 Prerequisites:
Windows Mobile Introduction
Windows Mobile is an intelligent mobile component based on Windows CE, it is a brand not
a product name. There are two products using this brand, Pocket PC and Smartphone. Pocket PC
is PDA specific platform based on Windows CE. Smartphone is a platform for intelligent
cellphone based on Windows CE with some special modules such as communication. This picture
indicate the relationship between Windows Embedded , Windows Mobile and Windows
CE.
There are two kinds of application for Windows Mobile, managed codes and native codes.
Both of them can be implemented via Visual Studio 2005. This lab need Visual Studio 2005
and ActiveSync 4.0, you can download from Microsoft website.
2.3 Anticipated Time
30-45 Minutes
2.4 Detailed Steps
1.
Open Visual Studio 2005
2.
Choose File -> New -> Project 打开新项目向导
Select File -> New -> Project,
open new project wizard
3.
Choose Visual C# -> Smart Device -> Smartphone 2003 in new project wizard, select
Device Application from the list of projects types.
4.
Visual Studio 2005 will create the managed codes struts.
5.
Use Form editor to edit the Graphic Interface
6.
Modify the frame codes generated by visual studio 2005
using
using
using
using
using
System;
System.Drawing;
System.Collections;
System.Windows.Forms;
System.Data;
namespace DeviceApplication2
{
/// <summary>
/// Summary description for form.
/// </summary>
public class Form1 : System.Windows.Forms.Form
{
private MenuItem menuItem1;
private MenuItem menuItem2;
private MenuItem menuItem3;
private System.Windows.Forms.MainMenu mainMenu1;
public Form1()
{
InitializeComponent();
}
protected override void Dispose(bool disposing)
{
base.Dispose(disposing);
}
private void InitializeComponent()
{
this.mainMenu1 = new System.Windows.Forms.MainMenu();
this.menuItem1 = new System.Windows.Forms.MenuItem();
this.menuItem2 = new System.Windows.Forms.MenuItem();
this.menuItem3 = new System.Windows.Forms.MenuItem();
//
// mainMenu1
//
this.mainMenu1.MenuItems.Add(this.menuItem1);
this.mainMenu1.MenuItems.Add(this.menuItem2);
//
// menuItem1
//
this.menuItem1.Text = "Hello";
this.menuItem1.Click
+=
new
System.EventHandler(this.menuItem1_Click);
//
// menuItem2
//
this.menuItem2.MenuItems.Add(this.menuItem3);
this.menuItem2.Text = "Edit";
//
// menuItem3
//
this.menuItem3.Text = "Exit";
//
// Form1
//
this.ClientSize = new System.Drawing.Size(176, 180);
this.Menu = this.mainMenu1;
this.Text = "Form1";
}
static void Main()
{
Application.Run(new Form1());
}
private void menuItem1_Click(object sender, EventArgs e)
{
MessageBox.Show("Hello world", "Msg");
}
}
}
7.
Compile the application, choose Build -> Build Solution to build the whole system, after
compiling successfully the messages will display as below:
========== Build All: 1 succeeded, 0 failed, 0 skipped ==========
3
Run the Application
3.1 Objectives
In this part, you will learn:
Run application in Smartphone
3.2 Prerequisites:
Same as above
3.3 Anticipated Time
15-30 Minutes
3.4 Detailed Steps
1.
Choose“Device”->“Connect To Deivce” in Visual Studio 2005 and it will prompt a window
as below:
You will see the notification of successful connection soon if the ActiveSync is connected.
2.
After connected, select Debug -> Start Debugging to start debug, and now you may find the
application running in the mobile component.

