Cell Investigation Name: · Read each step carefully. · Remember to
advertisement
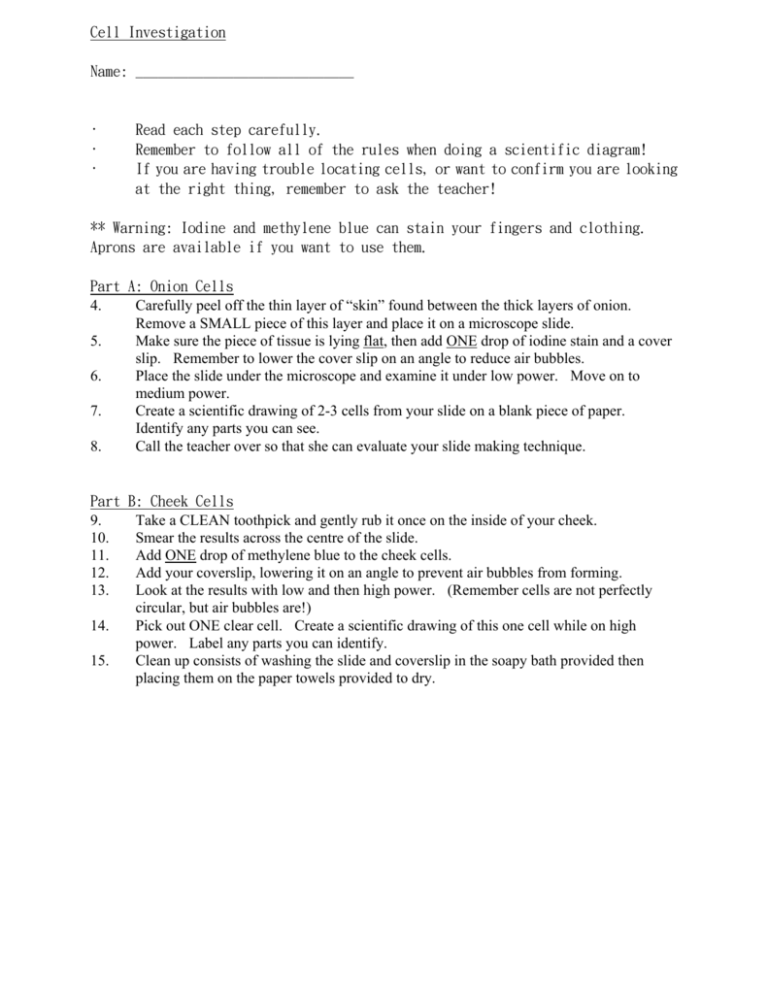
Cell Investigation Name: _____________________________ · · · Read each step carefully. Remember to follow all of the rules when doing a scientific diagram! If you are having trouble locating cells, or want to confirm you are looking at the right thing, remember to ask the teacher! ** Warning: Iodine and methylene blue can stain your fingers and clothing. Aprons are available if you want to use them. Part A: Onion Cells 4. Carefully peel off the thin layer of “skin” found between the thick layers of onion. Remove a SMALL piece of this layer and place it on a microscope slide. 5. Make sure the piece of tissue is lying flat, then add ONE drop of iodine stain and a cover slip. Remember to lower the cover slip on an angle to reduce air bubbles. 6. Place the slide under the microscope and examine it under low power. Move on to medium power. 7. Create a scientific drawing of 2-3 cells from your slide on a blank piece of paper. Identify any parts you can see. 8. Call the teacher over so that she can evaluate your slide making technique. Part B: Cheek Cells 9. Take a CLEAN toothpick and gently rub it once on the inside of your cheek. 10. Smear the results across the centre of the slide. 11. Add ONE drop of methylene blue to the cheek cells. 12. Add your coverslip, lowering it on an angle to prevent air bubbles from forming. 13. Look at the results with low and then high power. (Remember cells are not perfectly circular, but air bubbles are!) 14. Pick out ONE clear cell. Create a scientific drawing of this one cell while on high power. Label any parts you can identify. 15. Clean up consists of washing the slide and coverslip in the soapy bath provided then placing them on the paper towels provided to dry. Part C: Banana Cells 16. Use a toothpick to get a tiny amount of banana and smear this on a microscope slide. (Big clumps will be hard to see, you want a transparent smear of material). 17. Add a coverslip and look at the cells under the microscope, first on low power, then on high power. 18. Remove the slide, remove the coverslip and add a drop of iodine. Put the coverslip back in place. (Iodine reacts with the starch inside of the banana cells so that the starch turns black.) 19. Put the slide back under the microscope at low power, then switch to high power. 20. Pick out ONE cell that is very clear and create a scientific diagram of this cell. 21. Clean up consists of washing off the microscope slide and coverslip in the soapy bath provided and placing them on the paper towel to dry. Conclusion Questions: 22. What was the main structural difference between the plant cell in part A and the animal cell in part B? 23. Was it easier to see the banana cells in part C with or without the iodine? Explain your answer. 24. Stains, like iodine, are used for different reasons on slides. Explain the difference between what the iodine did to onion skin cells in part A and the banana cells in part B. Use the Microviewers and “Cells” slides to answer the following questions. 25. Looking at slide 2 does this slide of onion skin look better or worse then the one you made in part A? What makes it better or worse? 26. When looking at slide 3 what are the dark green parts in the green leaf?
