badminton lesson plan - Elizabeth Arnold Online Resources
advertisement
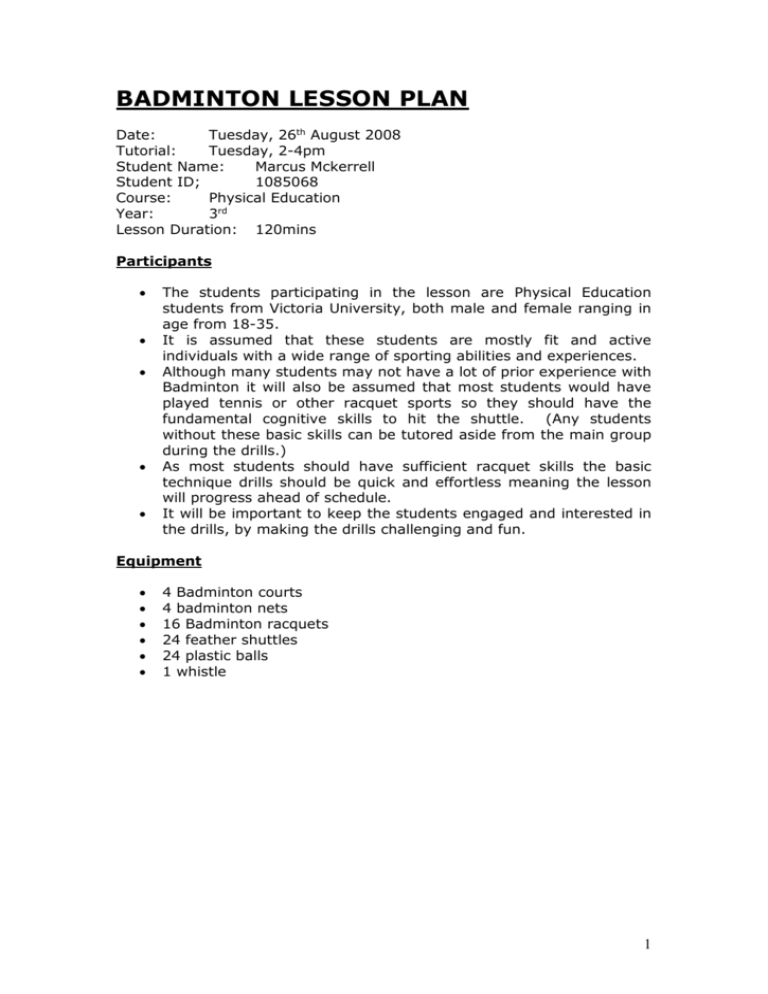
BADMINTON LESSON PLAN Date: Tuesday, 26th August 2008 Tutorial: Tuesday, 2-4pm Student Name: Marcus Mckerrell Student ID; 1085068 Course: Physical Education Year: 3rd Lesson Duration: 120mins Participants The students participating in the lesson are Physical Education students from Victoria University, both male and female ranging in age from 18-35. It is assumed that these students are mostly fit and active individuals with a wide range of sporting abilities and experiences. Although many students may not have a lot of prior experience with Badminton it will also be assumed that most students would have played tennis or other racquet sports so they should have the fundamental cognitive skills to hit the shuttle. (Any students without these basic skills can be tutored aside from the main group during the drills.) As most students should have sufficient racquet skills the basic technique drills should be quick and effortless meaning the lesson will progress ahead of schedule. It will be important to keep the students engaged and interested in the drills, by making the drills challenging and fun. Equipment 4 Badminton courts 4 badminton nets 16 Badminton racquets 24 feather shuttles 24 plastic balls 1 whistle 1 Introduction Introduce students to the playing court o o o o o o o Side lines and end lines Open areas between and behind courts. How to walk to the other side of the gym without disrupting games Short and long service lines Odd and even courts for serving Net and not to touch the net at any time Walk the courts looking at court areas Students stand at a court and look to key areas on teacher cue General Safety Concerns Sufficient warm up and stretching Students should be wearing appropriate clothing and foot wear ( non-slip footwear due to the constant changing of direction.) It is crucial that a specific warm-up be conducted to prevent injury especially to the hamstrings, lower legs and shoulders. Non-participating players should keep well clear of the courts to avoid obstructions. Avoid swinging the racket when not in an assigned working area Avoid retrieving shuttles when others are rallying Follow correct court positions in doubles play Have sufficient clearance about the court Report any defective equipment to the teacher Watch out for water from the drinking fountain Watch out for people walking through your court The courts should be kept free from debris and moisture and all players should be exposed tom the risks of a collision with others, the net or the pole. Playing area must be free of obstructions Play stops once the whistle is blown 2 Warm up (10 mins) Dynamic Warm-ups Indian file jogging; 2 laps 1. 2. 3. 4. 5. 6. Stretch - legs, arms Jumping Jacks Push-ups Sit-ups High knees, butt kicks, carry-overs, and band leaders. Full court; 75-50-75, 75-100-50 Static Hamstrings, quads, calves, shoulders, wrists, neck Individual specific stretches Game : Keepings Off o o o o o (5 mins) Students must not leave the conned area One student is placed into the middle Remainder of students spread out in a circle around them Shuttle must be kept away from the person on the middle If the person in the middle hits the ball who ever threw it last is then in the middle ** This focuses on the middle member developing their racquet skills using hand-eye coordination and control associated with badminton 3 Skills ( 25 mins) The Basic Strokes The players will experience the low and high serve and the basic strokes shown below. See figs. 17, 18 and 19 Forehand Stand two to three feet behind the short service line. Relax your body and bent your knees slightly. Lead with your non-racket leg and place your racket leg behind. Bring your racket back to your waist level then start your forward swing. Hold the shuttle by the feathers and bring it closer to meet the racket instead of dropping it in front. Contact the shuttle at a higher point but still below your waist line. Push the shuttle with the racket face and try to make the shuttle skim the tape of the net. Backhand Stand in a comfortable and balanced position with your racket hand in front. Lead with your racket leg and place your non-racket leg behind with your feet pointing towards your opponent. Carry out a short back swing then bring the racket forward. Hold the shuttle on the tip of the feathers in front of your waist level. Push the shuttle with the racket face and try to make the shuttle skim the tape of the net. You can try to shorten the grip for a better control of the racket. Beware of breaking the Service Rules. 4 BASIC SHOTS : CLEAR, LOB, KILL AND NET RETURN 5 Serve a. Very crucial as the serve starts every point. 2. Activity -- Practice with a partner serving underhand over the net. a. Cues: flat paddle -- give more surface area, better chance b. Cues: watch ball -- eye on ball better efficiency c. Cues: reach to sky -- follow through 3. Practice -- Ss will perform activity (get rackets when asked & 1 shuttlecock) a. Split class into pairs b. Place students on court c. Explain serve must cross court on diagonal d. Hit birdie to partner, partner catch birdie e. Partner then serves 4. Formations -- Ss will be placed on court facing their partner diagonally. 5. Transition a. Take each court and place the 4 players in line b. Ask 2 students to help set hula-hoops in point areas c. Have students place rackets at feet d. Have students stop, look, & listen Grip: explain that the grip is ‘like shaking hands with someone, the crease of the thumb and first finger should line up with the shaft of the racket.’ Hold the racket by the neck in the non-racket hand with the head of the racket pointing forwards and then gently shake hands with the racket. Figure 1: Correct Grip 6 Backhand Grip Hold the racket handle in the forehand grip. Relax and move your hand over the top edge of the racket handle until your whole thumb is pressed flat against the back edge of the racket handle. This makes it easier to apply pressure with the thumb on the handle directly behind the Short and Long Serve: ‘ must serve underarm , racket pointed downwards and below waist.’ Overhead Stroke: ‘ like throwing action’- used for smash, clear, drop shot. Serve a. Very crucial starts every point. 2. Activity -- Practice with a partner serving underhand over the net. a. Cues: flat paddle -- give more surface area, better chance b. Cues: watch ball -- eye on ball better efficiency c. Cues: reach to sky -- follow through 3. Practice -- Ss will perform activity (get rackets when asked & 1 shuttlecock) a. Split class into pairs b. Place students on court c. Explain serve must cross court on diagonal d. Hit birdie to partner, partner catch birdie e. Partner then serves 4. Formations -- Ss will be placed on court facing their partner diagonally. 5. Transition a. Take each court and place the 4 players in line b. Ask 2 students to help set hula-hoops in point areas c. Have students place rackets at feet d. Have students stop, look, & listen 7 SAFETY PRECAUTIONS FOR DRILLS: Make sure there are no loose shuttles floating around as people may trip and fall over them Other students must stand clear of any kicking drill until it is their turn Students should walk around the outside of the drill if they need to get from one side to the other Call for the ball to avoid collisions Due to constant pace and movement- if you feel lightheaded sit out Be Aware of the other players on court who don’t move You don’t need to move on the other side of the court as it’s covered by somebody else, this means that you shouldn’t be close to any swings of the racquet Half way through the drill you should swap what way you travel to reduce ankle injuries Basic Drills ( 25 mins ) Short serve o o o o o o o o o o o o o o o Hold the shuttle chest high and lower the hitting hand to waist high Keep the wrist cocked (do not snap it) Point of contact should be just below the waist (This is slightly higher than the long serve) Primary movement is from the shoulders Think of guiding the shuttle, not hitting it Keep the shuttle as low and short as possible Both serves, drop birdie down as far as racket is long Beginners may hold racket at head to practice the serve Demonstrate both short and deep serve Show and demonstrate serving to targets Serve diagonally Partner gently sets racket on floor in one of four extreme corners of the service reception court Server attempts to hit racket head target Then server sets racket in extreme corner, continue Go back to assigned courts and serve to targets Safety o o Ensure court is free from players and other obstructions Ensure players are aware on others around 8 High Serve Use this badminton serve during singles play to move your opponent as far back in court as possible, thus opening up his court. Be more cautious if you use this serve during doubles. Opponents with strong attacking abilities will work this serve to your disadvantage. Played with a forehand underarm action. Stand two to three feet behind the short service line. Relax your body and bent your knees slightly. Lead with your non-racket leg and place your racket leg behind. Bring your racket back to almost your shoulder level then swing it forward following the rhythm of the stroke. Hold the shuttle by the feathers and let it drop slightly in front of you. Hit it with the flat face of your racket and follow through until your racket reaches the non-racket side of your head. Low Serve Use this badminton serve when you want your opponent to lift the shuttle. It is commonly used during doubles, but you can use it during singles too if your opponent’s attack is too strong. You can use either forehand or backhand to play this serve. 9 Half Court Singles with a partner o 4 people on each court o Opponent is directly opposite o Play against each until one player reaches 10 points o Swap opponents after each set Safety This is an excellent drill for players to become aware of others on the court, it is crucial players use lateral vision to avoid collisions. o Instruct players to keep the shuttle on their side of the court. Teaching o o o o Try to keep the rally going Keep racket out in front of your body Maintain correct grip Partner Rally: Rally with your partner , point the end of the racket handle towards the shuttle before you hit it. Hit the shuttle towards your partner's left and right sides so that he/she can practise cocking the hand on both Teaching Point: Players should cock the racket hand to take the racket head back ready to hit the shuttle Saftey: Ensure there is plenty of room between groups to avoid collisions and court area is clear of obstructions. Advanced Drills . Multiple Shuttles : Overhead Strokes The more shuttles you have, the better for this routine. The feeder plays the shuttles into different areas of your backcourt. You will then use your forehand, backhand or around the head to play the clears, drop shots or smashes. Return to your base position after each shot. This badminton drill is meant to improve your speed and accuracy in executing overhead strokes. You have to remember that merely reaching the shuttles is not enough. You have to play quality shots to the other side. 10 Multiple shuttles : Net Play Again, you will need a lot of shuttles for this routine. The feeder throws the shuttles to your net area. You will then decide whether to play a net shot, a net kill or a net lift with your forehand or backhand. Return to your base position after each shot. This badminton drill is meant to improve your net play and your movement on court. The quality of your return is important. Pay attention to it or this practice will not be effective. Half Court Singles Playing half court singles can improve footwork and increase stamina. It will train you to play more accurate shots with all strokes as well. It is fun to play and effective in improving your game. 11 King of the Court This game is useful when you are with a lot of players. It is enjoyable and can improve your overall game. It is played with the normal rules and regulation. You can set the winning condition, normally whoever reaches 3 points first wins. The winner will stay in the court as king while another player will take him on. The king will stay on until he looses. The eventual winner of that duel will then switch to the other side of the court becoming king. 2 Versus 1 If you want to improve your singles play, this is a badminton drill that you can't do without. It is played on a singles court and is great for improving fitness, speed around the court, footwork and shot accuracy. The two players on one side of the court must assume a front back position and play as they would in a singles match. You will then be able to play in a very tough 12 and pressured condition, enabling you to raise your game. World class players put in a lot of effort during their Badminton Training. If you aspire to be one, you should do that too. Practice in the above Badminton Drills and I am sure you will come off a better player. Extra Drills Co-operative Game: In this game the players gain a point each time they achieve 5 consecutive hits in a rally. The game ends when they have scored 5 points. Note: You can increase the number of hits required to score a point or the number of points depending on the ability of the players, e.g. 10 hits gains a point. 10 points required to end the game. Team Rally Game: This game can be used when you have a large group of players, e.g. 12 to 20 players. In this game the players in one team try to obtain a higher rally score than the other team. • Divide the group into two teams. Divide each team into two groups. • Organise the teams as shown below. See fig. 20. • Team A has 6 players, 3 on each side of the net. Team B has 6 players, three on each side of the net. Number the players in each team form 1 to 6 and place the odd numbers on one side of the net and the even numbers on the other side. • Player 1 of team A hits the shuttle to player 2 of team A, who hits it to 3 and so on - with each player hitting in order. Team B does the same. • The team with the best rally score after 1,2 or 3 minutes play wins. King of the Ring: (Teams will be set in pairs and sent to courts) 13 a. Each team will have 2 players and will try to get to King's Court and stay there until the end of the time remaining. b. The team at the end that is on the court wins. c. Each court will rotate in a z when they win 3 points. d. If your team loses you go to the end of the line and have to work back up to the king's court. Quarter Court o o o o 4 players occupy a quarter of the court Each player is competing against each other One player serves to start the rally across the court Any error by a player constitutes 1 point, the first player to 10 loses Safety o Must ensure clear communication exists between players to avoid collisions Game Play (50 mins) Players enjoy playing both co-operative and competitive games. Due to the limited number of courts students will have to play in doubles. Instructional Rules Serves must go across court and be hit with an underarm stroke. After the serve, all players become part of the rally which continues until someone hits the shuttle out of court or into the net. Certain players must serve and the only person who can receive is in the opposite half court. If the rally is won by the serving team, then the same server continues serving, if the rally is lost the serve goes to the opposite team. Points are scored by a team this way until a total of 21 points are scored. (the best of three games wins the match. Coaching Points Keep the rackets up so they can be quick to react to the shuttle Keep on your toes so you move fast to the shuttle Consistently talk to your partner so they know where you are and what you are doing Watch the shuttle into your racket Point to the shuttle with the racket as it comes over the net, so that you are in a good position to make contact. Warm Down and Stretches ( 5 mins ) 14 References http://www.worldbadminton.com/drills/instructional_multimedia _lowres.htm http://www.badminton.tv/sites/badminton/media/books/badmi nton http://www.lessonplanspage.com/PEBadmintonKingOfTheRingSe rvingSkills912.htm http://www.csd509j.net/cheldelin/gabled/plans.htm#Badminton 15

