Thank you for purchasing the TOYOTA genuine rear bumper step
advertisement

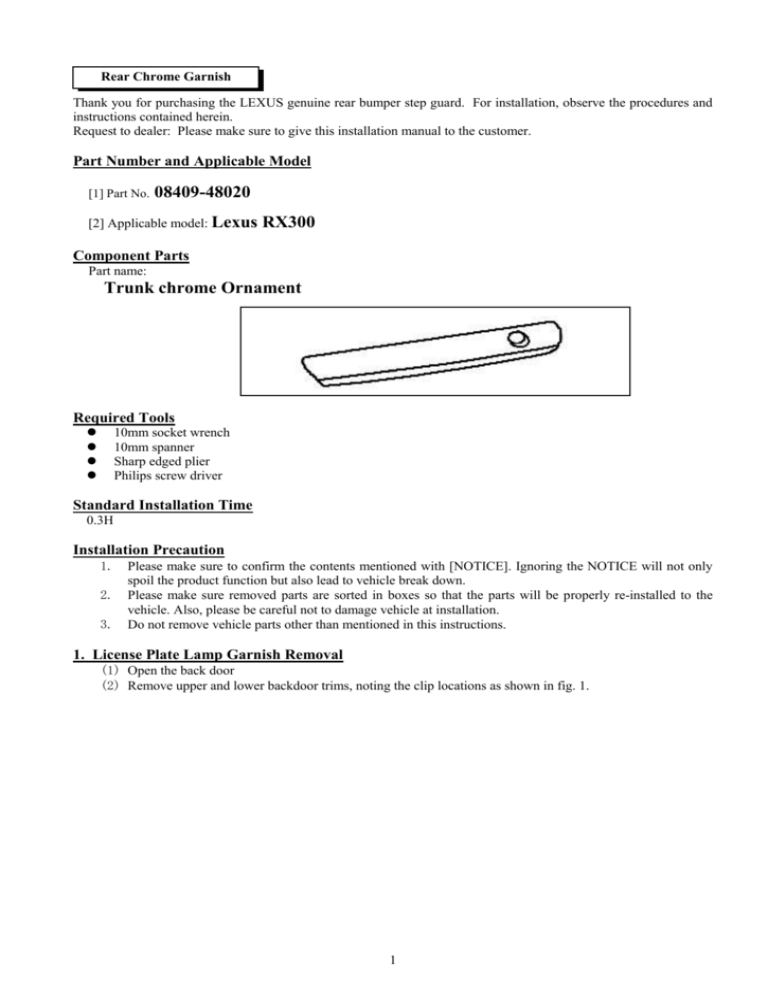
Rear Chrome Garnish Thank you for purchasing the LEXUS genuine rear bumper step guard. For installation, observe the procedures and instructions contained herein. Request to dealer: Please make sure to give this installation manual to the customer. Part Number and Applicable Model [1] Part No. 08409-48020 [2] Applicable model: Lexus RX300 Component Parts Part name: Trunk chrome Ornament Required Tools 10mm socket wrench 10mm spanner Sharp edged plier Philips screw driver Standard Installation Time 0.3H Installation Precaution 1. 2. 3. Please make sure to confirm the contents mentioned with [NOTICE]. Ignoring the NOTICE will not only spoil the product function but also lead to vehicle break down. Please make sure removed parts are sorted in boxes so that the parts will be properly re-installed to the vehicle. Also, please be careful not to damage vehicle at installation. Do not remove vehicle parts other than mentioned in this instructions. 1. License Plate Lamp Garnish Removal (1) Open the back door (2) Remove upper and lower backdoor trims, noting the clip locations as shown in fig. 1. 1 Upper back door trim Clip locations Lower back door trim Fig. 1 (3) Disconnect license plate lamp connectors, as shown in fig. 2. View of front side of the back door Disconnect the connectors Fig. 2 (4) Remove 2 key cylinder bolts, as shown in fig. 3. Key cylinder bolts (2 bolts) Fig. 3 2 (5) Remove 3 license plate lamp garnish fixing nuts, as shown in fig. 4. [NOTICE] The most left nut in the fig. 4 (that is, most right nut in vehicle) is located very close to rear wind shield wiper bracket. Therefore, DO NOT use socket wrench to remove the nut. Cover the edge of the bracket to protect your hand from being cut by the sharp edge (shaded area in fig. 5) of the bracket. To remove the nut, use spanner to initiate unscrewing it. Once the nut is unscrewed enough, use your hand and carefully further unscrew it and remove it. The most left nut 3 nuts Fig. 4 Sharp edge area Rear wind shield wiper bracket Body panel hole Fig. 5 3 (6) Bind the plastic clip with sharp edged plier, as shown in fig. 6. 2 Plastic clips Sharp edged plier The shape of the plastic clips Fig. 6 (7) Holding the plier, push the clip so that it will be removed from body panel. (8) Remove the license plate garnish from vehicle, as shown in fig. 7. Fig. 7 License lamp garnish 4 2. Parts Removal from Original Garnish & Parts Reinstallation to the accessory “Rear Chrome Garnish” Remove parts from the original garnish and reinstall them to the accessory “rear chrome garnish,” as shown in fig. 8. <i> Remove 2 washers and back door handle. <ii>Remove 2 screws that fix the 2 license plate lamps. <iii>Remove the 2 license plate lamps. <iv>Reinstall the 2 license plate lamps, using the 2 screws. <v> Reinstall the back door handle with 2 washers. Back side view of the garnish 2 washers Back door handle License plate lamp screws License plate lamps License plate lamp wire harness Back door handle Fig. 8 Section A-A 3. Rear Garnish Installation Install the rear garnish to the vehicle in reverse procedure to the installation. [NOTICE] As shown in fig. 8 section A-A, make sure the license plate lamp wire harness is installed in the right place. BACK DOOR MAY NOT OPEN if the harness is not in right place, because the harness may interfere with the back door handle. 4. Post Installation Check (1) (2) (3) (4) Make sure the garnish is installed correctly without any rattle or looseness. Make sure the license plate lamps turn on. Make sure the back door key cylinder is operable. Make sure the back door opens. ***** this is the end of instructions ***** 5


