wk10Extra
advertisement
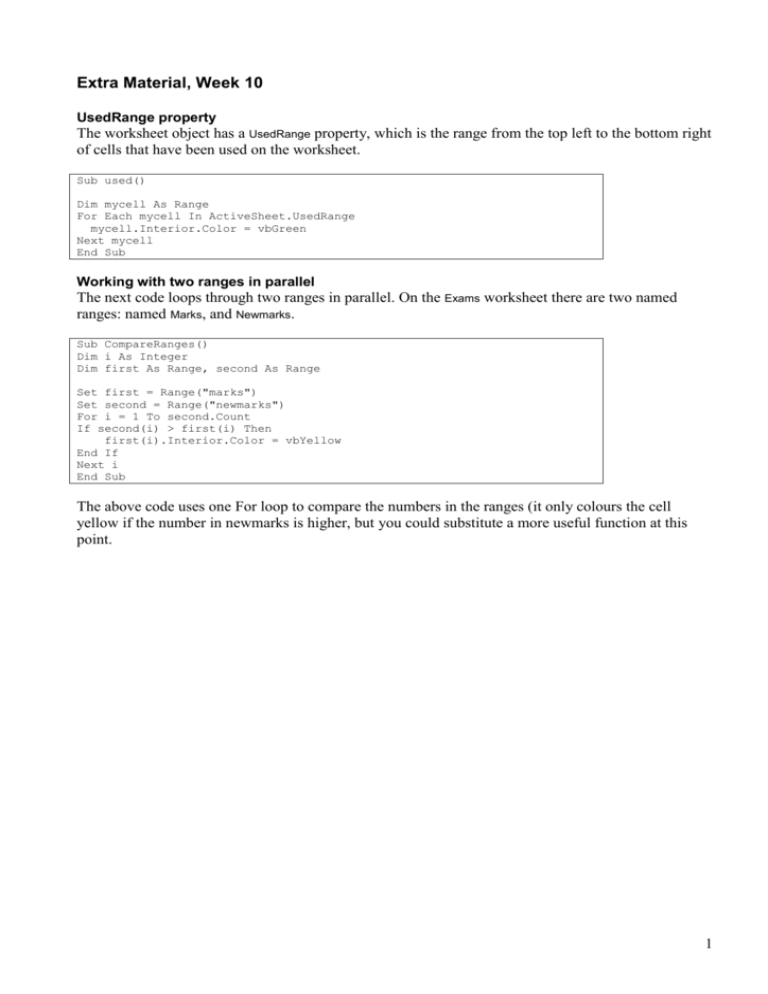
Extra Material, Week 10 UsedRange property The worksheet object has a UsedRange property, which is the range from the top left to the bottom right of cells that have been used on the worksheet. Sub used() Dim mycell As Range For Each mycell In ActiveSheet.UsedRange mycell.Interior.Color = vbGreen Next mycell End Sub Working with two ranges in parallel The next code loops through two ranges in parallel. On the Exams worksheet there are two named ranges: named Marks, and Newmarks. Sub CompareRanges() Dim i As Integer Dim first As Range, second As Range Set first = Range("marks") Set second = Range("newmarks") For i = 1 To second.Count If second(i) > first(i) Then first(i).Interior.Color = vbYellow End If Next i End Sub The above code uses one For loop to compare the numbers in the ranges (it only colours the cell yellow if the number in newmarks is higher, but you could substitute a more useful function at this point. 1 Names The following examples are to be used with the Exams worksheet in week10.xls. Programs can be made easier by using Named Ranges. The Names collection is a member of the Application object or the Worksheet object. The Add method creates a name and adds it to the collection e.g. Names.Add Name:="ExamMarks", RefersTo:="=Exams!$A$2:$B$10" (Though there is the much simpler way Selection.Name="ExamMarks") The RefersTo property must be specified in A1 style notation, including dollar signs where appropriate. The macro recorder generates this code if you use Ctrl and * to select the current region. Sub Macro2() Selection.CurrentRegion.Select ActiveWorkbook.Names.Add Name:="ExamMarks", RefersToR1C1:= _ "=Exams!R1C1:R10C2" End Sub The RefersToR1C1 property is used to reference ranges in a different notation, e.g. R1C6 refers to the first row sixth column of the worksheet, i .e. cell F1. Therefore it is still an absolute reference. You can select a range with a statement like Range("ExamMarks").Select However, the macro recorder records the line above as Application.GoTo Reference:= "ExamMarks" The advantage of using GoTo rather than Select is that if you use GoTo, Excel has the capacity to ‘remember’ the address of the range you start from, therefore there is the potential to make a macro return to a given location on a worksheet. The command for this is Application.GoTo. Type in the following macro. It assumes the range A1:B10 on the worksheet Exams is a range named ExamMarks; the macro will run from anywhere in the workbook. What it does is loop through the exam marks and copies the higher ones and pastes to column F Sub ExtractHighScores() Dim i As Integer i = 1 Worksheets("Exams").Activate Range("ExamMarks").Columns(2).Select ActiveCell.Offset(1, 0).Select Do If ActiveCell.Value > 50 Then ActiveCell.Copy Application.Goto Reference:="R" & i & "C6" ActiveSheet.Paste i = i + 1 Application.CutCopyMode = False Application.Goto End If ActiveCell.Offset(1, 0).Select Loop Until ActiveCell = "" End Sub ‘select 2nd column of range ‘ select next cell down ‘ i is 1 to start with; concatenate i to build a reference to location where we want to paste. i must be incremented for next pass of loop ‘ returns to cell that was copied from If you want to copy and paste both the name and mark to the new location there is only one alteration to make. The line ActiveCell.Copy (line 9) becomes Range(Selection, Selection.End(xlToLeft)).Copy It’s useful to use F8 to step through this macro and watch it work. 2 Use the macro recorder to make a chart Click the Insert tab on the ribbon and start recording a macro. Click the Column button and choose the first 2D column chart in the window that follows. Stop recording, delete the chart, but keep the code. The code has potential for re-use if you change the reference to the range. The Excel 2007 code is shorter than what follows, but I’ve retained the code from the Chart Wizard so you can see the way to change the Chart Title and remove the legend. Sub MakeChart() Selection.CurrentRegion.Select Charts.Add ActiveChart.ChartType = xlColumnClustered ActiveChart.SetSourceData Source:=Sheets("Exams").Range("A1:B10"), PlotBy:= _ xlColumns ActiveChart.Location Where:=xlLocationAsObject, Name:="Exams" With ActiveChart .HasTitle = True .ChartTitle.Characters.Text = "Exam Marks" .Axes(xlCategory, xlPrimary).HasTitle = False .Axes(xlValue, xlPrimary).HasTitle = False End With ActiveChart.HasLegend = False End Sub We are close to the point of being able to extract the high exam scores, paste them to another region, and chart them. First though we need a routine that can interact with the user and define a named range. A procedure to interactively define a range Sub NameCurrentRegion() Dim r As Range Dim myName As String Set r = ActiveCell.CurrentRegion myName = InputBox("The current region is: " & r.Address _ & vbCr & "Enter name for this range: ", , "myRange") Names.Add Name:=myName, RefersTo:="=" & r.Address End Sub (Reference: Financial Modelling, S. Beninga, MIT Press) If say you manually replace the reference to Range("A1:B10") in the MakeChart macro with the range name HighScores you could now put it all together as follows: Sub ExtractAndChart() ExtractHighScores Application.Goto Reference:="R1C6" NameCurrentRegion MakeChart End Sub ‘ keyword Call is optional The limitation here is you would have to enter HighScores into the Input box during the running of NameCurrentRegion. See next page for how to remove this irritation. 3 Module level variables Use module level variables only when two or more subs need access to the same variable; otherwise it’s better practice to use variables local to the procedure they are in. To declare a module level variable, you declare it in the Declarations section (where the Option statements are), before any subs. You can use Dim as previously, but it is recommended you use the keywords Private or Public to determine the scope of the variable. Private variables are accessible only to the subs in the same module, Public variables are accessible to all the subs in the workbook. Here is a basic example using a global variable: Option Explicit Private x As Integer Sub one() x = 1 MsgBox x End Sub Sub two() x = x + 1 MsgBox x End Sub Sub runthisprog() Call one Call two End Sub Here’s how using a module level variable can make the programs run smoothly in the previous example. At the top of the module declare a module level variable: Option Explicit Public rName As String This variable can now be shared by all the subs in the module In the makechart code use the module level variable: ActiveChart.SetSourceData Source:=Sheets("Exams").Range(rName) In the namecurrentregion code assign the new range to the variable: rName = InputBox("The . . . Names.Add Name:=rName, RefersTo:="=" & r.Address 4 Forms/Named Ranges Example The following looks at more issues, including updating the name of a range after editing. The objects appear on the worksheet Data in the file week10.xls Design Issues Create a form with two text boxes, one to take a Customer ID, the other a Customer Name Automatically generate a Customer ID – the next number up set text box’s Enabled property to False to disallow editing Update the named range after input do we have a header row? looks better but complicates things some data below the named range which we don’t want to overwrite Existing ranges on the worksheet: CustIDs, Customers, VAT Appearance of the form: Code attached to Initialize event generates an autonumber: Private Sub UserForm_Initialize() txtCustID = WorksheetFunction.Max(Range("CustIDs")) + 1 End Sub Code for the Click event of the button: Private Sub cmdOK_Click() Dim Numrows As Long Numrows = Range("Customers").Rows.Count Range("Customers").Rows(Numrows + 1).Select ActiveCell.Value = txtCustName ActiveCell.Offset(0, -1) = CInt(txtCustID) ActiveWorkbook.Names.Add Name:="Customers", RefersToR1C1:= _ "=Data!R2C4:R" & Numrows + 2 & "C4" ActiveWorkbook.Names.Add Name:="CustIDs", RefersToR1C1:= _ "=Data!R2C3:R" & Numrows + 2 & "C3" Range("VAT").Insert Unload Me End Sub 5
