ITEM #0355094
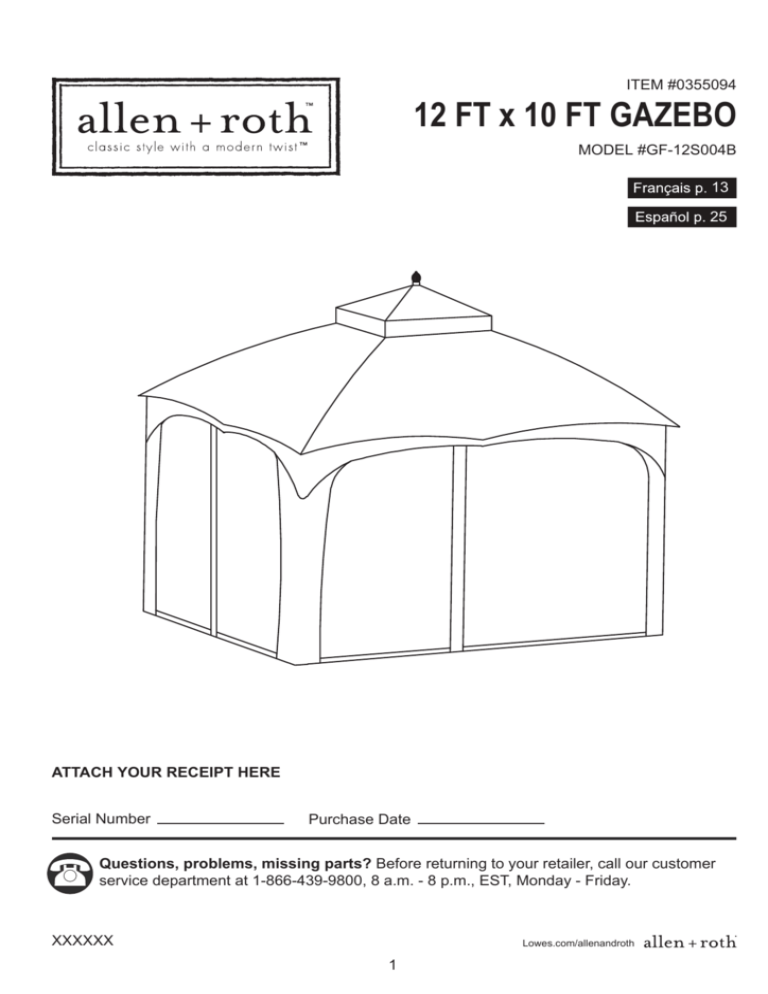
12 FT x 10 FT GAZEBO
MODEL #GF-12S004B
13
25
ATTACH YOUR RECEIPT HERE
Serial Number
Purchase Date
Questions, problems, missing parts? Before returning to your retailer, call our customer
service department at 1-866-439-9800, 8 a.m. - 8 p.m., EST, Monday - Friday.
XXXXXX
Lowes.com/allenandroth
1
TABLE OF CONTENTS
Package Contents ............................................................................................................................3
Hardware Contents ..........................................................................................................................4
Safety Information ............................................................................................................................5
Preparation ......................................................................................................................................5
Assembly Instructions ......................................................................................................................6
Operating Instructions ....................................................................................................................12
Care and Maintenance ...................................................................................................................12
Warranty .........................................................................................................................................12
Replacement Parts List ..................................................................................................................12
Lowes.com/allenandroth
2
PACKAGE CONTENTS
M
O
N
S
HH
I
J
L
D
F
A
G
F
K
E
D
R
C
B
PART
A
B
C
D
E
F
G
H
I
J
Q
P
DESCRIPTION
Supporting Post
Post Bottom Plate
Post Plate Cover
Left Crossbar 1
Right Crossbar 1
Left Crossbar 2
Right Crossbar 2
Roof Connector
Canopy Roof Pole 1
Canopy Roof Pole 2
PART
QUANTITY
4
4
4
2
2
2
2
1
4
4
K
L
M
N
O
P
Q
R
S
3
DESCRIPTION
Canopy Roof Pole 3
Canopy Roof Pole 4
Finial
Fabric Cover
Air Vent Cover
Stake
Side Wall
Mosquito Net
Corner Curtain
Lowes.com/allenandroth
QUANTITY
2
2
1
1
1
16
1
1
4
HARDWARE CONTENTS (shown actual size)
M6
Bolt Nut
Qty. 16
M6 x 15
Short Bolt
Qty. 8
M6 x 50
Long Bolt
Qty. 8
M6 x 35
Medium Bolt
Qty. 24
Wrench
Qty. 1
Hex Wrench
Qty. 1
(Not show actual size)
Lowes.com/allenandroth
4
SAFETY INFORMATION
Please read and understand this entire manual before attempting to assemble, operate or install the
product.
Two to four people are needed for assembly.
Load of the hook on the roof: 50 lbs. (max)
WARNING
KEEP ALL FLAME AND HEAT SOURCES AWAY FROM TENT FABRIC.
This tent meets the flammability requirements of CPAI-84. The fabric may burn if left in
continuous contact with any flame source. The application of any foreign substance to
the tent fabric may render the flame-resistant properties ineffective.
CAUTION
Do not leave outside during high winds, heavy rains or snow. Remove canopy.
Fasten the base to the deck whether it is wood or concrete.
PREPARATION
Before beginning assembly, make sure all parts are present. Compare parts with package contents
list and hardware contents list. If any part is missing or damaged, do not attempt to assemble the
product.
Estimated Assembly Time: Approx. 4 hours
Tools Required for assembly (not included): Ladder, 5 ft. (at least 5 ft. during assembly).
5
Lowes.com/allenandroth
ASSEMBLY INSTRUCTIONS
1. Insert post plate cover (C) into supporting
post (A), then fit post bottom plate (B)
underneath supporting post (A). Insert
short bolt (AA) through supporting post (A)
and secure the post bottom plate (B) using
hex wrench (EE). Slide down post plate cover
(C) into place as shown.
1
A
C
AA
Hardware Used
AA
Short Bolt
x8
EE
Hex Wrench
x1
2. Insert right crossbar 1 (E) into left crossbar 1
(D). Attach using, in order, long bolts (BB)
on both sides of connection and bolt nuts (DD).
Tighten using hex wrench (EE) and wrench (FF).
2
D
E
DD
BB
D
Hardware Used
BB
Long Bolt
x4
DD
Bolt Nut
x4
EE
Hex Wrench
x1
FF
Wrench
x1
AA
B
6
E
Lowes.com/allenandroth
ASSEMBLY INSTRUCTIONS
3. Insert right crossbar 2 (G) into left
crossbar 2 (F). Attach using, in order,
long bolts (BB) on both sides of connection
and bolt nuts (DD). Tighten using hex wrench
(EE) and wrench (FF).
3
G
F
G
DD
BB
Hardware Used
BB
Long Bolt
x4
DD
Bolt Nut
x4
EE
Hex Wrench
x1
FF
Wrench
x1
F
4. Place the crossbar sets from Steps 2 and 3
as depicted in the illustration.
G
4
D
E
F
G
D
Lowes.com/allenandroth
7
G
E
F
ASSEMBLY INSTRUCTIONS
5. Place supporting posts as depicted in the
illustration. Insert medium bolt (CC)
through supporting post (A). Secure onto
crossbars using hex wrench (EE).
5
CC
F
A
Hardware Used
CC
Medium Bolt
x 16
EE
Hex wrench
x1
6. Insert canopy roof pole 1 (I) into roof connector
(H). Insert canopy roof pole 2 (J) into canopy roof
pole 1 (I). Then secure canopy roof pole 2 (J)
onto supporting post (A) using medium bolts (CC),
bolt nuts (DD) and hex wrench (EE).
G
A
J
DD
G
E
D
6
CC
D
E
A
H
I
I
CC
J
J
A
Hardware Used
CC
Medium Bolt
x4
DD
Bolt Nut
x4
EE
Hex Wrench
x1
A
Lowes.com/allenandroth
8
J
I
F
ASSEMBLY INSTRUCTIONS
7. Insert canopy roof pole (L, K) into roof
connector (H), then secure canopy roof pole (L, K)
onto crossbar by using medium bolts (CC),
bolts nuts (DD) and hex wrench (EE).
7
L
x4
DD
Bolt Nut
x4
EE
Hex Wrench
x1
8. Hang the corner curtains (S) onto the
crossbars by the hook as shown.
H
CC
Hardware Used
Medium Bolt
L
K
DD
CC
K
L
DD
K
8
F
D
G
E
S
G
S
Lowes.com/allenandroth
9
D
ASSEMBLY INSTRUCTIONS
9. Place fabric cover (N) on top but do not tighten.
Place air vent cover (O) on top, then secure
finial (M). Tighten fabric cover (N) and
hang the mosquito net (R) and side wall (Q).
If you notice there is a lack of length or
material while assembling the mosquito net
and side wall, the 10-foot side and 12-foot side
may have been reversed.
Rotate the mosquito net and try again.
Please also use caution when installing the
mosquito net and pay attention to the notice tag
on the zipper of the side wall.
Once the unit is assembled, ensure the legs are
perpendicular to the ground.
9
M
O
N
S
C
B
A
R
P
Finally, secure the gazebo to the ground
by inserting lawn stakes (P) through the holes
in the post bottom plate (F) and into the ground.
Lowes.com/allenandroth
10
Q
CANOPY REMOVAL INSTRUCTIONS
Fig. 1: Detach the fabric cover
(N) from the canopy roof pole
on the corner of the top.
M
O
O
Fig. 2: Open the hook and loop connectors on the
center of the side.
N
Fig. 3: Detach the air vent (O)
from the canopy roof pole (I).
Fig. 4: Unscrew the final (M) and
remove it from roof connector (H).
Remove the air vent and
fabric cover from the top and re-secure
finial (M) to the gazebo structure.
CAUTION: Do not leave outside during high winds, heavy rains or snow. Remove canopy.
Lowes.com/allenandroth
11
OPERATING INSTRUCTIONS
Stake all sunshade panels at the bottom of the frames per assembly instructions. In geographic
regions with snowfall, heavy rain or wind, remove the fabric cover, fabric curtain and mosquito
net and store these items inside.
CARE AND MAINTENANCE
This gazebo frame is made of steel with a powder-coated finish for durability and elegance.
Slight pinholes will be present in the steel tubing that are customary to original steel work.
Wash with soap and water.
Before storing, remove leaves and dirt, drain all water that may have accumulated in or around
patio furniture frames. If not drained properly, water can cause freeze damage including bursting
or cracking of metal tubing.
CAUTION: Do not leave outside during high winds, heavy rains or snow. Remove canopy.
WARRANTY
This warranty is extended to the original purchaser and applies to defects in materials and
workmanship of your outdoor furniture or accessory item(s), provided it is maintained with care and
used only for personal, residential purposes.
Frames and welds are warranted to be free from defects in material or workmanship for a period of
one year.
Fabric is warranted for a period of one year against defects in material or workmanship.
This warranty is not transferable and does not cover products damaged by misuse, neglect,
accident, alterations or use and maintenance other than that specified in this instruction.
The manufacturer will not be held liable for any direct, indirect, incidental or consequential damages.
Some states do not allow limitations on how long an implied warranty lasts, or the exclusion or
limitation of incidental or consequential damages, so the above limitations may not apply to you.
This warranty gives you specific legal rights, and you may also have other rights which vary from
state to state.
U.S.A. Customers: Replacement canopies are available for purchase at www.Lowes.com
REPLACEMENT PARTS LIST
For replacement parts, call our customer service department at 1-866-439-9800, 8 a.m. - 8 p.m.,
EST, Monday - Friday.
PART
DESCRIPTION
PART #
AA
Short Bolt
S54
BB
Long Bolt
S55
CC
Medium Bolt
S56
DD
Bolt Nut
S57
EE
Hex Wrench
S58
FF
Wrench
S59
Printed in China
allen + roth® is a registered trademark
of LF, LLC. All rights reserved.
12
Lowes.com/allenandroth

