buccal smear - Biology at Clermont College
advertisement
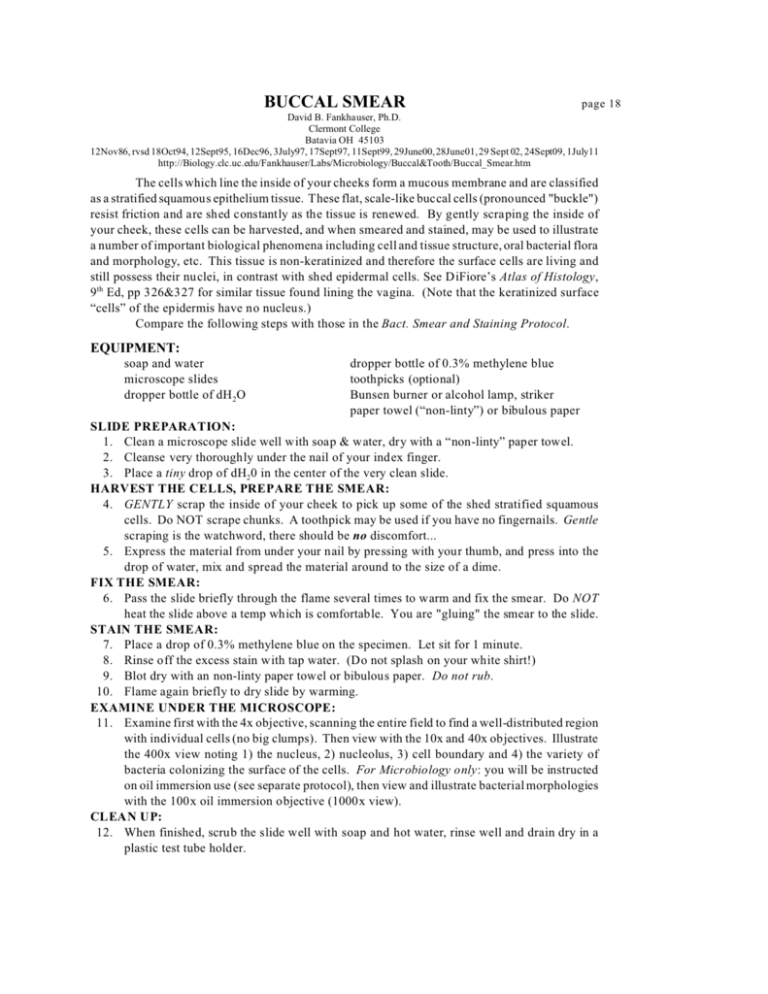
BUCCAL SMEAR page 18 David B. Fankhauser, Ph.D. Clermont College Batavia OH 45103 12Nov86, rvsd 18Oct94, 12Sept95, 16Dec96, 3July97, 17Sept97, 11Sept99, 29June00, 28June01, 29 Sept 02, 24Sept09, 1July11 http://Biology.clc.uc.edu/Fankhauser/Labs/Microbiology/Buccal&Tooth/Buccal_Smear.htm The cells which line the inside of your cheeks form a mucous membrane and are classified as a stratified squamous epithelium tissue. These flat, scale-like buccal cells (pronounced "buckle") resist friction and are shed constantly as the tissue is renewed. By gently scraping the inside of your cheek, these cells can be harvested, and when smeared and stained, may be used to illustrate a number of important biological phenomena including cell and tissue structure, oral bacterial flora and morphology, etc. This tissue is non-keratinized and therefore the surface cells are living and still possess their nuclei, in contrast with shed epidermal cells. See DiFiore’s Atlas of Histology, 9 th Ed, pp 326&327 for similar tissue found lining the vagina. (Note that the keratinized surface “cells” of the epidermis have no nucleus.) Compare the following steps with those in the Bact. Smear and Staining Protocol. EQUIPMENT: soap and water microscope slides dropper bottle of dH 2O dropper bottle of 0.3% methylene blue toothpicks (optional) Bunsen burner or alcohol lamp, striker paper towel (“non-linty”) or bibulous paper SLIDE PREPARATION: 1. Clean a microscope slide well with soap & water, dry with a “non-linty” paper towel. 2. Cleanse very thoroughly under the nail of your index finger. 3. Place a tiny drop of dH20 in the center of the very clean slide. HARVEST THE CELLS, PREPARE THE SMEAR: 4. GENTLY scrap the inside of your cheek to pick up some of the shed stratified squamous cells. Do NOT scrape chunks. A toothpick may be used if you have no fingernails. Gentle scraping is the watchword, there should be no discomfort... 5. Express the material from under your nail by pressing with your thumb, and press into the drop of water, mix and spread the material around to the size of a dime. FIX THE SMEAR: 6. Pass the slide briefly through the flame several times to warm and fix the smear. Do NOT heat the slide above a temp which is comfortable. You are "gluing" the smear to the slide. STAIN THE SMEAR: 7. Place a drop of 0.3% methylene blue on the specimen. Let sit for 1 minute. 8. Rinse off the excess stain with tap water. (Do not splash on your white shirt!) 9. Blot dry with an non-linty paper towel or bibulous paper. Do not rub. 10. Flame again briefly to dry slide by warming. EXAMINE UNDER THE MICROSCOPE: 11. Examine first with the 4x objective, scanning the entire field to find a well-distributed region with individual cells (no big clumps). Then view with the 10x and 40x objectives. Illustrate the 400x view noting 1) the nucleus, 2) nucleolus, 3) cell boundary and 4) the variety of bacteria colonizing the surface of the cells. For Microbiology only: you will be instructed on oil immersion use (see separate protocol), then view and illustrate bacterial morphologies with the 100x oil immersion objective (1000x view). CLEAN UP: 12. When finished, scrub the slide well with soap and hot water, rinse well and drain dry in a plastic test tube holder.
