MS Word Features for More Effective Feedback on Student Writing
advertisement

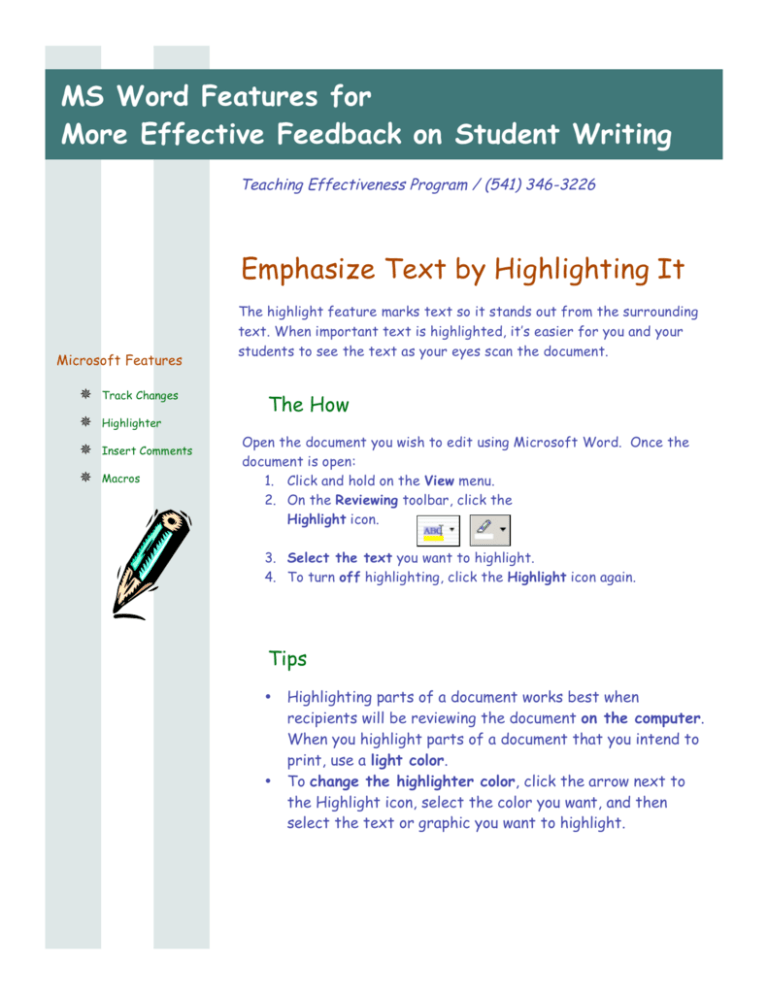
MS Word Features for More Effective Feedback on Student Writing Teaching Effectiveness Program / (541) 346-3226 Emphasize Text by Highlighting It Microsoft Features Track Changes Highlighter Insert Comments Macros The highlight feature marks text so it stands out from the surrounding text. When important text is highlighted, it’s easier for you and your students to see the text as your eyes scan the document. The How Open the document you wish to edit using Microsoft Word. Once the document is open: 1. Click and hold on the View menu. 2. On the Reviewing toolbar, click the Highlight icon. 3. Select the text you want to highlight. 4. To turn off highlighting, click the Highlight icon again. Tips • • Highlighting parts of a document works best when recipients will be reviewing the document on the computer. When you highlight parts of a document that you intend to print, use a light color. To change the highlighter color, click the arrow next to the Highlight icon, select the color you want, and then select the text or graphic you want to highlight. Be Free To Teach PAGE 2 OF 8 Insert Comments You can make annotations on the screen without changing the document text by using the Insert Comment feature. When a comment is added, Word numbers it and records it in a separate comment pane. Word then inserts a comment reference mark in the document and shades the text that's commented on. The How 1. Click and hold on the View menu. 2. Select the text or item you want to comment on, or click at the end of the text. 3. On the Reviewing toolbar, click the Insert Comment icon. 4. Type the comment text in the comment pane that appears. 5. After you've finished typing your comment, click Close. Track Changes to a Document “What we see depends mainly on what we look for.” -John Lubbock When change tracking is turned on, Microsoft Word uses revision marks to indicate tracked changes. After viewing tracked changes, students can accept or reject each change. You can also choose to show or hide tracked changes on the screen or in the printed document. NOTE: Mac users can follow the instructions below. Windows users can find instructions for different versions attached to this handout The How 1. Click and hold on the View menu. 2. Pull down to Toolbars and find Reviewing on the submenu that appears. If it does not have a checkmark next to it, PAGE 3 OF 8 select it from the submenu. A new toolbar should now appear on your screen. 3. Open the document you want to revise. 4. Pull down the Tools menu and hold on Track Changes. 5. Select on Highlight Changes from the submenu that appears. 6. Check Track changes while editing. Check Highlight changes on screen and Highlight changes in printed document. 7. Click the Okay button and begin editing, adding and deleting text as necessary. Accepting or Rejecting Comments and Changes 1. You can chose to accept or reject changes made by others to your document. 2. Pull down the Tools menu and hold on Track Changes. 3. Click Accept or Reject Changes from the submenu that appears. 4. The box that appears will display who made the change, when, and what type of change it was. You can choose a number of ways to view the changes: • Accept All – makes all changes tracked in the document. • Reject All – clears tracked changes from document, leaving you with an unmarked original. • Find – allows you to move through comments one at a time to accept or reject. 5. Click on Changes with highlighting. Merging Tracked Changes If you have received changes on a document via multiple versions, you can merge all of the changes into the original document and then review each change from that document. Word displays each reviewer’s tracked changes in a different color. 1. Open the original document into which you want to merge the changes. 2. Using the Tools menu, click Merge Documents, then choose the file containing the changes you want to merge. 3. Repeat until all document copies are merged. Be Free To Teach “You cannot solve a problem at the same level of consciousness that it was created.” -Einstein Be Free To Teach PAGE 4 OF 8 Using Macros “Every student should In essence, a macro is a customized command you create in Microsoft Word. Actually, a macro is a series of commands grouped together as a single command to accomplish a task automatically. So, instead of manually performing a series of time-consuming, repetitive actions in Word, you can create and run a single macro — in effect, a custom command — that accomplishes the task for you. have a person who wants to help him or her become the person he or she is capable of becoming.” -Louis Schmier Constructing Comments 1. Brainstorm some of the most common comments you include in feedback on student papers. Make choices about which comments could be developed further and are frequent enough to justify using a macro. 2. Create a new word document for each comment. From within Microsoft Word: a. Pull down the File menu to New Blank Document. b. Type each selected comment into a developed paragraph. Take the time to think about and develop quality responses. Be sure to include things like: “What grows is what gets watered.” -Anonymous References to readings by page number if appropriate Examples of correct and incorrect usage Location of the problem in relation to the larger challenge of the writing process Web or library resources c. When finished with the paragraph move the cursor out two spaces from the last period so that the macro will record with the cursor at the end. This way any additional comments that may be needed can be typed in without any additional keystrokes. d. Pull your File menu down to Save. PAGE 5 OF 8 Be Free To Teach e. In the dialogue box that appears, name the file with a descriptive name, one that is useful and easy to recall when grading. f. Choose a location to save the file to and click the Save button. 3. Repeat number 2 for each comment you wish to develop. Creating Macros Once the paragraphs have been created and saved as separate files, you can create a macro for each. To record a macro in Microsoft Word 2000… 1. Pull the File menu down to New Blank Document. 2. Pull down the Tools menu and slide over and hold on Macro. Then choose Record New Macro from that submenu. 3. In the dialogue box that appears, name your macro using a short code name that corresponds to the document file to be inserted. 4. Click OK to start recording. 5. Pull the Insert menu down to File. 6. Browse to locate the appropriate comment file (one that you saved in the Constructing Comments section). 7. Click once on the file name to select it. 8. Click Insert. 9. Click the Stop button. The Macro has now been recorded and saved “We are what we repeatedly do. Excellence then, is not an act, but a habit.” -Aristotle Be Free To Teach PAGE 6 OF 8 Using Macros for Feedback on Student Writing To make effective use of this tool you have two options: Insert the comments into an electronic copy of the students paper Create a comments sheet to hand back with paper copies of the writing assignments Let’s take a look at both… “Real knowledge is to know the extend of one’s ignorance.” - Confucius Insert Comments into Electronic Documents 1. Pull down the File menu to Open . 2. Browse to locate the student paper and click Open. 3. Click once in the text where you wish to insert the macro you created in the Creating Macros section. 4. Pull down your Tools menu and slide over and hold on Macro. Choose Macros… from the submenu that appears. 5. In the dialogue box that appears, select the name of the macro you wish to insert and click Run. The macro text should appear in the student’s paper. Creating a Comments Sheet for Hard Copy 1. Pull down the File menu to New Blank Document. 2. Pull down your Tools menu and slide over and hold on Macro. Choose Macros… from the submenu that appears. 3. In the dialogue box that appears, select the names of all the macro you wish to insert and click Run. The macro text should appear in the new document you opened. 4. Print the file and attach it to the student’s paper. PAGE 7 OF 8 Be Free To Teach Online Resources Evaluating Student Writing http://www.swc.utexas.edu/evaluation/index.shtml This site, developed by the Substantial Writing Component Resources office at University of Texas at Austin, includes information on evaluating student writing including tips on: grammar and mechanics, commenting on drafts, grading final drafts, and student self-evaluation. This site also contains information on developing writing assignments, helpful planning tips, and sample handouts and assignments. “Imagination is more important than knowledge, for knowledge is limited while imagination Commenting on Students' Writing http://www.nd.edu/~fwriting/seminars/comment.shtml embraces the entire world.” -Albert Einstein The University of Notre Dame has developed a collection of material for faculty teaching University Seminar courses. These two pages offer a quick read and maybe a little insight. How Do I Respond to Student Writing? http://writing.colostate.edu/references/teaching/fys/respond.cfm The Writing Center at Colorado State put this website together as part of their Teaching Writing in First-Year Seminars online information. The site is designed to help you make the most of the time you spend commenting on student writing, benefiting you by increasing your efficiency and benefiting your students by directing them toward areas in which they can experience the greatest growth as writers. “Nothing goes by luck Writing Across the Curriculum Homepage http://flightline.highline.edu/wac/ Among other things, Highline Community College’s Writing Across the Curriculum site includes a top ten list of ways to improve student writing, examples of low stakes writing activities that will prepare students for high stakes assignments, information on responding to student writing using peer response, written comments, and assessment rubrics. in composition. It allows of no tricks. The best you can write will be the best you are.” -Henry David Thoreau Teaching Effectiveness Program Phone: (541) 346-3226 Web: http://tep.uoregon.edu E-Mail: tep@uoregon.edu Additional Tools to Consider Other teaching tips you might consider for use with student writing: Assessment Rubrics can help make expectations clear for students, save grading and commenting time, and present your evaluation of students' written work in an "objective” fashion. Blackboard offers ways to collect electronic documents from students. Be Free To Teach ABOUT OUR ORGANIZATION… The University of Oregon supports the teaching endeavors of its faculty and graduate students through the Teaching Effectiveness Program (TEP), a division of Academic Learning Services. The Teaching Effectiveness Program offers a variety of activities and services to engage the academic community in viewing, assessing, and improving undergraduate instruction. TEP services are free to faculty members, graduate teaching fellows (GTFs), and university departments.


