1-4 Flame Test lab fy11
advertisement
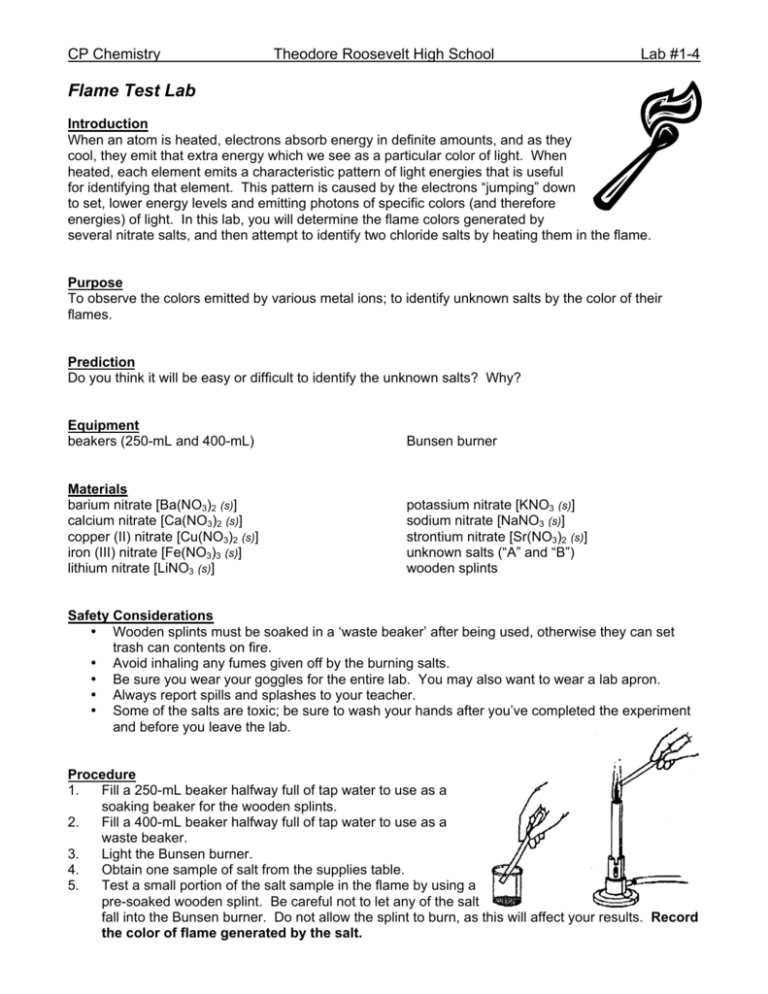
CP Chemistry Theodore Roosevelt High School Lab #1-4 Flame Test Lab Introduction When an atom is heated, electrons absorb energy in definite amounts, and as they cool, they emit that extra energy which we see as a particular color of light. When heated, each element emits a characteristic pattern of light energies that is useful for identifying that element. This pattern is caused by the electrons “jumping” down to set, lower energy levels and emitting photons of specific colors (and therefore energies) of light. In this lab, you will determine the flame colors generated by several nitrate salts, and then attempt to identify two chloride salts by heating them in the flame. Purpose To observe the colors emitted by various metal ions; to identify unknown salts by the color of their flames. Prediction Do you think it will be easy or difficult to identify the unknown salts? Why? Equipment beakers (250-mL and 400-mL) Bunsen burner Materials barium nitrate [Ba(NO3)2 (s)] calcium nitrate [Ca(NO3)2 (s)] copper (II) nitrate [Cu(NO3)2 (s)] iron (III) nitrate [Fe(NO3)3 (s)] lithium nitrate [LiNO3 (s)] potassium nitrate [KNO3 (s)] sodium nitrate [NaNO3 (s)] strontium nitrate [Sr(NO3)2 (s)] unknown salts (“A” and “B”) wooden splints Safety Considerations • Wooden splints must be soaked in a ‘waste beaker’ after being used, otherwise they can set trash can contents on fire. • Avoid inhaling any fumes given off by the burning salts. • Be sure you wear your goggles for the entire lab. You may also want to wear a lab apron. • Always report spills and splashes to your teacher. • Some of the salts are toxic; be sure to wash your hands after you’ve completed the experiment and before you leave the lab. Procedure 1. Fill a 250-mL beaker halfway full of tap water to use as a soaking beaker for the wooden splints. 2. Fill a 400-mL beaker halfway full of tap water to use as a waste beaker. 3. Light the Bunsen burner. 4. Obtain one sample of salt from the supplies table. 5. Test a small portion of the salt sample in the flame by using a pre-soaked wooden splint. Be careful not to let any of the salt fall into the Bunsen burner. Do not allow the splint to burn, as this will affect your results. Record the color of flame generated by the salt. CP Chemistry 6. 7. 8. Theodore Roosevelt High School Lab #1-4 Place the used wooden splint in your waste beaker. Repeat Steps #4-6 for each salt sample, using a new wooden splint and recording your results for each. Obtain one of the unknown samples (“A” or “B”) from your teacher and test it using the same procedure described above. Record the color of the flame generated by the salt and determine its metal ion by comparing it to your known samples from above. Repeat the same procedure for the other unknown sample. Additional Clean-up and Disposal 1. Wet any used wooden splints and throw them away in the trash can. DO NOT LEAVE ANY SPLINTS IN THE SINK OR AT YOUR LAB STATION. Data – you should create a data table in your lab write-up that looks something like this: Metal Ion Flame Color barium calcium Questions 1. Do you think that flame tests would be a valid means of detecting metal ions present in a mixture of ions? Why or why not? 2. The energy of visible light increases from the least energetic color, red, to the most energetic color, violet. List the ions used the flame tests in increasing order of the energy of their emitted light. 3. What conclusion can you make about the relationship between metal ions and the emission of light? Errors Describe two possible errors you may have committed in this lab that may have somehow affected your results. Explain the specific steps you will take to avoid each of these errors in the future. Conclusion Write two or more paragraphs summarizing your results, examining the validity of your prediction, and identifying the unknown metal ions. CP Chemistry Theodore Roosevelt High School Flame Test Lab workspace: Lab #1-4
