MICROBIOLOGICAL MEDIA PREPARATION
advertisement
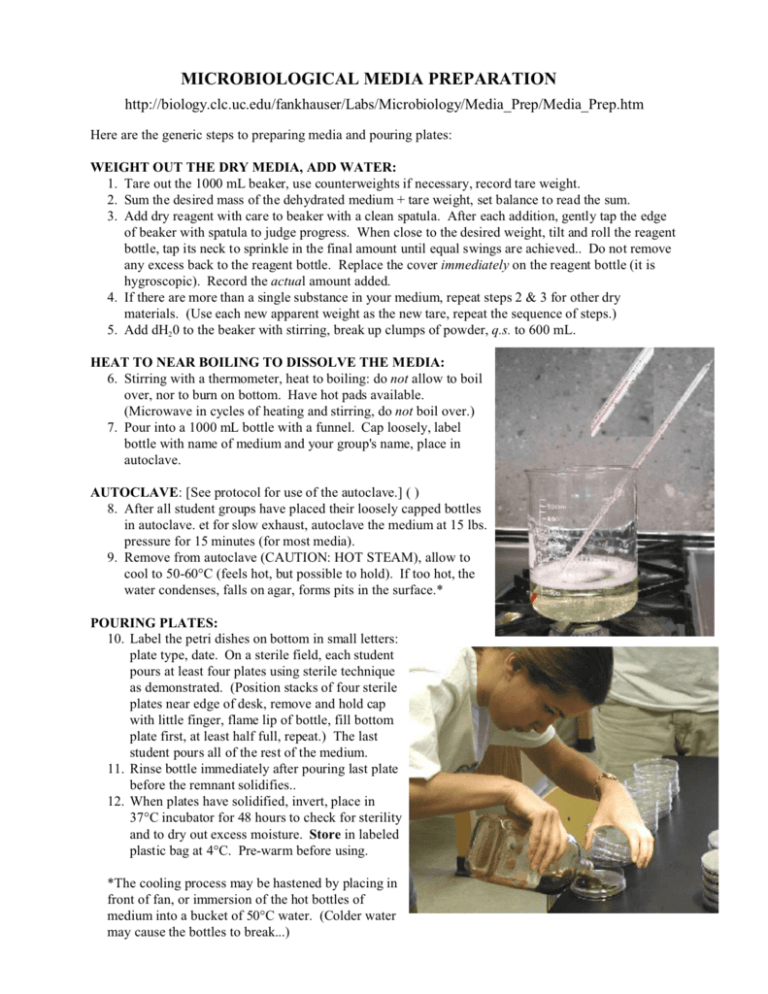
MICROBIOLOGICAL MEDIA PREPARATION http://biology.clc.uc.edu/fankhauser/Labs/Microbiology/Media_Prep/Media_Prep.htm Here are the generic steps to preparing media and pouring plates: WEIGHT OUT THE DRY MEDIA, ADD WATER: 1. Tare out the 1000 mL beaker, use counterweights if necessary, record tare weight. 2. Sum the desired mass of the dehydrated medium + tare weight, set balance to read the sum. 3. Add dry reagent with care to beaker with a clean spatula. After each addition, gently tap the edge of beaker with spatula to judge progress. When close to the desired weight, tilt and roll the reagent bottle, tap its neck to sprinkle in the final amount until equal swings are achieved.. Do not remove any excess back to the reagent bottle. Replace the cover immediately on the reagent bottle (it is hygroscopic). Record the actual amount added. 4. If there are more than a single substance in your medium, repeat steps 2 & 3 for other dry materials. (Use each new apparent weight as the new tare, repeat the sequence of steps.) 5. Add dH2 0 to the beaker with stirring, break up clumps of powder, q.s. to 600 mL. HEAT TO NEAR BOILING TO DISSOLVE THE MEDIA: 6. Stirring with a thermometer, heat to boiling: do not allow to boil over, nor to burn on bottom. Have hot pads available. (Microwave in cycles of heating and stirring, do not boil over.) 7. Pour into a 1000 mL bottle with a funnel. Cap loosely, label bottle with name of medium and your group's name, place in autoclave. AUTOCLAVE: [See protocol for use of the autoclave.] ( ) 8. After all student groups have placed their loosely capped bottles in autoclave. et for slow exhaust, autoclave the medium at 15 lbs. pressure for 15 minutes (for most media). 9. Remove from autoclave (CAUTION: HOT STEAM), allow to cool to 50-60°C (feels hot, but possible to hold). If too hot, the water condenses, falls on agar, forms pits in the surface.* POURING PLATES: 10. Label the petri dishes on bottom in small letters: plate type, date. On a sterile field, each student pours at least four plates using sterile technique as demonstrated. (Position stacks of four sterile plates near edge of desk, remove and hold cap with little finger, flame lip of bottle, fill bottom plate first, at least half full, repeat.) The last student pours all of the rest of the medium. 11. Rinse bottle immediately after pouring last plate before the remnant solidifies.. 12. When plates have solidified, invert, place in 37°C incubator for 48 hours to check for sterility and to dry out excess moisture. Store in labeled plastic bag at 4°C. Pre-warm before using. *The cooling process may be hastened by placing in front of fan, or immersion of the hot bottles of medium into a bucket of 50°C water. (Colder water may cause the bottles to break...)
