Integrated Math/Visual Art Lesson Proportions of the Body
advertisement
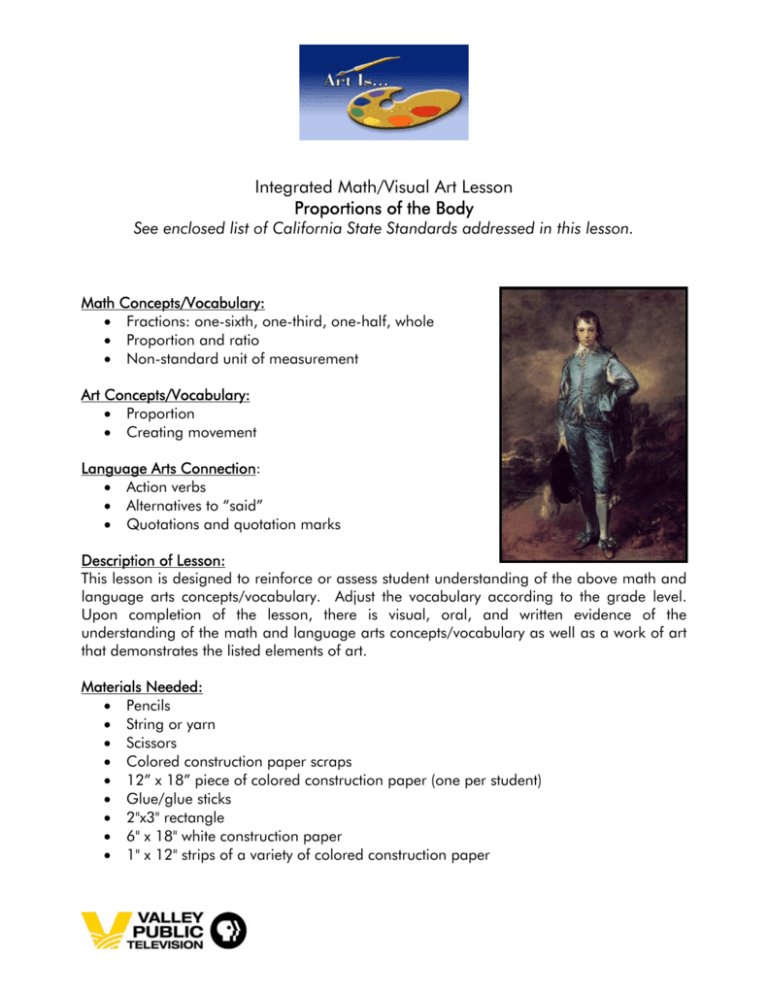
Integrated Math/Visual Art Lesson Proportions of the Body See enclosed list of California State Standards addressed in this lesson. Math Concepts/Vocabulary: • Fractions: one-sixth, one-third, one-half, whole • Proportion and ratio • Non-standard unit of measurement Art Concepts/Vocabulary: • Proportion • Creating movement Language Arts Connection: • Action verbs • Alternatives to “said” • Quotations and quotation marks Description of Lesson: This lesson is designed to reinforce or assess student understanding of the above math and language arts concepts/vocabulary. Adjust the vocabulary according to the grade level. Upon completion of the lesson, there is visual, oral, and written evidence of the understanding of the math and language arts concepts/vocabulary as well as a work of art that demonstrates the listed elements of art. Materials Needed: • Pencils • String or yarn • Scissors • Colored construction paper scraps • 12” x 18” piece of colored construction paper (one per student) • Glue/glue sticks • 2"x3" rectangle • 6" x 18" white construction paper • 1" x 12" strips of a variety of colored construction paper Procedure: • Discuss with the students the math and language arts concepts/vocabulary they are going to learn or practice in this lesson (see concepts/vocabulary on page one). • Using Visual Thinking Strategies look at and discuss one of the works of art found in this lesson (see transparencies included in the kit). o What is going on in this picture? o What do you see that makes you say that? o What more can you see? • This lesson has three parts. The first is the learning of the proportions of the body. The second is the artistic creation of a figure in action. The third is a writing exercise using quotation marks. Part I: Note to Teacher: Did you know that the “proportions of the body” allow you to provide a meaningful lesson on the use of non-standard units of measurements as well as the fraction family of one-sixth, one-third, and one-half. For example: • The head and neck are approximately one-sixth the length of the body. • The torso (shoulders to hip joint) is approximately two-sixths or one-third the length of the body. • The legs are three-sixths or one-half the length of the body. • The knee is half the distance from the hip to the heel. • The upper arm is approximately equal to the length of the head. • The lower arm is approximately equal to the length of the foot. • The distance from fingertip to fingertip is approximately equal to the length of the entire body. • The feet are approximately the length of the head. Practice use of non-standards units of measurement • Distribute yarn and scissors. • Working in pairs, use a long piece of yarn to measure the length your partner from head to toe. Then measure the length of the arms when outstretched to the side. The two measurements should be nearly equal in length. • Use the yarn to measure lengths of arms and legs in comparison to the head and neck. Snap the Whip Winslow Homer • Draw a stick figure to illustrate these proportions Materials need for this portion of the lesson: 6” x 18” drawing paper, pencils o Fold your long narrow white paper in half, in half again, and in half again. How many sections will we have? How many will we need if we are working with sixths? Good, only six, so let’s X out the top and the bottom section. o In the top section draw an oval (the head) that touches the top and the bottom of the section. o Draw a line from the oval (the head) straight down so that it crosses two complete sections. o At the top of the line you just drew and a little below the oval draw a horizontal line to form the shoulders. Make it about as wide as the length of the head. o Draw a similar line at the bottom of the line you just drew to form the hips. o From each side of the hip line, draw a line that goes all the way to the bottom of the remaining three sections. o From each shoulder, draw one head length to the elbow and another head length to the wrist for the arm. Now draw a short line, about ½ a head, for each hand. It should come down past the hip line. o Quiz the students on the fractions and ratios of the parts of the body Part II: Create an action figure out of construction paper Materials needed for this portion of the lesson: colored construction paper scraps, 12” x 18” piece of construction paper (one per student), scissors, glue, pencils Look at the Snap the Whip painting. Notice the positions of the arms, legs, torso, hands, feet, and head when the body is in action. Have the students act out playing baseball, cheerleading, dancing, running, etc. • • Create an action figure. Brainstorm ideas for action: skateboarding, swimming, dancing, etc. Head. Using the 2” x 3” rectangle of white paper, trim it into an oval . This is the head and will be used as the non-standard unit that all other body parts will be measured from. • Torso. Measure and cut a strip of paper to create a torso that is two units long. . • Arms. Measure and cut four strips, one unit long each, to represent the four sections of the arms. • Legs. Measure and cut out two long narrow strips, three units long each, to represent the legs. Fold them and cut them in half, yielding the four leg parts. • Feet. To make the feet, measure and cut a rectangle that is about one head long and half a head wide. Cut it into two triangles (diagonal to opposite corners). • Hands. To make the hands, measure and cut a rectangle that is about 3/4 the length of the head and about half as wide. Cut this rectangle into two triangles. • Arrange the body parts so that they represent a specific action, such as jumping, swimming, crawling, etc. Discuss the idea that diagonals and angles make the character look as if it is moving. Vertical and horizontal lines make the character look as if it is still. • Additional Art Ideas: Once the action figure is in place add the appropriate clothing and setting to complete the picture. Part III: Connection to writing • Name the character you have just created. Write a quotation of what your action figure might say. You must use quotation marks correctly, and you may not use the word “said.” • Sample quotations: o “I ran two miles,” gasped Fred, “and I am totally exhausted.” o “Go, Team! Fight, Team!” screamed Samantha, “Go, Fight, Team!” o Tom mumbled, “I hate this game.” • Other writing activities: o Write a paragraph in first person about your character. o Write a personal narrative about the activity the character is participating in. o Several students put their characters together to make a story involving them all. o Create a story about your character that includes the five W’s: who, what, where, when, why. The Ballet Dancers Edgar Degas Sponsored by a generous grant from the Bonner Family Foundation
