Lab Exercise 2 – Microscopy for Biology
advertisement
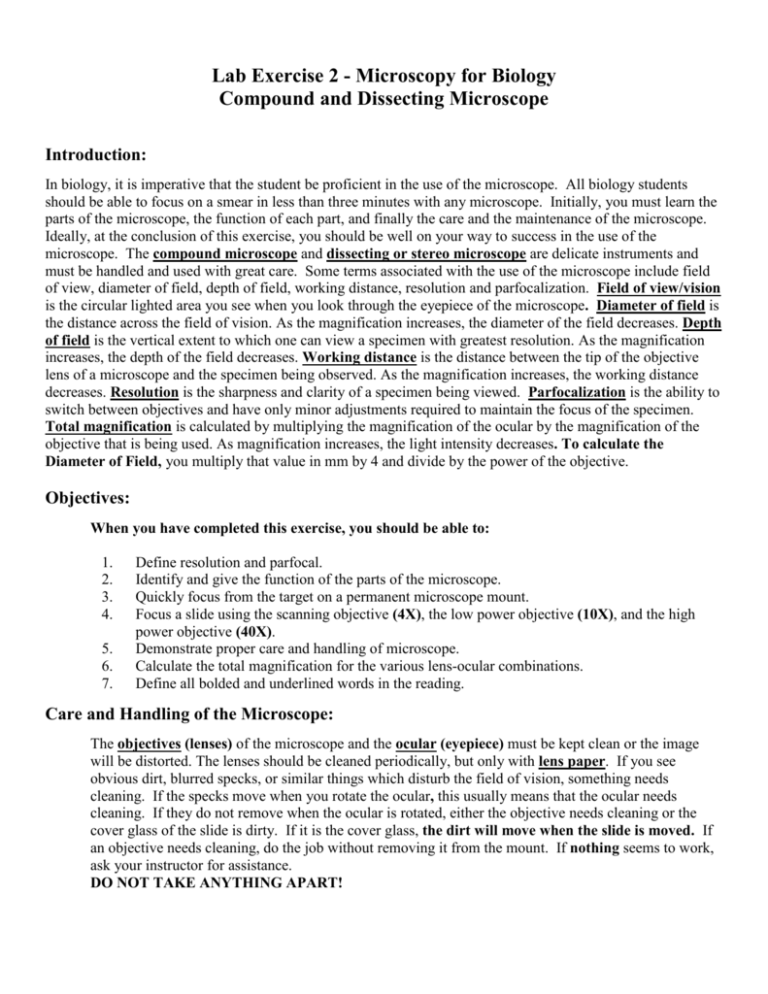
Lab Exercise 2 - Microscopy for Biology Compound and Dissecting Microscope Introduction: In biology, it is imperative that the student be proficient in the use of the microscope. All biology students should be able to focus on a smear in less than three minutes with any microscope. Initially, you must learn the parts of the microscope, the function of each part, and finally the care and the maintenance of the microscope. Ideally, at the conclusion of this exercise, you should be well on your way to success in the use of the microscope. The compound microscope and dissecting or stereo microscope are delicate instruments and must be handled and used with great care. Some terms associated with the use of the microscope include field of view, diameter of field, depth of field, working distance, resolution and parfocalization. Field of view/vision is the circular lighted area you see when you look through the eyepiece of the microscope. Diameter of field is the distance across the field of vision. As the magnification increases, the diameter of the field decreases. Depth of field is the vertical extent to which one can view a specimen with greatest resolution. As the magnification increases, the depth of the field decreases. Working distance is the distance between the tip of the objective lens of a microscope and the specimen being observed. As the magnification increases, the working distance decreases. Resolution is the sharpness and clarity of a specimen being viewed. Parfocalization is the ability to switch between objectives and have only minor adjustments required to maintain the focus of the specimen. Total magnification is calculated by multiplying the magnification of the ocular by the magnification of the objective that is being used. As magnification increases, the light intensity decreases. To calculate the Diameter of Field, you multiply that value in mm by 4 and divide by the power of the objective. Objectives: When you have completed this exercise, you should be able to: 1. 2. 3. 4. 5. 6. 7. Define resolution and parfocal. Identify and give the function of the parts of the microscope. Quickly focus from the target on a permanent microscope mount. Focus a slide using the scanning objective (4X), the low power objective (10X), and the high power objective (40X). Demonstrate proper care and handling of microscope. Calculate the total magnification for the various lens-ocular combinations. Define all bolded and underlined words in the reading. Care and Handling of the Microscope: The objectives (lenses) of the microscope and the ocular (eyepiece) must be kept clean or the image will be distorted. The lenses should be cleaned periodically, but only with lens paper. If you see obvious dirt, blurred specks, or similar things which disturb the field of vision, something needs cleaning. If the specks move when you rotate the ocular, this usually means that the ocular needs cleaning. If they do not remove when the ocular is rotated, either the objective needs cleaning or the cover glass of the slide is dirty. If it is the cover glass, the dirt will move when the slide is moved. If an objective needs cleaning, do the job without removing it from the mount. If nothing seems to work, ask your instructor for assistance. DO NOT TAKE ANYTHING APART! Follow your instructor’s directions on the use of a specific, assigned microscope. When carrying your microscope to and from the cabinet, carry it upright (vertically) by the arm, with one hand under the base. When returning the microscope, make absolutely sure that you have not left a slide on the stage. Parts of the Compound Microscope (Fig. 2.1): The compound microscope is a delicate instrument and must be handled and used with great care at all times. You must conduct the steps in this section carefully and thoroughly. If you do not learn to use the microscope properly and with ease, you might just as well forget about learning biology. Not only will much of the work of the next several exercises depend on your skill with this instrument, but it will be used again and again throughout this entire course. 1. Ocular (eyepiece) - usually a 10 power (10X) lens containing a pointer which can be used to designate a particular location in the field of view. 2. Body tube - a tube, quite long in some microscopes, which forms the main body of the microscope; the ocular is at the top of the body tube, and a nosepiece often containing several objectives, is at the bottom of the tube. 3. Coarse adjustment knob - a knob which raises and lowers the body tube or stage to bring the specimen on the slide into focus. 4. Fine adjustment knob - a knob to be used for fine adjustment (focusing) after using the coarse adjustment, to increase the resolution of the specimen. 5. Objectives - there are usually four objective lenses, but some nosepieces have fewer; they are a 4X (scanning lens), a 10X (low power), a 40X-45X (high power), and a 100X (oil immersion). 6. Revolving Nosepiece - a turret that holds the objectives and allows them to pivot into position as needed. 7. Stage clip or clamp - used to hold the glass slide in position on the stage. 8. Stage - the platform on which the slide is placed. 9. Base - the supportive bottom of the instrument that also holds the light source. 10. Light / Illuminator with switch - a sub-stage light is enclosed in the base of some microscope. If the light source is not sufficient, the full capabilities of a microscope cannot be realized. Turn this light off when not in use. 11. Illuminator –The light source for the microscope. 12. Iris Diaphragm - a unit housed within the condenser that regulates the amount of light entering through the opening in the stage, thus regulating the amount of light passing through the specimen. Proper control of the amount of light is nearly as important as proper focusing for viewing the specimen. 13. Iris Diaphragm Lever - used to adjust the amount of light a specimen receives. 14. Condenser - a lens system located immediately below the stage. The condenser focuses or concentrates the light from the illuminator onto the specimen. The condenser can be adjusted to a higher or lower position by a sub stage adjustment knob but for most purposes, the condenser should be fully raised. If a pattern appears in the field of view, you lower the condenser until the pattern disappears. The diaphragm is housed within the condenser. 15. Arm - the main supportive structure of the microscope, and the only part except the base by which the instrument should be carried. 16. Condenser control Knob – the condenser can be moved up and down by using this knob. 17. Aperture – the hole in the middle of the stage that allows light from the illuminator/bulb to reach the specimen. 18. Power cord – should be connected to the power outlet when microscope in use. 19. Slide adjustment Knobs – these knobs move the slide left or right and towards or away from you. Terms related to Slide Preparation 1. Specimen – The specimen is the object being examined. 2. Slide – Flat rectangular thin glass on which specimen is mounted. 3. Coverslip/ Cover glass – After mounting the specimen on the slide a cover slip (circle, square or rectangle shaped) is placed over the specimen. This allows the slide to be easily inserted or removed from the microscope. It also allows the specimen to be transported and stored without damaging the specimen. 4. Prepared or permanent slide – is one that is meant to be kept and used over and over. The coverslip is usually permanently fixed onto the slide. 5. Temporary/wet mount – A temporary slide can’t be saved, usually because it’s a wet mount. In a wet mount, the specimen is mounted in water or other liquid on the slide and covered with cover slip. 6. Optical lens wipe/Kim wipe – used to clean and gently wipe the lenses. (Use these tissues to wipe the lens in one direction rather than rub in a circular motion. Do not clean lenses with ordinary cloth, paper towel or fingers.) 7. Lens cleaning Solution – put a drop or two of this solvent on the Kim wipe then hold it against the lens for a few seconds to dissolve the dirt. Then lightly wipe it free. 1. 15. 2. 5. (High power) 6. 5. (Low power) 7. 8. 13. 14 13. 12 11. 3. 4. 10. 9. Figure 2.1 - The Compound Microscope Parts of the Dissecting Microscope (Fig. 2.2): The dissecting or stereoscopic microscope is used to view objects such as small animals, plants, and organs. This microscope has a low magnification (between 2X and 30X) making it easier to view larger specimens. Using this microscope produces a 3-dimensional image or providing the viewer with the perception of depth. Even though the magnification of the dissecting microscope is less than the compound microscope you have a larger depth of field and you can illuminate your specimen using incident light (the amount of light on specimen) as well as the transmitted light. Pay close attention regarding the single focusing knob and the two oculars. This ocular can be moved inward or outward to accommodate the distance between the pupils of your eyes. Some dissecting or stereo microscopes use an external light source, while others contain a built-in light source. 1. Body tube - a tube quite long in some microscopes, which forms the main body of the microscope; the ocular is at the top of the body tube and the objective at the end. 2. Ocular (eyepiece) - usually a 10 power (10X) lens containing a pointer which can be used to designate a particular location of an object in the field of view. 3. Light source with switch - objects may be observed using reflective light from an external source to illuminate the specimen. Some dissecting or stereo microscopes contain a built-in light source. If the light source is not sufficient, the full capabilities of this microscope cannot be realized. Turn this light off when not in use; the switch usually lies behind or on the side of the light. 4. Diopter ring - a focusing ring that allows for accommodation of an individuals visual acuity. 5. Focus knob - a knob which raises and lowers the body tube to bring the specimen into sharp focus. 6. Stage plate - the platform on which the specimen is placed. 7. Stage clips - used to hold the glass slide in position on the stage. 8. Zooming knob - a knob which sequentially changes magnification from lower to higher. These changes can be accomplished without removing your eye from the ocular. 9. Inter-pupillary Adjustment: the distance between the pupils of your eyes, varies from person to person. Each observer should make this adjustment before using a binocular or stereo head microscope for the greatest viewing comfort and best image quality. Focus your eyes on the specimen. Now pull your eyes back from the eyepieces about 1'. You will see two field views overlapping each other. Open or close the distance between the eyepieces by pulling them apart or pushing them together until the two circles merge together and appear as one circle. You can use clear plastic or glass petri dishes to view the object with your stereo microscope. Place the object to be viewed in the bottom of a petri dish and position it on the stage plate of the dissecting microscope. Sand, hair, thread or flower can be viewed under this microscope. Eyepiece Diopter ring Body Tube Light source Zooming knob Focus knob Stage plate Stage clip Figure 2.2 - Stereo or Dissecting Microscope Lab Activity 2 - Microscopy Compound and Dissecting Microscope Required Materials: Compound microscope Permanent Slides - Spirogyra (algae) and Rhizopus/fungi) Dissecting microscope Penny and Permanent slide - L.S. of pine cone (male/ female) Microscope Kit - Forceps, needle, scissor and scalpel Lens paper Lens cleaning solution Plain Slides Cover slip/glass Dropper bottle with water Paper towels Piece of newspaper with letter ‘e’ 50ml beaker Assignment 1 Obtain a prepared demonstration slide use it as follows: a) Place a clean slide on the stage so that the object to be viewed is over the center of the light opening and each end is under a clip. Position the object directly under the objective. b) Plug in the electric cord and turn on the illuminator. Most specimens will best be seen by using a medium amount of light, so open the diaphragm about half way. Experiment with the proper amount of light each time you examine a different specimen. c) Rotate the nose piece to the scanning (4X) lens making sure it clicks into place securely and is aligned, with the ocular. Always examine a specimen first under low magnification, since this gives you a greater field of vision. d) Using the coarse adjustment, lower the body tube to its lowest point OR raise the stage to its highest point. When using high power objectives, never lower the body tube while looking into the ocular. Watch the tube as it descends or you could smash the objective right through a thick mount slide. Apply one to the ocular and turn the coarse adjustment knob using both hands slowly so that the tube moves up and away from the specimen. It is best to keep both eyes open initially to avoid eyestrain. When the field is in focus, use the fine adjustment to get an even clearer image. Do not turn the fine adjustment more than a quarter turn under any circumstances. While you are doing this, also practice adjusting the amount of light, thin specimens require less than thick specimens. e) While looking at the specimen through the ocular, move the slide to the right. Which way did the image move? Move the slide away from you. Which way did the image move? f) Once again center the object as in step 1. Repeat your observations using the low power (10X) and high power (40X) objectives. If the object is not properly centered, you will be unable to observe it when changing from the scanning objective to higher power objectives. You should have to do very little refocusing as you change objectives since this is a parfocal microscope. *You will have to increase the amount of light as you move to higher magnifications because the decreasing lens diameter causes less light to enter the microscope. Remember these fundamental steps: a. Use scanning objective (4X) to view slide. b. Center the area of interest. c. Adjust the diaphragm. d. Bring into focus with coarse adjustment. Turn the focus knobs with both hands. e. Focus to different depths with fine adjustment. Turn the focus knobs with both hands. Assignment 2 Wet mount slide - Preparing & viewing specimens under the compound microscope a) Place a drop of water in the center of a clean slide. b) Cut out a letter “e” from the newspaper provided. c) Using tweezers take the letter “e” and place it in the center of the water drop you placed on the slide. d) Place a cover glass over the water drop. e) Place the slide on the stage of the microscope and view the letter “e” using the scanning and low power objectives. Draw your letter “e” as it appears in your microscope on assignment 2 of your lab report. Note the total magnifications of each diagram Assignment 3 Permanent Slides - Viewing specimens under the compound microscope Take 2 specimens (permanent slides) that your instructor has provided. Draw your specimens under low power magnification on assignment 3 of your lab report. 1) Specimen one: Spirogyra (Algae) and 2) Specimen two: Rhizopus (Fungus) Assignment 4 Viewing specimens under the Dissecting Microscope Draw the two specimens that are mounted under dissecting microscope on assignment 4 of your lab report. 1) Specimen one: Penny and 2) Specimen two: Pine cone Lab Report – 2 Microscopy Compound and Dissecting Microscope Name: ______________________________ Date: ____________________________ Class Index: _________________________ Instructor: __________________________ Before you begin filling out this lab report you must read Exercise 2 - Microscopy in your lab manual. Complete Assignments 1-5 below. You can use your Lab Manual results and Textbook to complete the information below. Assignment 1 I. Give the magnification a) What is the magnification that is written on the ocular lens (eyepiece)? ____________ b) What is the magnification that is written on the scanning objective? ______________ c) What is the magnification that is written on the low power objective? ______________ d) What is the magnification that is written on the high power objective? ______________ e) What is the total magnification of a specimen when viewed with the following objective: Scanning ________ Low power ________ High Power________ Oil Immersion ______ f) Which objective will be used to magnify an object of 3mm to 120mm? ______________ II. Write the term that matches each meaning: III. a) Used to carry the microscope _____________________________ b) Lenses attached to the nose piece _____________________________ c) Lens you look through _____________________________ d) The shortest objective _____________________________ e) Control knob used for fine focusing _____________________________ f) Holds objectives _____________________________ Give the function of: i. Diaphragm: ___________________________________________________________ ii. Condenser: __________________________________________________________ IV. Fill in the table below with the correct indicated parts of the microscope. 1. 2. 11. 5. 9. 13. 8. 6. 7. 10. 3. 12 . 4 . Figure 2.4 - Compound Microscope 1 1. 6. 11 2. 7. 12. 3. 8. 13. 4. 9. 5. 10. Assignment 2 a) Draw your letter “e” as it appears in your microscope using scanning & low power objectives. Write the total magnifications of each diagram. Using Scanning Objective Total Magnification ___________ Using Low power Objective Total Magnification ___________ b) While viewing your letter “e” if you move the slide to the right. Which direction does the letter “e” appear to move? ___________________________________________________________ c) While viewing your letter “e” if you move the slide away from your body. Which direction does the letter “e” appear to move?______________________________________________________ Assignment 3 Draw your permanent slides under low power magnifications. Specimen one: Spirogyra (Algae) Specimen two: Rhizopus (Fungus) Assignment 4 Draw your specimens in the provided area as observed under dissecting microscope Specimen one: Penny Specimen two: Pine Cone Assignment 5 I. Definitions: i) Depth of field:____________________________________________________________ ________________________________________________________________________ ii) Field of view:_____________________________________________________________ ________________________________________________________________________ iii) Parfocal: ________________________________________________________________ _______________________________________________________________________ II. Application: iv) The depth of field decreases as magnification __________________________________ v) As magnification increases, the diameter of field _______________________________. vi) The light intensity increases as the power of the objective _________________________.
