Every Flex is Quite Complex
advertisement
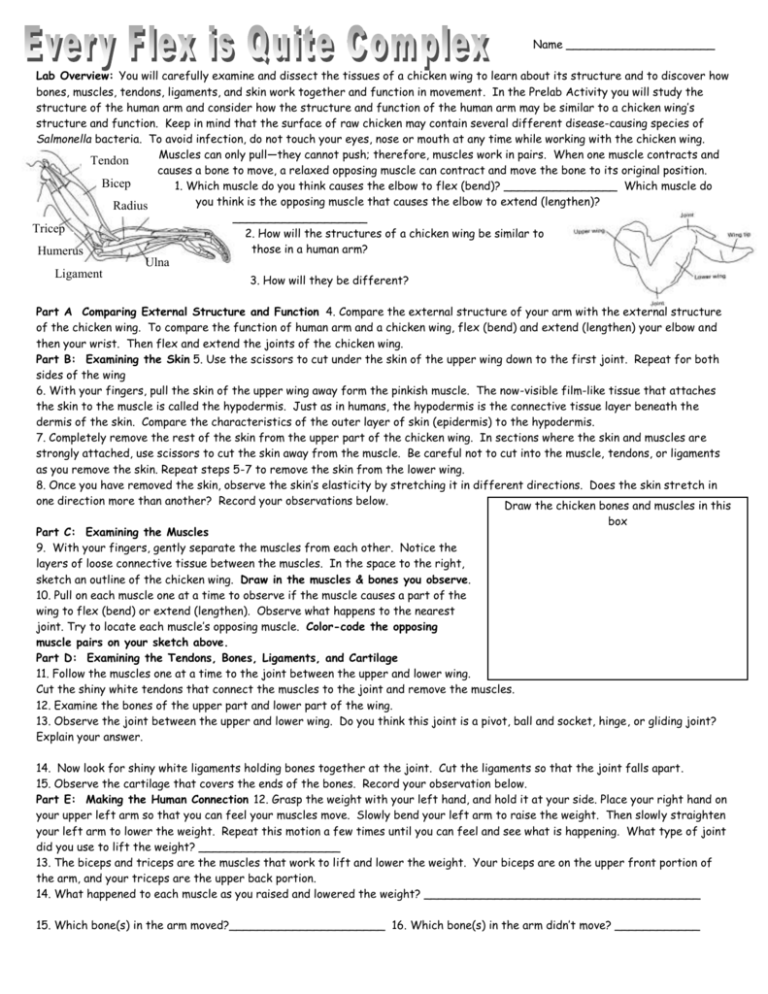
Name _____________________ Lab Overview: You will carefully examine and dissect the tissues of a chicken wing to learn about its structure and to discover how bones, muscles, tendons, ligaments, and skin work together and function in movement. In the Prelab Activity you will study the structure of the human arm and consider how the structure and function of the human arm may be similar to a chicken wing’s structure and function. Keep in mind that the surface of raw chicken may contain several different disease-causing species of Salmonella bacteria. To avoid infection, do not touch your eyes, nose or mouth at any time while working with the chicken wing. Muscles can only pull—they cannot push; therefore, muscles work in pairs. When one muscle contracts and Tendon causes a bone to move, a relaxed opposing muscle can contract and move the bone to its original position. Bicep 1. Which muscle do you think causes the elbow to flex (bend)? ________________ Which muscle do you think is the opposing muscle that causes the elbow to extend (lengthen)? Radius ___________________ Tricep 2. How will the structures of a chicken wing be similar to those in a human arm? Humerus Ulna Ligament 3. How will they be different? Part A Comparing External Structure and Function 4. Compare the external structure of your arm with the external structure of the chicken wing. To compare the function of human arm and a chicken wing, flex (bend) and extend (lengthen) your elbow and then your wrist. Then flex and extend the joints of the chicken wing. Part B: Examining the Skin 5. Use the scissors to cut under the skin of the upper wing down to the first joint. Repeat for both sides of the wing 6. With your fingers, pull the skin of the upper wing away form the pinkish muscle. The now-visible film-like tissue that attaches the skin to the muscle is called the hypodermis. Just as in humans, the hypodermis is the connective tissue layer beneath the dermis of the skin. Compare the characteristics of the outer layer of skin (epidermis) to the hypodermis. 7. Completely remove the rest of the skin from the upper part of the chicken wing. In sections where the skin and muscles are strongly attached, use scissors to cut the skin away from the muscle. Be careful not to cut into the muscle, tendons, or ligaments as you remove the skin. Repeat steps 5-7 to remove the skin from the lower wing. 8. Once you have removed the skin, observe the skin’s elasticity by stretching it in different directions. Does the skin stretch in one direction more than another? Record your observations below. Draw the chicken bones and muscles in this box Part C: Examining the Muscles 9. With your fingers, gently separate the muscles from each other. Notice the layers of loose connective tissue between the muscles. In the space to the right, sketch an outline of the chicken wing. Draw in the muscles & bones you observe. 10. Pull on each muscle one at a time to observe if the muscle causes a part of the wing to flex (bend) or extend (lengthen). Observe what happens to the nearest joint. Try to locate each muscle’s opposing muscle. Color-code the opposing muscle pairs on your sketch above. Part D: Examining the Tendons, Bones, Ligaments, and Cartilage 11. Follow the muscles one at a time to the joint between the upper and lower wing. Cut the shiny white tendons that connect the muscles to the joint and remove the muscles. 12. Examine the bones of the upper part and lower part of the wing. 13. Observe the joint between the upper and lower wing. Do you think this joint is a pivot, ball and socket, hinge, or gliding joint? Explain your answer. 14. Now look for shiny white ligaments holding bones together at the joint. Cut the ligaments so that the joint falls apart. 15. Observe the cartilage that covers the ends of the bones. Record your observation below. Part E: Making the Human Connection 12. Grasp the weight with your left hand, and hold it at your side. Place your right hand on your upper left arm so that you can feel your muscles move. Slowly bend your left arm to raise the weight. Then slowly straighten your left arm to lower the weight. Repeat this motion a few times until you can feel and see what is happening. What type of joint did you use to lift the weight? ____________________ 13. The biceps and triceps are the muscles that work to lift and lower the weight. Your biceps are on the upper front portion of the arm, and your triceps are the upper back portion. 14. What happened to each muscle as you raised and lowered the weight? _______________________________________ 15. Which bone(s) in the arm moved?______________________ 16. Which bone(s) in the arm didn’t move? ____________ Analysis: 17. Which of the tissues you examined carry signals to and from the chicken’s brain? 20. How do muscles, bones, and tendons work together to move your arm? 17. How does the structure of skin help enable movement to occur? 18. Match the structures that you observed in this lab with its tissue type. Some letters may be used more than once, or not at all. C. Connective _____ Ligaments _____ Tendons Type of Skeletal Joint M. Muscle N. Nervous _____ Hypodermis _____ Cartilage Description of Movement E. Epithelial _____ Bones _____ Muscles _____ Epidermis Location in the Body Pivot Hinge Ball-and-Socket Gliding Fixed cranial Analysis: 1. Rank the 5 types of skeletal joints according to their freedom of movement. Start with the joint that allows the LEAST freedom and move to the joint with the MOST freedom. 2. Which types of joints are involved in walking? 3. Under each type of skeletal joint, name a common, nonliving object that has a similar type of joint in its construction. Ball & Socket Hinge Gliding Fixed Cranial Pivot
