Step 1: Begin by removing the seat(s) and fairing
advertisement
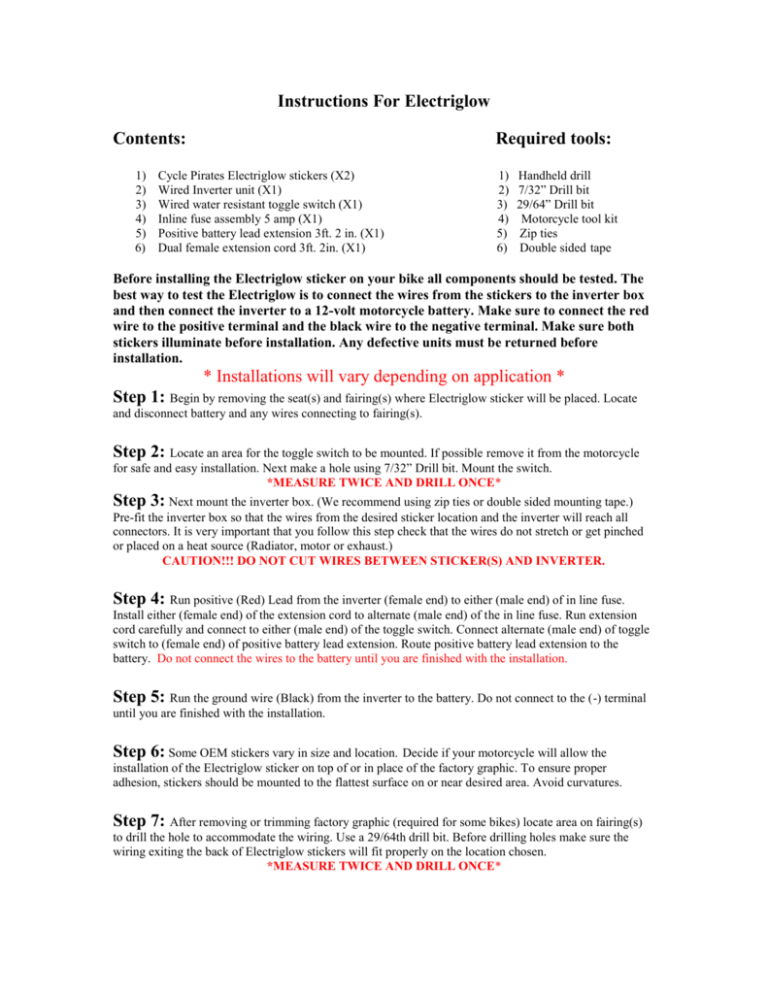
Instructions For Electriglow Contents: 1) 2) 3) 4) 5) 6) Required tools: Cycle Pirates Electriglow stickers (X2) Wired Inverter unit (X1) Wired water resistant toggle switch (X1) Inline fuse assembly 5 amp (X1) Positive battery lead extension 3ft. 2 in. (X1) Dual female extension cord 3ft. 2in. (X1) 1) 2) 3) 4) 5) 6) Handheld drill 7/32” Drill bit 29/64” Drill bit Motorcycle tool kit Zip ties Double sided tape Before installing the Electriglow sticker on your bike all components should be tested. The best way to test the Electriglow is to connect the wires from the stickers to the inverter box and then connect the inverter to a 12-volt motorcycle battery. Make sure to connect the red wire to the positive terminal and the black wire to the negative terminal. Make sure both stickers illuminate before installation. Any defective units must be returned before installation. * Installations will vary depending on application * Step 1: Begin by removing the seat(s) and fairing(s) where Electriglow sticker will be placed. Locate and disconnect battery and any wires connecting to fairing(s). Step 2: Locate an area for the toggle switch to be mounted. If possible remove it from the motorcycle for safe and easy installation. Next make a hole using 7/32” Drill bit. Mount the switch. *MEASURE TWICE AND DRILL ONCE* Step 3: Next mount the inverter box. (We recommend using zip ties or double sided mounting tape.) Pre-fit the inverter box so that the wires from the desired sticker location and the inverter will reach all connectors. It is very important that you follow this step check that the wires do not stretch or get pinched or placed on a heat source (Radiator, motor or exhaust.) CAUTION!!! DO NOT CUT WIRES BETWEEN STICKER(S) AND INVERTER. Step 4: Run positive (Red) Lead from the inverter (female end) to either (male end) of in line fuse. Install either (female end) of the extension cord to alternate (male end) of the in line fuse. Run extension cord carefully and connect to either (male end) of the toggle switch. Connect alternate (male end) of toggle switch to (female end) of positive battery lead extension. Route positive battery lead extension to the battery. Do not connect the wires to the battery until you are finished with the installation. Step 5: Run the ground wire (Black) from the inverter to the battery. Do not connect to the (-) terminal until you are finished with the installation. Step 6: Some OEM stickers vary in size and location. Decide if your motorcycle will allow the installation of the Electriglow sticker on top of or in place of the factory graphic. To ensure proper adhesion, stickers should be mounted to the flattest surface on or near desired area. Avoid curvatures. Step 7: After removing or trimming factory graphic (required for some bikes) locate area on fairing(s) to drill the hole to accommodate the wiring. Use a 29/64th drill bit. Before drilling holes make sure the wiring exiting the back of Electriglow stickers will fit properly on the location chosen. *MEASURE TWICE AND DRILL ONCE* Step 8: Next you will need to prep the fairing or cowling. Remove all debris left over from drilling and wipe the surface with alcohol to remove all dirt, grease, and wax. Step 9: Run the sticker wires through the holes and test fit the sticker before removing adhesive backing. If desired area is a proper fit remove backing and set sticker. Press firmly as you work from the center to the outside of the sticker to eliminate air bubbles. Put a piece of duct tape covering the wires that run through the hole behind the fairing to avoid excess movement. CAUTION!!! THE STICKER IS BACKED WITH AUTOMOTIVE GRADE ADHESIVE AND IT IS VERY STRONG. MAKE SURE YOU PLACE THE STICKER WHERE YOU WANT IT. ONCE IT IS ON IT WILL BE DIFFICULT TO REMOVE WITHOUT DAMAGING THE STICKER. Step 10: Now you can replace the fairing or cowling and connect the sticker wires to the inverter box. Check to make sure all the wiring is connected properly. Then connect the wires to the battery (Red) to the positive terminal (+) and Black to the negative terminal (-). You are now finished with the installation of your CYCLE PIRATES Electriglow Stickers. Show off your bike and light up the night.


