How to use an Exposure Calculators
advertisement
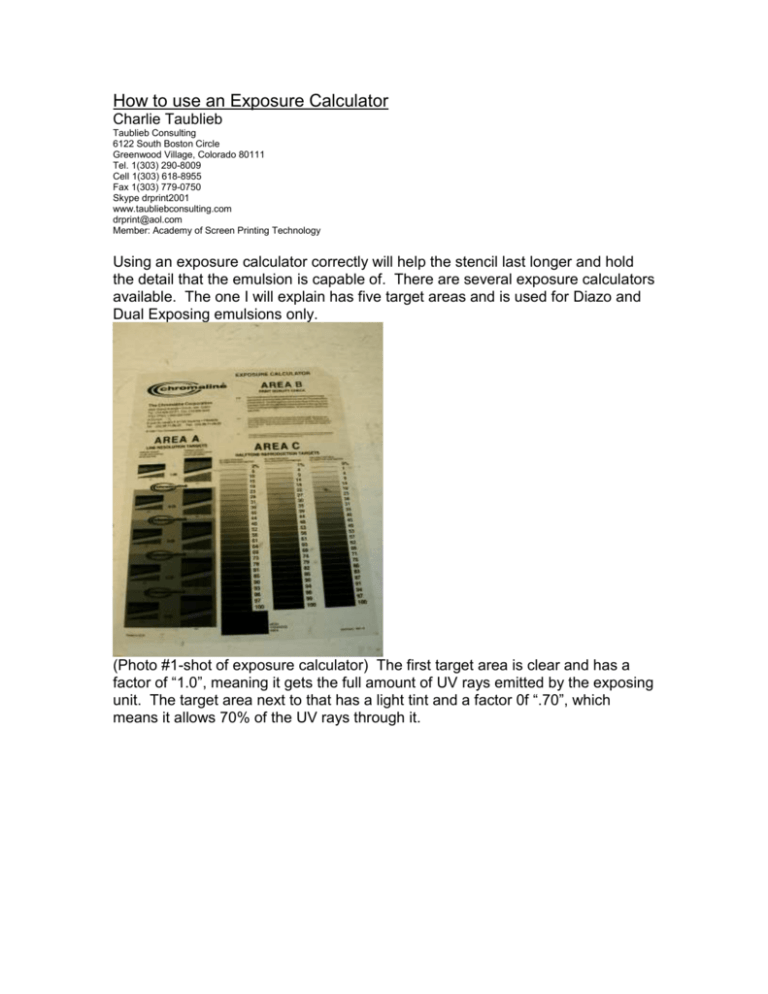
How to use an Exposure Calculator Charlie Taublieb Taublieb Consulting 6122 South Boston Circle Greenwood Village, Colorado 80111 Tel. 1(303) 290-8009 Cell 1(303) 618-8955 Fax 1(303) 779-0750 Skype drprint2001 www.taubliebconsulting.com drprint@aol.com Member: Academy of Screen Printing Technology Using an exposure calculator correctly will help the stencil last longer and hold the detail that the emulsion is capable of. There are several exposure calculators available. The one I will explain has five target areas and is used for Diazo and Dual Exposing emulsions only. (Photo #1-shot of exposure calculator) The first target area is clear and has a factor of “1.0”, meaning it gets the full amount of UV rays emitted by the exposing unit. The target area next to that has a light tint and a factor 0f “.70”, which means it allows 70% of the UV rays through it. (Photo #2-close-up of filters) The next three filters get progressively darker and have factors of “.50”, “.33” and “.25” which means they allow 50%, 33% and 25% of the UV rays. The calculator is put on a coated screen (Photo #3-calculator on an unexposed screen) and exposed for twice as long as seems necessary. Diazo and Dual Exposing emulsions change color when exposed. For example, an emulsion that is blue prior to having sensitizer added, will turn green from the sensitizer because the sensitizer is a yellow ochre color. Once it is fully exposed, it will turn dark blue. If any green is present other than in the image area, it is not fully exposed. (Photo #4-exposed screen) An emulsion that is lavender before it is sensitized will turn to a beige color once sensitized and dark purple once exposed. The changing of the color of the emulsion is what will let us determine weather a stencil is properly exposed or not. By exposing the stencil for twice as long as is thought correct, one of the target areas should have the correct exposure. After the screen is exposed and wet, check the target areas starting with the one that allowed 25% of the UV rays through it. What you are looking for is the color of the emulsion in the target area and the color of the emulsion outside the target area to be the same color, or very close to it. (Photo #5-close-up of target area of wet screen) If all were correct, the target area that allowed 50% of the UV rays through it would be the first one that is the same color as the area that didn’t have a filter. If this is so, then take the exposure time and multiply it by the exposure factor from that target area-“.50”and that would be the correct exposure for that particular mesh count, mesh color, emulsion and coating technique. If the color in the target area is lighter that the area outside the target area, then check the 70% target area. If that one is also lighter in color, a new test has to be conducted that is twice as long as the previous test. Once that test is conducted, a correct exposure time should be determined. If none of the target areas is lighter that the area outside the target area, then all the areas are overexposed and the test needs to be conducted for half the amount of time. This test needs to be conducted for every mesh count, mesh color, emulsion and coating technique to determine proper exposure. Remember that colored mesh requires approximately 50% longer exposures than white mesh. This test should be done periodically and based on the number of screens exposed daily and weather or not there seems to be a breakdown problem when printing.
