lesson plan document only
advertisement
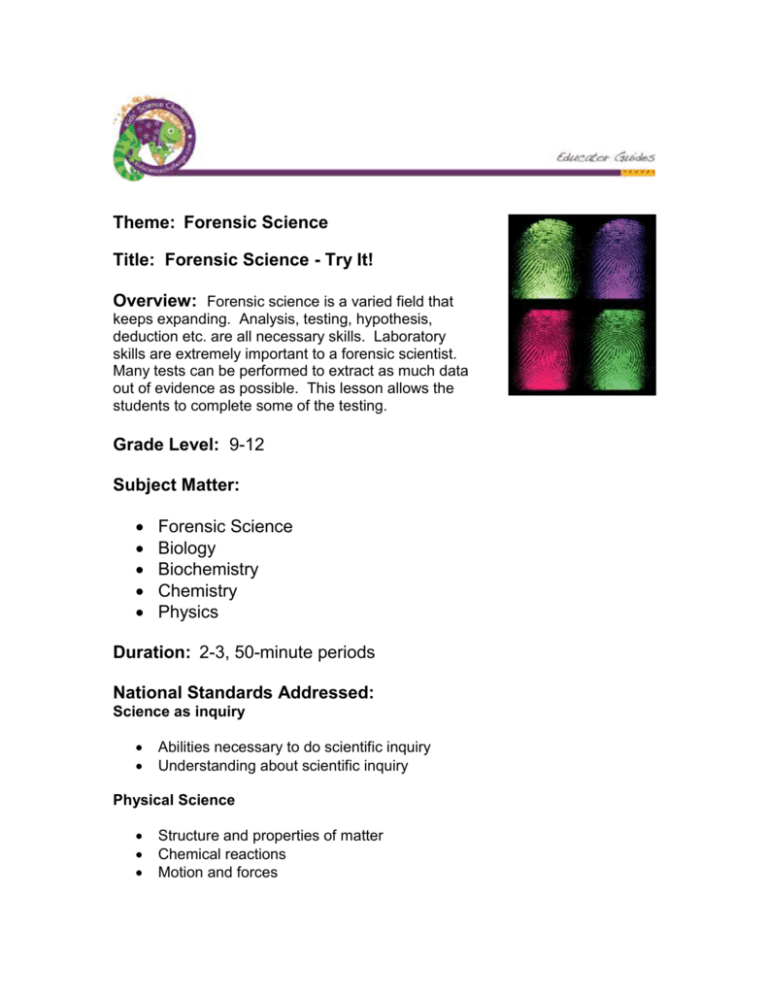
Theme: Forensic Science Title: Forensic Science - Try It! Overview: Forensic science is a varied field that keeps expanding. Analysis, testing, hypothesis, deduction etc. are all necessary skills. Laboratory skills are extremely important to a forensic scientist. Many tests can be performed to extract as much data out of evidence as possible. This lesson allows the students to complete some of the testing. Grade Level: 9-12 Subject Matter: Forensic Science Biology Biochemistry Chemistry Physics Duration: 2-3, 50-minute periods National Standards Addressed: Science as inquiry Abilities necessary to do scientific inquiry Understanding about scientific inquiry Physical Science Structure and properties of matter Chemical reactions Motion and forces Science and technology Abilities of technological design Understanding about science and technology Science in personal and social perspectives Science and technology in local, national, and global challenges History and nature of science Science as a human endeavor Nature of scientific knowledge Objectives: By the end of the lesson, the students should be able to: Describe how some forensic experiments are done in a lab. Materials: See individual experiments below. Procedure: 1. Hook: a. Start off the class by having students get into pairs at a computer. b. Have the students log onto the following website: http://www.virtualmuseum.ca/Exhibitions/Myst/en/game/index.phtml c. Click on the “Help” icon for instructions on how to play. Students complete the activity with partners. d. Compare best scores. 2. Hone your skills. a. Keep the students in their small groups (pairs). b. Have them log onto the following website: http://forensics.rice.edu/html/onlineactivities.html c. Have the students work their way through all the activities. 3. Real forensic testing. a. In this series of lab activities, the students will try their hand at some of the same tests a forensic scientist would do. b. Place the students in their respective lab groups. c. Explain the activity. d. Fingerprinting. i. Present fingerprint background. 1. Due to oils, sweat, and dirt, almost every time we touch something we leave a trace. 2. No two fingerprints are the same. 3. Three basic fingerprint shapes: loops, whorls, and arches. 4. Pictures and information can be found at: http://www.doj.state.wi.us/dles/cibmanuals/files/Ident/ HTML/fingerprintpatterntypes.htm - or http://www.odec.ca/projects/2004/fren4j0/public_html/f ingerprint_patterns.htm ii. Fingerprinting – fuming with super glue. 1. Handout the lab 2. Provide the materials and briefly go over the procedure. 3. This site shows the process described in the lab: http://www.metacafe.com/watch/632618/csi_how_to_l ift_fingerprints_using_superglue/ e. Sugar testing. i. The students will determine whether a drink contains sugar in it. 1. Provide for each lab group three to five unmarked beverages. Label them with numbers. 2. Give each group a set of glucose testing strips. 3. When sugar is present the tip of the strip will change color. If no sugar is present it should not change. Also, depending of the strips used, the amount of sugar could also be judged from the color change. f. DNA Extraction. i. An excellent, concise lab for DNA extraction from an onion can be found at: http://biotech.biology.arizona.edu/labs/DNA_extraction_onio n_studt.html ii. Gather all the materials and mix the solutions ahead of time. iii. A very similar procedure is done when forensic scientists extract DNA to examine from samples. g. Ink Chromatography. i. The students will make chromatograms of several pens to determine the pen used by the guilty individual ii. Write a note using one the pens that will be tested. 1. Also, make a chromatogram of this ink. 2. Don’t let the students see it until the end of the lab when they compare their chromatograms to guilty pen. iii. Explain the instructions on the handout. 4. Solve the case – discussion. a. Go over all the evidence in class. i. Cover scientific principles ii. Cover technological ideas iii. Cover forensic basics. b. Discuss who the evidence is leading to and why. Handouts: Taking Fingerprints For your first task, you must collect fingerprints using superglue. Materials: Medium sized box Light bulb or other heat source Aluminum foil Super Glue / Krazy Glue Hot water Packing tape Procedure: 1. First, prep the box. a. Make the box airtight on all sides but the opening – you will seal this later. b. Cut a hole for the light bulb and insert the light bulb setup through the hole. 2. Heat water until it starts to boil pour into mug or beaker and place into the box 3. Form a cup with aluminum foil. Place the foil cup on the light bulb. 4. Place the object to be fumed (with finger prints) inside the box. 5. Squirt a spoonful of glue into the foil cup. 6. Turn on the light, close up the box and wait ten minutes. 7. Check your results. Sugar Testing Task: Test several solutions (beverages) for presence and amount of sugar. Materials: Several labeled beverages Glucose Test Strips Procedure: 1. Obtain a sample of each beverage and tap water (control) 2. Obtain the glucose test strips. 3. Dip each one into each liquid. 4. Lay them out on a paper towel to examine the results. 5. Compare your results to the unknown liquid test that your teacher has. 6. Record your results in the table below: Beverage 1 Beverage 2 Beverage 3 Beverage 4 Beverage 5 Sugar Amt present Sugar Amt Sugar Amt Sugar Amt Sugar Amt present present present present DNA Extraction Task: You will extract DNA out of an onion. See the following website for concise, easy to read instructions on DNA Extraction from an onion: http://biotech.biology.arizona.edu/labs/DNA_extraction_onion_studt.html Paper Chromatography Task: test the inks of three different pens. Compare the results to the guilty ‘pen.’ Materials: Chromatography paper (or filter paper cut into .5” wide strips) Acetone or alcohol Three small cups Three pencils Procedure: 1. Obtain three strips of chromatography paper. 2. Pour a half a fingernail full of acetone into each of the three cups. 3. Set up the chromatography paper like the picture. Place a single bold pen mark about .5” away from the bottom of the paper. 4. Set up the chromatography apparatus like this picture. Note: do not immerse the ink dot into the acetone. 5. If the ink you are testing does not spread out, then retest using rubbing alcohol. 6. Allow the inks spread out until they almost reach the pencil. 7. Air-dry the chromatography papers. 8. Compare to the culprits pen to determine which pen was used to write the note. Additional Resources Web Sites Kids’ Science Challenge – Scroll down to Detective Science http://www.kidsciencechallenge.com/html/sciencefair.php Virtual Museum http://www.virtualmuseum.ca/Exhibitions/Myst/en/game/index.phtml Rice University Center for Technology in Teaching and Learning http://forensics.rice.edu/html/onlineactivities.html Canada Wide Science Fair http://www.odec.ca/projects/2004/fren4j0/public_html/fingerprint_patterns.htm Biotech Project – The University of Arizona http://biotech.biology.arizona.edu/labs/DNA_extraction_onion_studt.html Animation / Interactive Autopsy of a Murder / Interactive File on Criminalistics (click on interactive file) – Centre Des Sciences De Montreal http://www.centredessciencesdemontreal.com/en/jeunes/jeunes_jeux.htm Putting DNA to Work: Catch a Criminal – NAS Science Museum http://www.koshland-science-museum.org/exhibitdna/crim05.jsp Special thanks to the following scientists for their help with this project: Pulse of the Planet Programs: #4636 “KSC: Forensics - Fingerprints” David Tate Latent Print Examiner Wallie Howard Jr. Center for Forensic Sciences Header Image Name: Finger print 1 Credit: Los Alamos National Laboratory
