HOW TO BUILD A NAMEPLATE
HOW TO BUILD A NAMEPLATE
To build a nameplate, you create a shape, add text, and then add effects to the shape and text. You create the design by adding various effects and colors to the fill, stroke, and text.
Build a Nameplate:
1. Start Macromedia Fireworks MX, open a new document, and specify canvas dimensions (at least 400 pixels wide and 200 pixels high).
2. Save the file.
3. Create a background for your nameplate by using the Rectangle tool from the Tools panel. Leave some white space on the canvas around the rectangle to add effects later. The rectangle shows a light blue outline with small blue squares in the corner when it is selected.
4. Change the color of the stroke (outline) or the fill (inside) of the rectangle by using the Stroke Color and Fill Color tools on the Property inspector or the Tools panel.
5. To add your name to the rectangle, select the Text tool on the Tools panel, then click and drag to draw a text box over the rectangle you just created.
Using the Property inspector, select the font, size, color, and style you want.
Key your name.
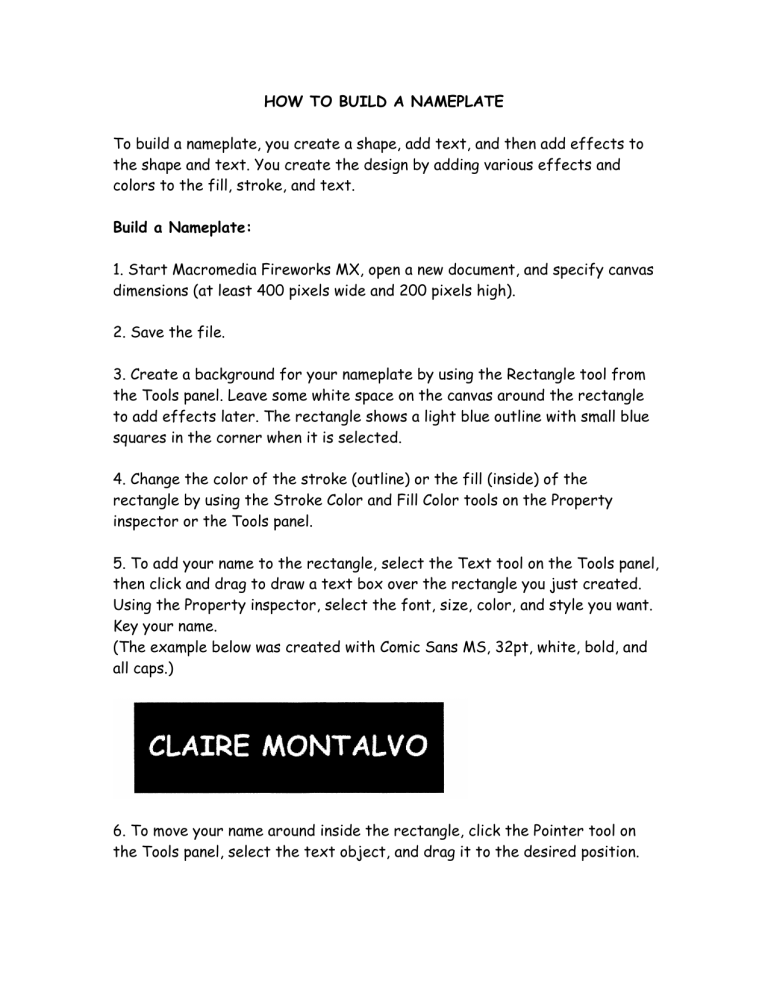
(The example below was created with Comic Sans MS, 32pt, white, bold, and all caps.)
6. To move your name around inside the rectangle, click the Pointer tool on the Tools panel, select the text object, and drag it to the desired position.
7. To customize the look of the nameplate, select the rectangle or text.
Then click the Add effects button on the Property inspector, select an effect, and choose your settings. You can also change the type of fill and stroke.
The illustrated nameplate uses a Satin fill pattern, no stroke, with Inner
Glow and Gaussian Blur effects for the rectangle. The text on the nameplate uses the Drop Shadow effect.
8. After you complete all the desired effects, choose Modify> Canvas > Trim
Canvas from the main menu bar. This action removes any excess white space around the image.
9. Save the nameplate.
HOW TO CREATE EFFECTS
Effects are applied to graphic and text objects, either to the interior of an object, to the border, or to both. Effects add dimension and contrast between the object and its background. These effects can be found on the
Property inspector, in the Fill pane, the Stroke pane, and the Effects pane.
Each effect has variables you can change to customize the effect. The following are the effects you can use.
Effects Pane
Adjust Color
• Auto Levels: Same as the Levels filter, but Fireworks automatically changes the lightest to darkest pixel range.
• Brightness/Contrast: The Brightness makes the object brighter or darker.
The Contrast makes the distinction between light and dark greater or smaller.
• Color Fill: Place another color on top of the object and change how transparent it is and/or how it blends with the original color.
• Curves: Adjust any color along the tonal range (the light-to-dark spectrum) without affecting other colors.
• Hue/Saturation: Adjust the color by changing the purity and lightness of the color in the image.
• Invert: Change a color to the inverse color on the color wheel. For example, apply Invert to a red object to change its color to light blue.
• Levels: Change the tonal range (the light-to-dark spectrum) by changing the number of pixels that are highlights, midtones, or shadows.
Bevel
You can alter a bevel’s color, its type (raised, highlighted, inverted, or inset), the shape of the bevel edge (flat, smooth, sloped, and so on), its contrast, its softness, and the angle of light that d falls on it.
• Inner Bevel: Give an object a 3D look by making the inside of the object look lower than the outside of the object.
• Outer Bevel: Give an object a 3D look by making the inside of the object look higher than the outside of the object.
Emboss
You can alter the way the embossing looks by altering its width, contrast, and softness, and the angle of light that falls on it.
• Inset Emboss: Make an image appear inset from its background.
• Raised Emboss: Make an image appear raised from its background.
Blur
• Blur: Blur the pixels in an image.
• Blur More: Blur three times as much as Blur.
• Gaussian Blur: Apply a weighted average of blur to each pixel to produce a hazy effect.
Other
• Convert to Alpha: Convert an object into a gradient transparency based on the transparency of the image.
• Find Edges: Identify the color transitions and change those transitions to lines to give a sketched look.
Shadow and Glow
The Shadow and Glow effects simulate angles of light falling on the object.
You can alter the color of the shadow or glow. You can alter the distance of the shadow from the object or width of the glow, the opacity of the shadow or glow, its softness, and the angle of light that falls on a shadow or the offset of the glow from the object.
• Drop Shadow: Make the object appear to be casting a shadow.
• Glow: Make the object appear to glow.
• Inner Glow: Highlight the object.
• Inner Shadow: Darken the object so it looks as though something is casting a shadow on it.
Sharpen
• Sharpen: Adjust the focus of a blurred image.
• Sharpen More: Adjust the focus three times more than Sharpen.
• Unsharp Mask: Adjust the contrast of the image edges to sharpen an image.
Eye Candy 4000 LE
Like the other effects, Eye Candy 4000 LE effects have attributes for altering them. Because Eye Candy combines many of the previously mentioned effects, you can alter combinations of sub attributes for customizing the effect of Eye Candy.
• Bevel Boss: Create a beveled, embossed, and highlighted look all at once.
• Marble: Create a marbled look.
• Motion Trail: Draw a trail from the object to simulate rapid movement.
Alien Skin Splat LE
• Edges: Apply a halftone dot pattern to the edges.
Fill Effects
Fill effects alter only the inside of an object. These effects add texture to a graphic or text object. The bottom of the Fill category menu list contains various gradient effects: Linear, Radial, Ellipse, and so on. Following are the items at the top of the menu list.
• None (white box with red diagonal line): Use no color to fill the object.
• Solid: Fill the object with a solid color.
• Web Dither: Approximate colors not in the current palette.
• Pattern: Create a textured pattern as the fill.
Stroke Effects
Stroke effects alter only the stroke or outline of a graphic or text object.
In this pane you can change the type of medium used to create the outline.
Each medium has options such as tip size, texture of the ink, and sharpness of the pen tip. The following mediums are available:
• Pencil: Several types of pencils.
• Basic: Several types of pens.
• Air Brush: Several types of airbrushes.
• Calligraphy: Several types of calligraphy pen tips.
• Charcoal: Several colors and types of charcoal pens.
• Crayon: Several types and colors of crayons.
• Felt tip: Several types of felt pens.
• Oil: Several types of oil paintbrushes.
• Watercolor: Several types of watercolor brushes.
• Random: Several types of elements surrounding the object (Confetti, Dots,
Fur, Squares, Yarn).
• Unnatural: Several looks created with multiple pens to the stroke of the object (3D, 3D Glow, Chameleon, Fluid Splatter, Outline, Paint Splatter,
Toothpaste, Toxic Waste, and Viscous Alien Paint).
