Genotyping Protocol
advertisement
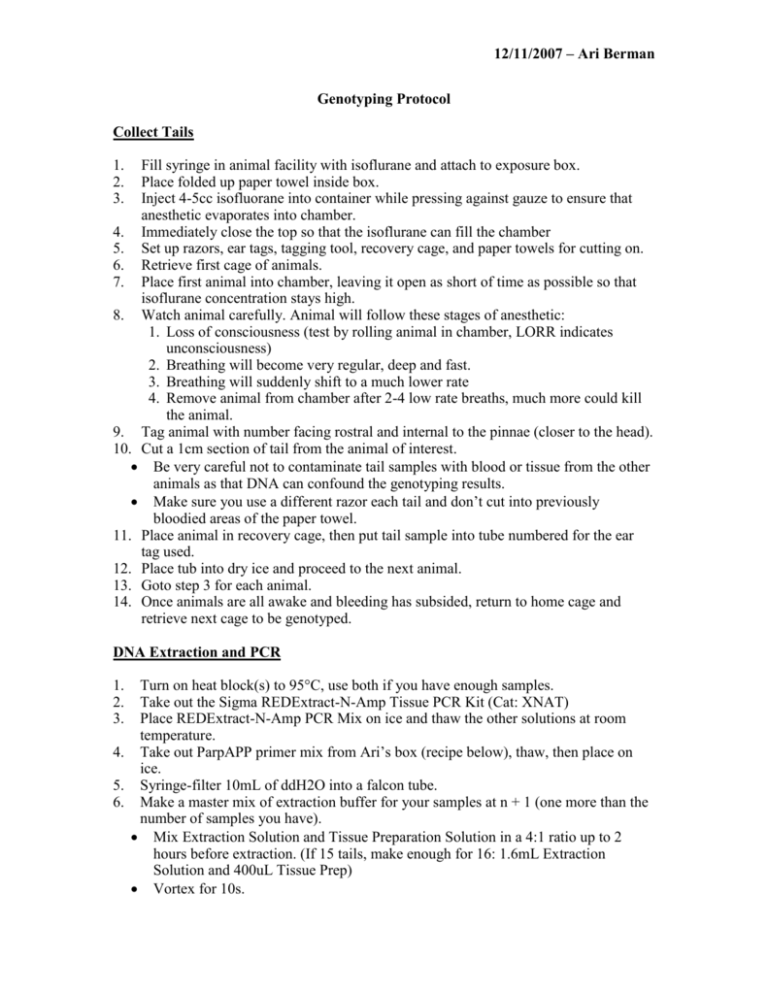
12/11/2007 – Ari Berman Genotyping Protocol Collect Tails 1. 2. 3. Fill syringe in animal facility with isoflurane and attach to exposure box. Place folded up paper towel inside box. Inject 4-5cc isofluorane into container while pressing against gauze to ensure that anesthetic evaporates into chamber. 4. Immediately close the top so that the isoflurane can fill the chamber 5. Set up razors, ear tags, tagging tool, recovery cage, and paper towels for cutting on. 6. Retrieve first cage of animals. 7. Place first animal into chamber, leaving it open as short of time as possible so that isoflurane concentration stays high. 8. Watch animal carefully. Animal will follow these stages of anesthetic: 1. Loss of consciousness (test by rolling animal in chamber, LORR indicates unconsciousness) 2. Breathing will become very regular, deep and fast. 3. Breathing will suddenly shift to a much lower rate 4. Remove animal from chamber after 2-4 low rate breaths, much more could kill the animal. 9. Tag animal with number facing rostral and internal to the pinnae (closer to the head). 10. Cut a 1cm section of tail from the animal of interest. Be very careful not to contaminate tail samples with blood or tissue from the other animals as that DNA can confound the genotyping results. Make sure you use a different razor each tail and don’t cut into previously bloodied areas of the paper towel. 11. Place animal in recovery cage, then put tail sample into tube numbered for the ear tag used. 12. Place tub into dry ice and proceed to the next animal. 13. Goto step 3 for each animal. 14. Once animals are all awake and bleeding has subsided, return to home cage and retrieve next cage to be genotyped. DNA Extraction and PCR 1. 2. 3. Turn on heat block(s) to 95°C, use both if you have enough samples. Take out the Sigma REDExtract-N-Amp Tissue PCR Kit (Cat: XNAT) Place REDExtract-N-Amp PCR Mix on ice and thaw the other solutions at room temperature. 4. Take out ParpAPP primer mix from Ari’s box (recipe below), thaw, then place on ice. 5. Syringe-filter 10mL of ddH2O into a falcon tube. 6. Make a master mix of extraction buffer for your samples at n + 1 (one more than the number of samples you have). Mix Extraction Solution and Tissue Preparation Solution in a 4:1 ratio up to 2 hours before extraction. (If 15 tails, make enough for 16: 1.6mL Extraction Solution and 400uL Tissue Prep) Vortex for 10s. 12/11/2007 – Ari Berman 7. Add 125uL of master extraction mix to each tail sample. 8. Incubate at room temperature for 10 minutes. 9. Incubate at 95°C for 3 minutes. 10. Remove from heat and quickly add 100ul Neutralization Solution B to each sample. 11. Vortex each sample for 5 sec to mix 12. Shake tail down to bottom of tube Remove tails from extraction mixture and store at 4°C for up to 6 months. Make sure to discard tails into freezer bag to be taken back to animal facility. 13. Take out enough PCR tubes for the number of tails you have, or a 96-well plate 14. Put the tubes in tube rack and cover with strip caps 15. Make a master PCR mix for n + 1 samples (preferably while step 8 is happening). 10ul REDExtract-N-Amp PCR Reaction Mix per tail sample 1ul ParpAPP primer mix per tail sample 5ul filtered ddH2O per tail sample Vortex for 10 seconds, centrifuge at full speed for 15 sec Place on ice 14. Place PCR tubes on ice and perform all PCR prep on ice as well. 15. Place 16ul of PCR Master Mix into each tube that will be used for tails. 16. Using only filter-tips, carefully pipette 4ul of each tail extraction into each tube 17. Mix by slowly pipetting up and down 5x, make sure as much of the PCR reaction solution stays at the bottom of each tube as much as possible 18. Repeat for all samples, making sure that you do not contaminate any tail extraction with another (the smallest amount of DNA can mess up the reaction). 19. Cap the tubes (or 96-well plate), leave on ice. 20. Turn on the PCR machine, log in as AEB. 21. Go to the protocol library, scroll to the ParpGT folder and select the program. 22. Select “Run Program”. 23. Set “Hot Start” option to Yes and to 94°C. 24. Set reaction volume to 20ul and temperature method to Algorithmic. 25. Start the reaction The machine will raise the temperature of the heated lid to 100°C The block will then go to 94°C and hold 26. Open the lid and place the PCR tubes quickly and carefully into the heated block. 27. Close the lid as soon as possible to prevent PCR reaction mix evaporation. 28. Select “Resume” on the PCR machine, which will start the PCR run. 29. The PCR machine will tell you when the projected completion of the PCR reaction will be, come back then or let go overnight. The machine will hold the samples at 4°C when the run is finished. ParpAPP Primer Mix (500ul): 50ul Parp1F primer 25ul JaxParp1 primer 25ul NeoRB2r primer 25ul Pd-APP-1F primer 25ul Pd-APP-1R primer 350uL filtered ddH2O Vortex for 10s, place at -20°C 12/11/2007 – Ari Berman Run the gel * All measurements will be listed for the (large/small) gel rigs. 1. 2. 3. 4. 5. 6. 7. 8. 9. 10. 11. 12. 13. 14. 15. 16. 17. 18. 19. 20. 21. 22. 23. 24. 25. 26. 27. 28. 29. 30. Take out either the large or small agarose gel rig (or both) Gel rigs can handle (38/24) samples with two combs. Rinse the gel mold with water and make sure the gasket is very wet Place the mold into the running rig so that the gaskets are sealed against the side walls of the rig. Have 1-2 combs (green/blue) ready and cleaned next to the rig Make sure the rig is level!! (an uneven gel won’t run well) Make a 3% agarose gel Measure out (4.5g/2.25g) agarose and place into 250mL beaker. Add (150mL/75mL) 1x TAE to the beaker and swirl to mix. Place beaker in microwave for 1:30. Take beaker out and swirl (don’t burn yourself, it is hot!) Heat for another (35s/20s) Swirl again, repeat until no visible beads are in the solution. Add (15ul/8ul) SYBRSafe DNA dye to the molten gel and swirl gently in both directions to mix thoroughly. Pour the mixture into the mold, place the beaker into the sink and start running water into it. Quickly place the comb(s) into the comb sockets on the gel mold, 1.5mm side down (thicker wells). Cover the gel loosely with foil to protect from light. Let stand for 30 minutes or until gel is room temperature and solid to the touch. Take out 100bp DNA ladder and 6x loading dye to thaw on the bench top while gel is setting up. Pull out combs by pulling steadily straight up (it takes a little strength to get combs out of 3% gel). Remove gel mold and turn it so that if the leads of the rig are facing right, the wells are pointed toward to the top of the rig. Fill the gel rig with 1x TAE until fluid level just covers the gel (about 2-3mm). Mix 6uL 100bp ladder and 1ul loading dye per comb (if using two combs, double these amounts) in a tube and mix by pipetting up and down several times. Pipette 7ul DNA ladder/dye mix into the far left well in each row of wells. Pipette 10uL of each PCR reaction straight from the PCR tube into each of the wells, taking care to keep track of which well is which and making sure that you don’t contaminate the other wells or other PCR samples with the other reaction mixtures. Once the gel(s) is loaded, Place the top on the gel rig and attach to the power supply. Run the gel for 1hour at 120V. Recap the PCR tubes and place at 4°C in case you need to rerun the gel. Get the memory card from Ari’s desk drawer and place it into the digital camera in the microscope room. Place the gel directly onto the UV transilluminator. Turn on the camera, activate the screen, turn off the flash, and turn on the macro lens. 12/11/2007 – Ari Berman 31. Make sure the UV filter is in front of the lens. 32. Place a UV shield over your face (the shortwavelength UV emitted from the UV box is extremely harmful to your eyes with very little exposure, and not good for your skin either). 33. Zoom into your gel, center it, and take a picture or two. 34. Turn off the UV box, turn off the camera, take the gel off of the box and the box down with a Kimwipe. 35. Throw the gel away and give the card to Ari to analyze.


