File
advertisement
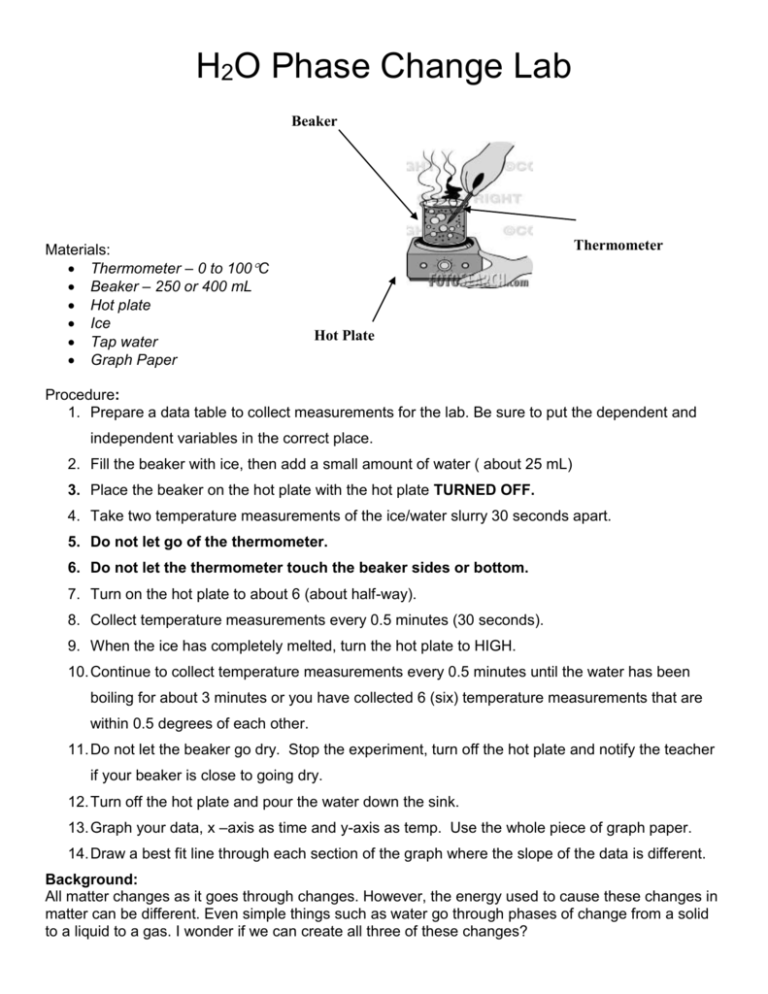
H2O Phase Change Lab Beaker Materials: Thermometer – 0 to 100C Beaker – 250 or 400 mL Hot plate Ice Tap water Graph Paper Thermometer Hot Plate Procedure: 1. Prepare a data table to collect measurements for the lab. Be sure to put the dependent and independent variables in the correct place. 2. Fill the beaker with ice, then add a small amount of water ( about 25 mL) 3. Place the beaker on the hot plate with the hot plate TURNED OFF. 4. Take two temperature measurements of the ice/water slurry 30 seconds apart. 5. Do not let go of the thermometer. 6. Do not let the thermometer touch the beaker sides or bottom. 7. Turn on the hot plate to about 6 (about half-way). 8. Collect temperature measurements every 0.5 minutes (30 seconds). 9. When the ice has completely melted, turn the hot plate to HIGH. 10. Continue to collect temperature measurements every 0.5 minutes until the water has been boiling for about 3 minutes or you have collected 6 (six) temperature measurements that are within 0.5 degrees of each other. 11. Do not let the beaker go dry. Stop the experiment, turn off the hot plate and notify the teacher if your beaker is close to going dry. 12. Turn off the hot plate and pour the water down the sink. 13. Graph your data, x –axis as time and y-axis as temp. Use the whole piece of graph paper. 14. Draw a best fit line through each section of the graph where the slope of the data is different. Background: All matter changes as it goes through changes. However, the energy used to cause these changes in matter can be different. Even simple things such as water go through phases of change from a solid to a liquid to a gas. I wonder if we can create all three of these changes? Hypothesis: I believe that if we use different temperatures then we can change the phases of water. Analysis/Results: 1. Label your graph to indicate the different phases of water. 2. What is happening to the water during the “flat” areas in the graph? The temperature stays the same. 3. What is happening to the water during the slanted areas in the graph? The water melts from a solid to a liquid while it’s heating up. 4. In what areas of the graph is there more than one phase of water present? Within the first three and half minutes. 5. What is happening to the heat from the hot plate when the water is changing from ice to liquid? As the hot plate gets hotter, its heat transfers to the ice and melts it into a liquid. 6. What is happening to the heat from the hot plate when the water is a liquid only. It is still becoming hotter to the point where it begins to boil. 7. How would the graph look different if you had twice the amount of water? It would be much longer (considering it a line graph) since there would be twice as much water. The ice would take longer to melt and the water would take longer to boil. Conclusion: I learned that although it’s simple to change the phase of water, it changes at certain times. Sometimes it stays consistent while other it changes immediately. My group was successful in changing ice to water to gas and writing down all of the times it changed.
