Faculty QUICK GUIDE Accessing ARTstor To enter the ARTstor
advertisement
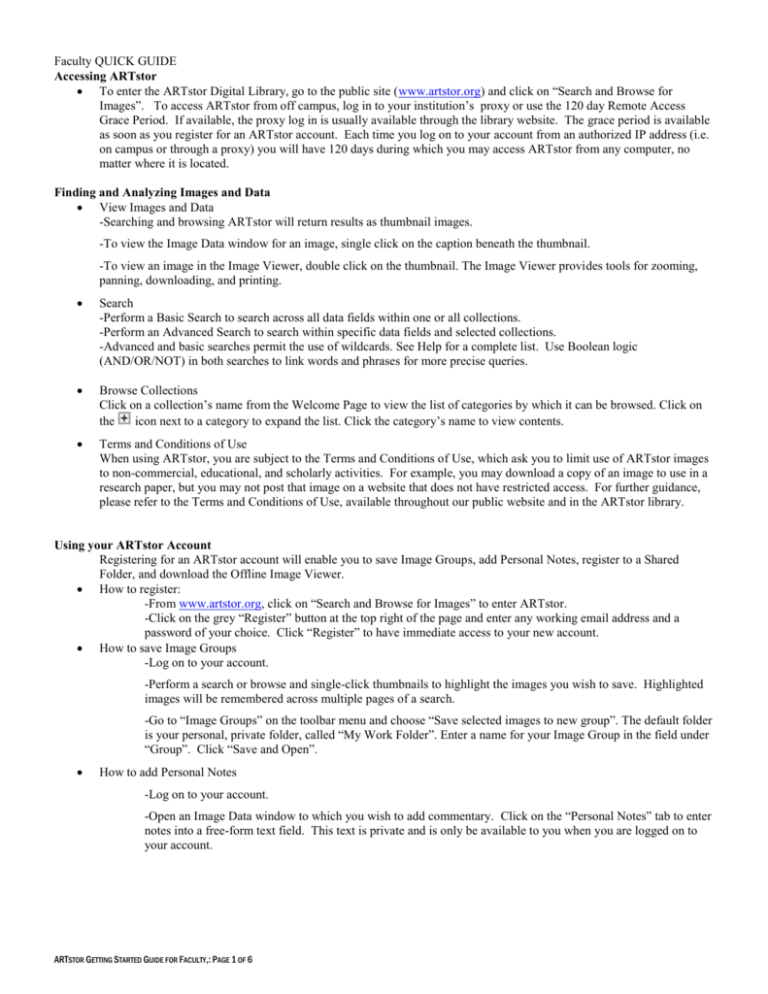
Faculty QUICK GUIDE Accessing ARTstor To enter the ARTstor Digital Library, go to the public site (www.artstor.org) and click on “Search and Browse for Images”. To access ARTstor from off campus, log in to your institution’s proxy or use the 120 day Remote Access Grace Period. If available, the proxy log in is usually available through the library website. The grace period is available as soon as you register for an ARTstor account. Each time you log on to your account from an authorized IP address (i.e. on campus or through a proxy) you will have 120 days during which you may access ARTstor from any computer, no matter where it is located. Finding and Analyzing Images and Data View Images and Data -Searching and browsing ARTstor will return results as thumbnail images. -To view the Image Data window for an image, single click on the caption beneath the thumbnail. -To view an image in the Image Viewer, double click on the thumbnail. The Image Viewer provides tools for zooming, panning, downloading, and printing. Search -Perform a Basic Search to search across all data fields within one or all collections. -Perform an Advanced Search to search within specific data fields and selected collections. -Advanced and basic searches permit the use of wildcards. See Help for a complete list. Use Boolean logic (AND/OR/NOT) in both searches to link words and phrases for more precise queries. Browse Collections Click on a collection’s name from the Welcome Page to view the list of categories by which it can be browsed. Click on the icon next to a category to expand the list. Click the category’s name to view contents. Terms and Conditions of Use When using ARTstor, you are subject to the Terms and Conditions of Use, which ask you to limit use of ARTstor images to non-commercial, educational, and scholarly activities. For example, you may download a copy of an image to use in a research paper, but you may not post that image on a website that does not have restricted access. For further guidance, please refer to the Terms and Conditions of Use, available throughout our public website and in the ARTstor library. Using your ARTstor Account Registering for an ARTstor account will enable you to save Image Groups, add Personal Notes, register to a Shared Folder, and download the Offline Image Viewer. How to register: -From www.artstor.org, click on “Search and Browse for Images” to enter ARTstor. -Click on the grey “Register” button at the top right of the page and enter any working email address and a password of your choice. Click “Register” to have immediate access to your new account. How to save Image Groups -Log on to your account. -Perform a search or browse and single-click thumbnails to highlight the images you wish to save. Highlighted images will be remembered across multiple pages of a search. -Go to “Image Groups” on the toolbar menu and choose “Save selected images to new group”. The default folder is your personal, private folder, called “My Work Folder”. Enter a name for your Image Group in the field under “Group”. Click “Save and Open”. How to add Personal Notes -Log on to your account. -Open an Image Data window to which you wish to add commentary. Click on the “Personal Notes” tab to enter notes into a free-form text field. This text is private and is only be available to you when you are logged on to your account. ARTSTOR GETTING STARTED GUIDE FOR FACULTY,: PAGE 1 OF 6 How to register to a Shared Folder -Log on to your account. -Select “Tools” from the menu, and select “Access Shared Folder”. -Enter your name and the password that your instructor provided in the provided fields, and click “Register”. You will receive confirmation if you registered successfully. How to install the Offline Image Viewer --Log on to your account -From the “Tools” menu, select “Download Offline Viewer”. You will be asked to enter your account logon the first time you run the program. It may be installed on any machine with Internet access. Creating and Sharing Presentations with the Offline Image Viewer ARTSTOR GETTING STARTED GUIDE FOR FACULTY,: PAGE 2 OF 6 To Import Images: -ARTstor Image Groups: Go to the “Insert” menu and select “Image Group(s) from ARTstor”. After entering your logon information at the prompt, you will see the list of folders to which you have access. Double click on the folder icon to view the Image Groups within it, select a group, and click “Open”. -Local images: Go to the “Insert” menu and choose “Local image(s)” to view your computer directory. Select your image(s) and click “Open”. Using the Image Palette All images are imported into the Image Palette. Double-click on an image to begin the Image Palette Slideshow. Use the slideshow toolbar to display data, simultaneously display two images, and to move through your presentation. Click and drag to zoom in and pan around the image. A full list of keyboard shortcuts is available in Help. Using the Slide Editor and Slide Sorter -Author slides in the Slide Editor window. Slides may include text, images, detailed zooms, and shapes. Templates are available for “zoomable” slides. -Double click a slide in the Slide Sorter to begin the Slide Sorter Presentation. Use keyboard shortcuts (full list available in Help) to navigate the presentation. Upgrading your ARTstor Account You may want to upgrade your ARTstor account in order to utilize more advanced functionality such as Shared Folders, Instructor Commentary, and Personal Collections. Upgrading to Instructor-Level Privileges is completely optional. If you do not wish to use any of the advanced functionality listed in this section, you do not have to register for Instructor Privileges. To register for Instructor Privileges, you must first be logged onto your ARTstor account. After logging in, follow these steps to upgrade your account: Go to the “Tools” toolbar button and click on the option to “Obtain Instructor Privileges.” A form will open, prompting you for an Authorization Code and Password, which you may obtain from the local ARTstor contact listed in the window. After entering the Authorization Code and Password, click on the “Submit” button to complete the upgrade. If you entered the correct code and password combination, you will receive a confirmation message. Once you have registered for Instructor Privileges, ARTstor remembers your registration and associates this higher level of access with your account; you never have to repeat this process. Creating and Managing Shared Folders Now that you have upgraded your account, you may create a Shared Folder to share your Image Groups with others at your institution. As a Registered User, you only had the option to save images into a private “My Work Folder” that only you could view. As an Instructor, you can create additional folders to organize your images, whether by topic, course, or project. To create a Shared Folder, log onto your account, then go to the “Tools” toolbar button and select “Create Shared Folder”. This will open a dialog box that will guide you through the process of setting up a Shared Folder. For step-by-step instructions, see “Shared Folders” in the “Overview: Instructor–Level Functions” section of our online help (www.artstor.org/webhelp). You can manage any of the folders that you have created in the “Shared Folder Administration” window (see below). To open the “Folder Administration,” select it from the “Tools” toolbar button. You can use the tabs to manage different aspects of your Shared Folders: Folders/ Groups: copy Image Groups to various folders, delete Image Groups and folders Access Controls: change folder titles, view and change passwords and Read/Write access levels, create or remove Student Work Folders Student Administration: monitor user registration to your password-protected Shared Folders ARTSTOR GETTING STARTED GUIDE FOR FACULTY,: PAGE 3 OF 6 You can find detailed information about managing your Shared Folders in the “Shared Folders” section within the “Overview: Instructor–Level Functions” section of our online help (www.artstor.org/webhelp). Adding Instructor Commentary to Images As a Registered User, you have the ability to add Personal Notes, which are private and can only be viewed by you. By contrast, Instructors may elect to add commentary to images that are shareable with others at their institution. To begin, open the Data Window (see below) for any image you have saved into an Image Group by clicking on the caption beneath it in the Thumbnail Page (or “Full Record...” if you are in List View). In addition to a “Personal Notes” tab, Instructors will have access to an “Instructor’s Commentary” tab. Use this free text field to key in notes that you would like to share. You may also cut and paste text from another electronic document. When you are finished entering your commentary and you wish to share it, un-check the “Hide Commentary” box in the lower right corner of the window and click the “Save” button. Creating and Managing a Personal Collection ARTSTOR GETTING STARTED GUIDE FOR FACULTY,: PAGE 4 OF 6 Instructors may create their own Personal Collection in ARTstor by uploading image or audio files from a local drive, disk, or CD onto ARTstor's servers. Each instructor-level user has up to 1GB of storage space. When a personal file is uploaded to Personal Collections, ARTstor makes a copy of the file to store on our servers. The original file will remain in place in the user’s local/removable drive. Presently, the following file formats are supported for uploading into ARTstor's Personal Collection tool: JPG/JPEG, GIF, TIFF, BMP, PNG, MP3. To begin uploading images to your Personal Collection, go to the “Tools” toolbar menu and select the “Personal Collection File Upload” option. A new window will open (see below), giving you the opportunity to browse to the location of the file(s) that you wish to upload. You may choose up to 5 files to upload at one time. Once you’ve chosen the files you wish to upload, click the “Upload” button. Personal Collections must be enabled at each institution by the local ARTstor administrator. If the tools are disabled, you will see the following message in the middle of the upload window: "To enable your Personal Collection, please contact your local ARTstor administrator." In this case, you will need to contact your institution's ARTstor administrator to get access to the Personal Collections tools. Once you have uploaded files to your Personal Collection, you may begin to manage it. You can use the “Personal Collections Administration” (see below) to set access levels for files, organize your collection, catalog individual files, upload additional files, and share files with other ARTstor users. You can open the “Personal Collections Administration” from the “Tools” toolbar menu. ARTSTOR GETTING STARTED GUIDE FOR FACULTY,: PAGE 5 OF 6 To view the files in your Personal Collection, you will need to log on to your ARTstor account. Once logged in, you can search using ARTstor to find Personal Collection files if you have catalogued them. Alternatively you can click on the link for “My Personal Collection” on the Welcome Page. If you click on this link, you will see your Collection’s page and any browsing categories that you created for your collection. To view the images within your collection, simply click on the category name or “My Personal Collection” to open a thumbnail page with your files displayed. You may now use these files as you would any ARTstor images. How to get Help with ARTstor The online Help index is available at www.artstor.org/webhelp or under “Help” in ARTstor. It includes an extensive list of troubleshooting tips and “How do I…” step by step answers, as well as technical specifications required to use ARTstor. Please contact your local ARTstor User Support Contact at your library. ARTstor User Services Contact Information: Telephone: 888.278.0079 (USA only) Email: userservices@artstor.org Fax: 212.500.2401 151 East 61st Street New York, NY 10021 Hours: Monday – Friday: 9 am to 8 pm EST Friday: 9 am to 5 pm EST ARTSTOR GETTING STARTED GUIDE FOR FACULTY,: PAGE 6 OF 6
