Lab Exercise 2-The Microscope
advertisement
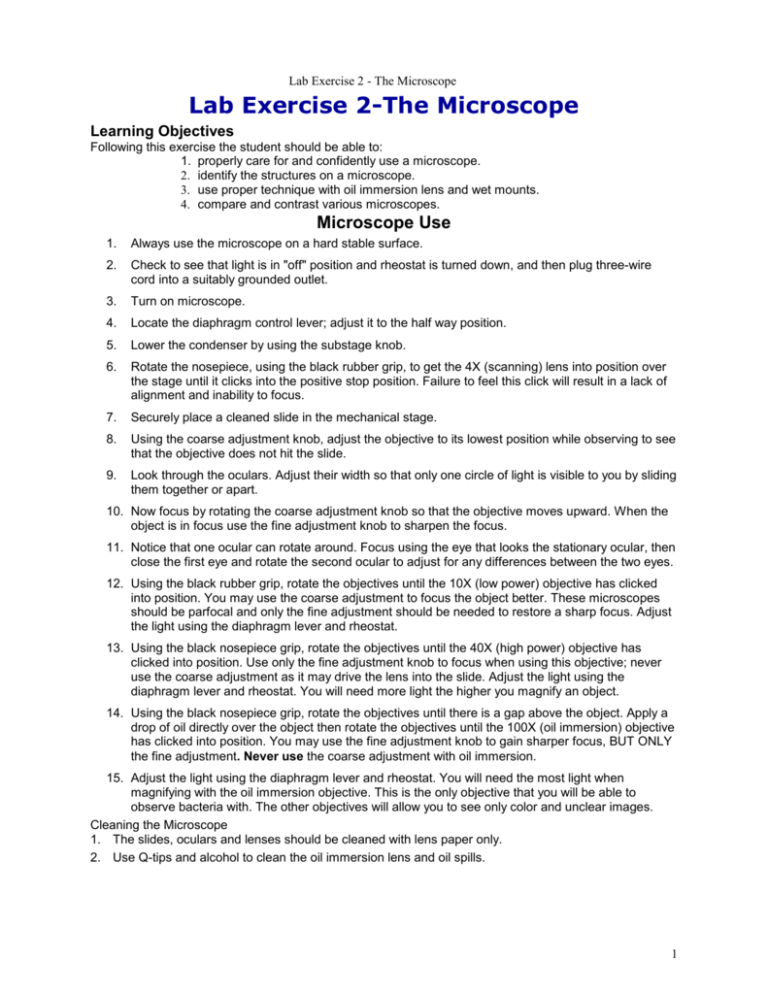
Lab Exercise 2 - The Microscope Lab Exercise 2-The Microscope Learning Objectives Following this exercise the student should be able to: 1. properly care for and confidently use a microscope. 2. identify the structures on a microscope. 3. use proper technique with oil immersion lens and wet mounts. 4. compare and contrast various microscopes. Microscope Use 1. Always use the microscope on a hard stable surface. 2. Check to see that light is in "off" position and rheostat is turned down, and then plug three-wire cord into a suitably grounded outlet. 3. Turn on microscope. 4. Locate the diaphragm control lever; adjust it to the half way position. 5. Lower the condenser by using the substage knob. 6. Rotate the nosepiece, using the black rubber grip, to get the 4X (scanning) lens into position over the stage until it clicks into the positive stop position. Failure to feel this click will result in a lack of alignment and inability to focus. 7. Securely place a cleaned slide in the mechanical stage. 8. Using the coarse adjustment knob, adjust the objective to its lowest position while observing to see that the objective does not hit the slide. 9. Look through the oculars. Adjust their width so that only one circle of light is visible to you by sliding them together or apart. 10. Now focus by rotating the coarse adjustment knob so that the objective moves upward. When the object is in focus use the fine adjustment knob to sharpen the focus. 11. Notice that one ocular can rotate around. Focus using the eye that looks the stationary ocular, then close the first eye and rotate the second ocular to adjust for any differences between the two eyes. 12. Using the black rubber grip, rotate the objectives until the 10X (low power) objective has clicked into position. You may use the coarse adjustment to focus the object better. These microscopes should be parfocal and only the fine adjustment should be needed to restore a sharp focus. Adjust the light using the diaphragm lever and rheostat. 13. Using the black nosepiece grip, rotate the objectives until the 40X (high power) objective has clicked into position. Use only the fine adjustment knob to focus when using this objective; never use the coarse adjustment as it may drive the lens into the slide. Adjust the light using the diaphragm lever and rheostat. You will need more light the higher you magnify an object. 14. Using the black nosepiece grip, rotate the objectives until there is a gap above the object. Apply a drop of oil directly over the object then rotate the objectives until the 100X (oil immersion) objective has clicked into position. You may use the fine adjustment knob to gain sharper focus, BUT ONLY the fine adjustment. Never use the coarse adjustment with oil immersion. 15. Adjust the light using the diaphragm lever and rheostat. You will need the most light when magnifying with the oil immersion objective. This is the only objective that you will be able to observe bacteria with. The other objectives will allow you to see only color and unclear images. Cleaning the Microscope 1. The slides, oculars and lenses should be cleaned with lens paper only. 2. Use Q-tips and alcohol to clean the oil immersion lens and oil spills. 1 Lab Exercise 2 - The Microscope Lab Exercise #2 Name_________________________ Microscope Assigned Microscope______________ In Microbiology we will be studying organisms too small to be seen with the naked eye. This lab builds upon microscopic techniques you have developed in other courses. The purpose of this lab is to emphasize proper technique and develop proficient use of the oil immersion lens. The microscope is a very important tool; proper care of this instrument will benefit you in the future lab exercises. 1. Be prepared to define: Resolution Parfocal Working distance Index of Refraction 2. Review the parts of the microscope indicated below. Write the function of each part below. Identify the structures on your assigned scope and draw a line to the correct part on the picture. diaphragm - condenser - coarse adjustment - fine adjustment - scanning, low and high power objectives - (note color) oil immersion objective - 2 Lab Exercise 2 - The Microscope 3. Fill in the following information for your microscope. Working Distance Magnification Lens of this lens Ocular Color of Lens Large or small Not applicable Amount of light needed when using this lens NA Method for cleaning this lens NA Scanning Low Power High Power Oil immersion 4. Write three important points to remember when using the oil immersion lens. 5. Observe the slide of the blood on high power. Is your diaphragm opened or closed? ____ When you have focused the blood clearly, call the instructor & get a signature, before going to the next slide. signature____________ 6. Without removing the blood slide, move the high dry lens out of position, add a drop of oil, and click the oil immersion lens into place. Focus using the fine adjustment knob only. Did you adjust the diaphragm? signature____________ 7. Without moving the adjustment for the blood slide, remove it and apply oil to a bacterial slide and place it under oil immersion. This should be in the same focal plane (parfocal) so that you will need to focus only slightly with the fine adjustment Show this to the instructor for another signature. signature____________ 8. Replace the prepared slides in the correct location. Properly clean the oil off the lens. 3 Lab Exercise 2 - The Microscope 9. Make a hanging drop preparation as follows. A. Select a slide. B. Squeeze the bulb on the pipette. C. With the air squeezed out of the pipette, place the tip at the bottom of the specimen and suck up a sample that appears to contain material. D. Place a large drop of specimen on the slide. E. Place a cover slip at a 45 degree angle to the slide and allow it to drop over the water drop. F. Focus on low power and use a closed diaphragm with the condenser in a low position away from the stage. This will produce more refraction and will display the unstained organisms better. G. Proceed to the high dry, you may need to increase the light slightly. DO NOT USE the oil immersion lens. Oil and Water do not mix. signature___________ 10. Clean all the lenses with lens paper, beginning with the lowest power and ending with the oil immersion lens using Q-tips and isopropyl. Windex may be used to remove oil from the stage or other objectives. Always leave the microscope with the low power objective in the viewing position. Coil the cord. Carry the microscope properly and return it to the correct location. 11. Review the information in the text about microscopy and available at the Nobel Prize website on the various types of microscopy http://www.nobel.se/physics/educational/microscopes/1.html Type of Microscope Means of Magnification Advantages Disadvantages Light Microscopy Dark-field Microscopy 4 Lab Exercise 2 - The Microscope Type of Microscope Means of Magnification Advantages Disadvantages Phase Contrast Microscopy Try the simulation Fluorescent Microscopy with a UV Microscope Electron Microscopy - both SEM and TEM Try the simulation Tunneling Microscopes See explanation 5 Lab Exercise 2 - The Microscope 12. Match the image on the left with the correct microscope the image cam from on the right. You may need to review these in color on the class website lab manual for color. Answer Match to type of Microscopy Image Types of Microscopy A. Scanning Electron Microscopy (SEM) B. Light Microscopy C. Transmission Electron Microscopy (TEM) D. Phase Contrast Microscopy E. Darkfield Microscopy F. Fluorescent Microscopy using an Ultraviolet Microscope 6 Lab Exercise 2 - The Microscope 7

