Creating Headers and Footers in Word
advertisement
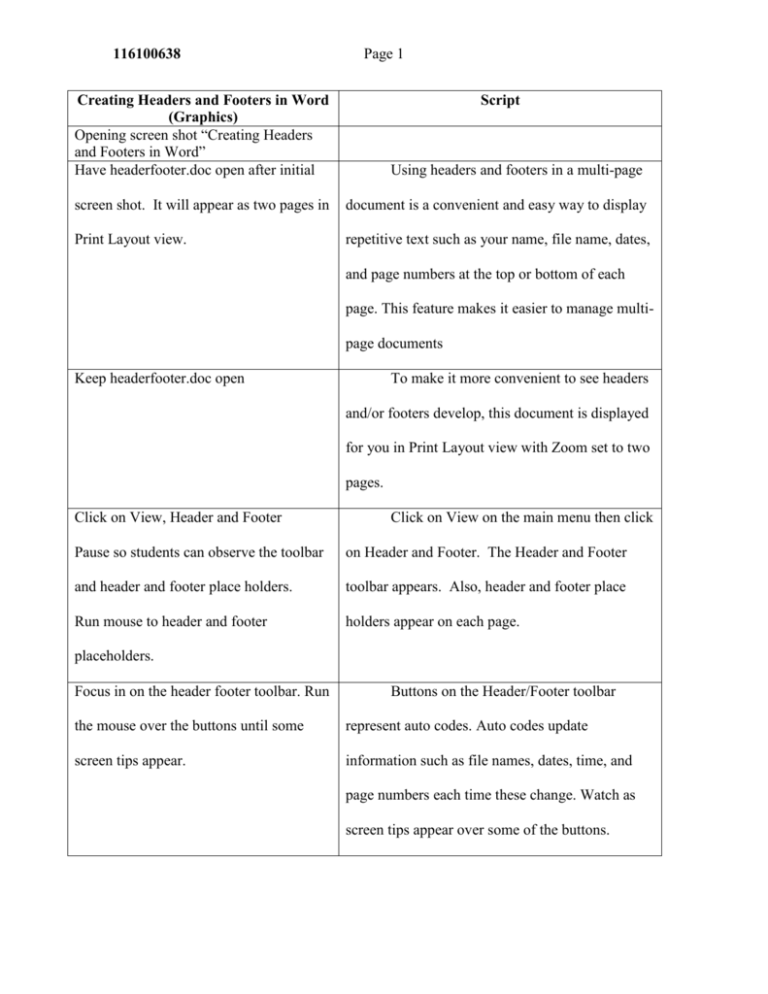
116100638 Page 1 Creating Headers and Footers in Word (Graphics) Opening screen shot “Creating Headers and Footers in Word” Have headerfooter.doc open after initial Script Using headers and footers in a multi-page screen shot. It will appear as two pages in document is a convenient and easy way to display Print Layout view. repetitive text such as your name, file name, dates, and page numbers at the top or bottom of each page. This feature makes it easier to manage multipage documents Keep headerfooter.doc open To make it more convenient to see headers and/or footers develop, this document is displayed for you in Print Layout view with Zoom set to two pages. Click on View, Header and Footer Click on View on the main menu then click Pause so students can observe the toolbar on Header and Footer. The Header and Footer and header and footer place holders. toolbar appears. Also, header and footer place Run mouse to header and footer holders appear on each page. placeholders. Focus in on the header footer toolbar. Run Buttons on the Header/Footer toolbar the mouse over the buttons until some represent auto codes. Auto codes update screen tips appear. information such as file names, dates, time, and page numbers each time these change. Watch as screen tips appear over some of the buttons. 116100638 Page 2 Let’s first click on the “Insert Date” button. Move the toolbar closer to the headers to make it easier to see the end result The date appears at the left on both pages in the Click on the Insert Date button. Pause for header. students to see the date in the header Focus on the header area. Press the TAB Press the TAB key on the keyboard. The key to go to the center tab stop. Let insertion point automatically goes to a predefined students see the center tab stop in the header that looks like an upside-down T. Text centers in the header as it is inserted. Allow a tool tip to appear before you click Click on the “Insert Page Number” button. on the Insert Page Number button The page number appears at the center in the Pause so students can see the page header. Page numbers increase sequentially as number. pages are added to the document. Press the TAB key to get to the right tab Next, let’s insert the file name using an stop in the header. Focus on header so auto code. Press the TAB key on the keyboard. students can see the right tab stop The insertion point automatically goes to a predefined right tab stop in the header that looks like a backwards L. Text moves to left as it is inserted. Focus on the header/footer toolbar. Click on the “Insert AutoText” button. Click on the Insert AutoText button Click on filename from the drop down list. The file Click on filename name appears in the header on both pages. If you 116100638 Page 3 change the filename and have used an auto code to insert it in the header, it will update automatically. Zoom in on header content on Page 1. Let’s zoom in to look at the header content. Zoom in on header content on Page 2. Notice the date, page number and file name remain in the same place on each page. The page number automatically changes with each page. Focus on the header and footer toolbar. Creating footers works the same as creating Let the tool tip pop up on “Switch headers. To work in the footer section, click on Between Header and Footer” button the “Switch Between Header and Footer” button. Focus on the insertion point in the footers The insertion point appears in the footer. Closing screen shot “The End”

