Entering GPS coordinates into a Garmin etrex
advertisement
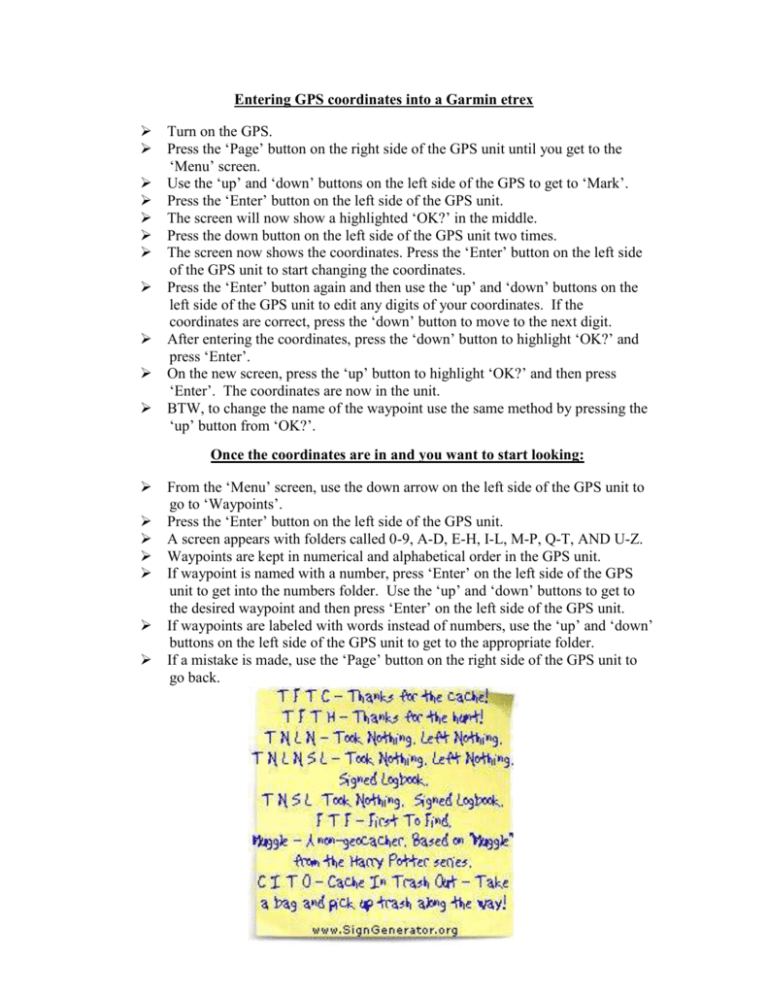
Entering GPS coordinates into a Garmin etrex Turn on the GPS. Press the ‘Page’ button on the right side of the GPS unit until you get to the ‘Menu’ screen. Use the ‘up’ and ‘down’ buttons on the left side of the GPS to get to ‘Mark’. Press the ‘Enter’ button on the left side of the GPS unit. The screen will now show a highlighted ‘OK?’ in the middle. Press the down button on the left side of the GPS unit two times. The screen now shows the coordinates. Press the ‘Enter’ button on the left side of the GPS unit to start changing the coordinates. Press the ‘Enter’ button again and then use the ‘up’ and ‘down’ buttons on the left side of the GPS unit to edit any digits of your coordinates. If the coordinates are correct, press the ‘down’ button to move to the next digit. After entering the coordinates, press the ‘down’ button to highlight ‘OK?’ and press ‘Enter’. On the new screen, press the ‘up’ button to highlight ‘OK?’ and then press ‘Enter’. The coordinates are now in the unit. BTW, to change the name of the waypoint use the same method by pressing the ‘up’ button from ‘OK?’. Once the coordinates are in and you want to start looking: From the ‘Menu’ screen, use the down arrow on the left side of the GPS unit to go to ‘Waypoints’. Press the ‘Enter’ button on the left side of the GPS unit. A screen appears with folders called 0-9, A-D, E-H, I-L, M-P, Q-T, AND U-Z. Waypoints are kept in numerical and alphabetical order in the GPS unit. If waypoint is named with a number, press ‘Enter’ on the left side of the GPS unit to get into the numbers folder. Use the ‘up’ and ‘down’ buttons to get to the desired waypoint and then press ‘Enter’ on the left side of the GPS unit. If waypoints are labeled with words instead of numbers, use the ‘up’ and ‘down’ buttons on the left side of the GPS unit to get to the appropriate folder. If a mistake is made, use the ‘Page’ button on the right side of the GPS unit to go back.
