Scanning Guidelines
advertisement
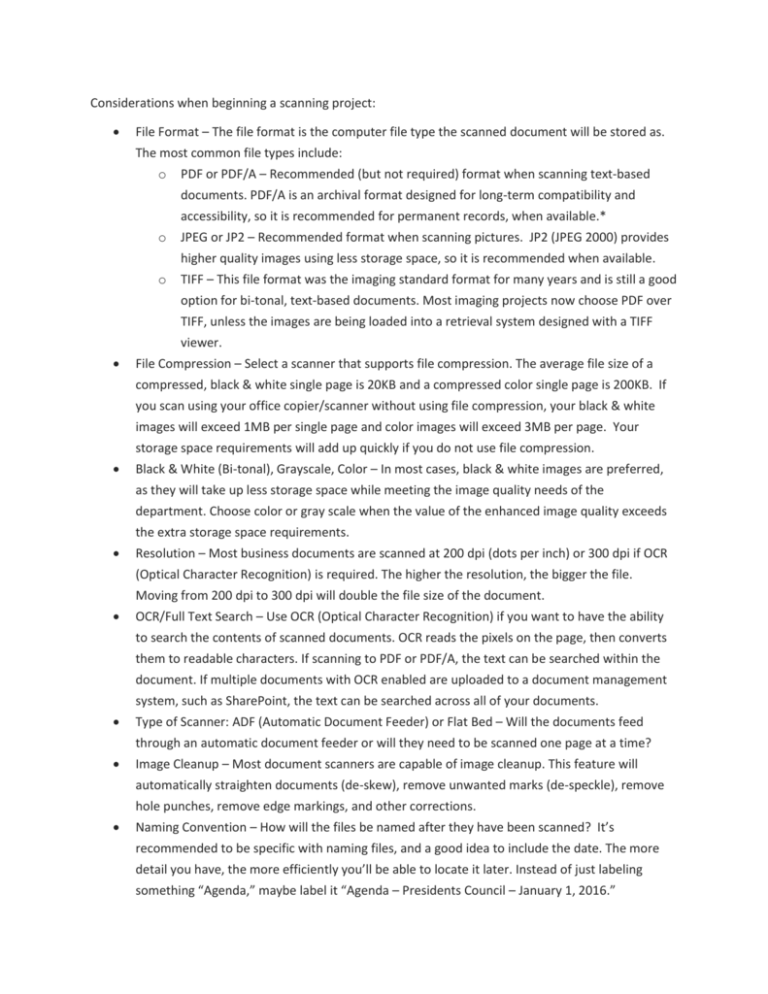
Considerations when beginning a scanning project: File Format – The file format is the computer file type the scanned document will be stored as. The most common file types include: o PDF or PDF/A – Recommended (but not required) format when scanning text-based documents. PDF/A is an archival format designed for long-term compatibility and accessibility, so it is recommended for permanent records, when available.* o JPEG or JP2 – Recommended format when scanning pictures. JP2 (JPEG 2000) provides higher quality images using less storage space, so it is recommended when available. o TIFF – This file format was the imaging standard format for many years and is still a good option for bi-tonal, text-based documents. Most imaging projects now choose PDF over TIFF, unless the images are being loaded into a retrieval system designed with a TIFF viewer. File Compression – Select a scanner that supports file compression. The average file size of a compressed, black & white single page is 20KB and a compressed color single page is 200KB. If you scan using your office copier/scanner without using file compression, your black & white images will exceed 1MB per single page and color images will exceed 3MB per page. Your storage space requirements will add up quickly if you do not use file compression. Black & White (Bi-tonal), Grayscale, Color – In most cases, black & white images are preferred, as they will take up less storage space while meeting the image quality needs of the department. Choose color or gray scale when the value of the enhanced image quality exceeds the extra storage space requirements. Resolution – Most business documents are scanned at 200 dpi (dots per inch) or 300 dpi if OCR (Optical Character Recognition) is required. The higher the resolution, the bigger the file. Moving from 200 dpi to 300 dpi will double the file size of the document. OCR/Full Text Search – Use OCR (Optical Character Recognition) if you want to have the ability to search the contents of scanned documents. OCR reads the pixels on the page, then converts them to readable characters. If scanning to PDF or PDF/A, the text can be searched within the document. If multiple documents with OCR enabled are uploaded to a document management system, such as SharePoint, the text can be searched across all of your documents. Type of Scanner: ADF (Automatic Document Feeder) or Flat Bed – Will the documents feed through an automatic document feeder or will they need to be scanned one page at a time? Image Cleanup – Most document scanners are capable of image cleanup. This feature will automatically straighten documents (de-skew), remove unwanted marks (de-speckle), remove hole punches, remove edge markings, and other corrections. Naming Convention – How will the files be named after they have been scanned? It’s recommended to be specific with naming files, and a good idea to include the date. The more detail you have, the more efficiently you’ll be able to locate it later. Instead of just labeling something “Agenda,” maybe label it “Agenda – Presidents Council – January 1, 2016.” Indexing Level – What metadata (fields or columns) needs to be captured during the scanning process? o If all pages in a file are to be scanned to a single folder, no metadata needs to be captured on individual pages. o Will each page need to be identified by its metadata? For example, each invoice needs to be able to be searched by Invoice Number and Invoice Date. o As indexing requirements increase, so will your scanning project time and costs. Quality Control – Each department must determine what accuracy is acceptable in both image quality and indexing accuracy. If the imaging project is rushed and quality is not checked, the following common issues could occur: o Missing pages – pages were not scanned (double feeding) o Readability – the page is scanned, but you cannot read the image o Was the document indexed properly? Are all the pages in the correct folder? (How often does indexing get messed up? And is it easy to fix?) What to do with the paper after scanning? o In most cases, it is recommended to destroy the paper records after the scanned images have been verified and backed up. There are times when the original documents are of historical value or prove ownership and therefore should be retained. Long-term storage – It is recommended that all scanning projects be backed up onto two MDISCs that are stored in separate locations. The M-DISC is designed for the long-term storage of digital information. What does the imaging process look like? The actual scanning is only one of four major steps. 1. Document Preparation – remove staples, arrange documents in the order you want them scanned, repair tears 2. Scanning – create the scanned image using a document scanner (ADF or Flatbed) 3. Indexing – create the metadata for each page, document or file 4. Quality Control – Verify the image and indexing quality On average, document preparation takes three times longer than the actual scanning, while quality control takes twice as long as the scanning. Indexing will vary, depending on the level of indexing required to efficiently locate the electronic documents after they have been imaged. * PDF/A is available in Office products and in Adobe. Go to the Print menu, then select Adobe PDF as the printer. Select Printer Properties (usually right underneath the Printer selection), then under “default,” select PDF/A.
