2d Driver Simulation Instructions
advertisement
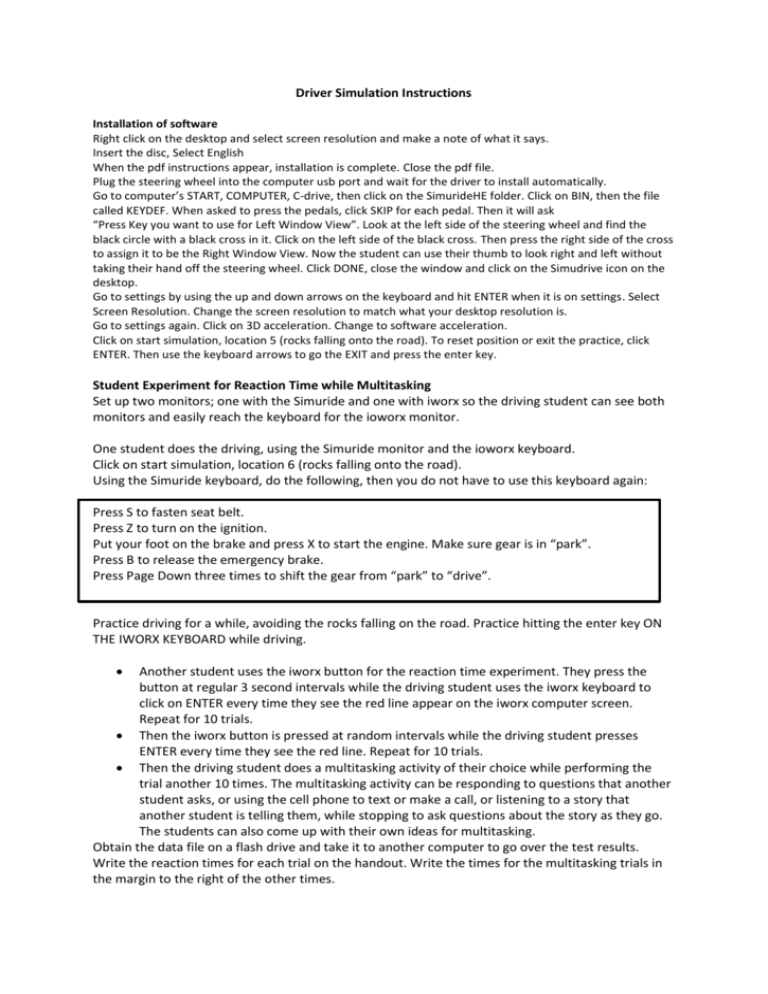
Driver Simulation Instructions Installation of software Right click on the desktop and select screen resolution and make a note of what it says. Insert the disc, Select English When the pdf instructions appear, installation is complete. Close the pdf file. Plug the steering wheel into the computer usb port and wait for the driver to install automatically. Go to computer’s START, COMPUTER, C-drive, then click on the SimurideHE folder. Click on BIN, then the file called KEYDEF. When asked to press the pedals, click SKIP for each pedal. Then it will ask “Press Key you want to use for Left Window View”. Look at the left side of the steering wheel and find the black circle with a black cross in it. Click on the left side of the black cross. Then press the right side of the cross to assign it to be the Right Window View. Now the student can use their thumb to look right and left without taking their hand off the steering wheel. Click DONE, close the window and click on the Simudrive icon on the desktop. Go to settings by using the up and down arrows on the keyboard and hit ENTER when it is on settings. Select Screen Resolution. Change the screen resolution to match what your desktop resolution is. Go to settings again. Click on 3D acceleration. Change to software acceleration. Click on start simulation, location 5 (rocks falling onto the road). To reset position or exit the practice, click ENTER. Then use the keyboard arrows to go the EXIT and press the enter key. Student Experiment for Reaction Time while Multitasking Set up two monitors; one with the Simuride and one with iworx so the driving student can see both monitors and easily reach the keyboard for the ioworx monitor. One student does the driving, using the Simuride monitor and the ioworx keyboard. Click on start simulation, location 6 (rocks falling onto the road). Using the Simuride keyboard, do the following, then you do not have to use this keyboard again: Press S to fasten seat belt. Press Z to turn on the ignition. Put your foot on the brake and press X to start the engine. Make sure gear is in “park”. Press B to release the emergency brake. Press Page Down three times to shift the gear from “park” to “drive”. Practice driving for a while, avoiding the rocks falling on the road. Practice hitting the enter key ON THE IWORX KEYBOARD while driving. Another student uses the iworx button for the reaction time experiment. They press the button at regular 3 second intervals while the driving student uses the iworx keyboard to click on ENTER every time they see the red line appear on the iworx computer screen. Repeat for 10 trials. Then the iworx button is pressed at random intervals while the driving student presses ENTER every time they see the red line. Repeat for 10 trials. Then the driving student does a multitasking activity of their choice while performing the trial another 10 times. The multitasking activity can be responding to questions that another student asks, or using the cell phone to text or make a call, or listening to a story that another student is telling them, while stopping to ask questions about the story as they go. The students can also come up with their own ideas for multitasking. Obtain the data file on a flash drive and take it to another computer to go over the test results. Write the reaction times for each trial on the handout. Write the times for the multitasking trials in the margin to the right of the other times.
