Set A
advertisement
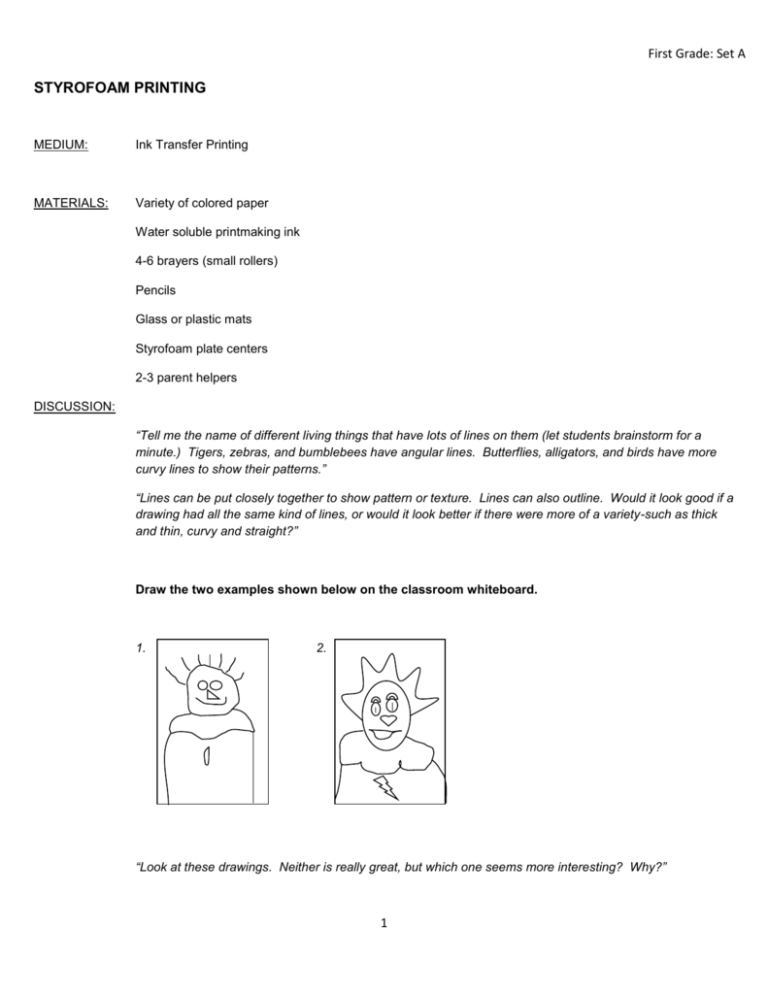
First Grade: Set A STYROFOAM PRINTING MEDIUM: Ink Transfer Printing MATERIALS: Variety of colored paper Water soluble printmaking ink 4-6 brayers (small rollers) Pencils Glass or plastic mats Styrofoam plate centers 2-3 parent helpers DISCUSSION: “Tell me the name of different living things that have lots of lines on them (let students brainstorm for a minute.) Tigers, zebras, and bumblebees have angular lines. Butterflies, alligators, and birds have more curvy lines to show their patterns.” “Lines can be put closely together to show pattern or texture. Lines can also outline. Would it look good if a drawing had all the same kind of lines, or would it look better if there were more of a variety-such as thick and thin, curvy and straight?” Draw the two examples shown below on the classroom whiteboard. 1. 2. “Look at these drawings. Neither is really great, but which one seems more interesting? Why?” 1 First Grade: Set A PROCEDURE A: Instruct the students to lightly sketch an idea of a living thing on a styrofoam plate. Ensure that they include a lot of lines, the more details the better. Once the sketch is exactly how they want it, students need to trace over it again, only this time pushing in hard with the pencil to carve the styrofoam (but not so hard that a hole is created, or the Styrofoam is ripped.) The following questions can be asked while the students are working: “What can you do with your lines to show texture or pattern? Do you have some lines that are thick, some thin, maybe dot that form a line? Does your drawing fill the whole plate?” After the students plate is carved, a parent helper should write the students name or initials lightly in ink on the backside of the plate. Afterwards, the student is ready for the inking station. PROCEDURE B: Set up 3-4 inking stations. Inking stations should have a brayer, ink, and a glass plate or plastic mat, newspaper, and assorted colors of paper. Having a parent helper at each of the inking stations is highly recommended. Parent helpers should portion out the ink onto the mat and ink the brayer rollers. Squeeze/portion out an inch long amount of ink on the glass or plastic mats and roll it with the brayer in different directions until tacky, but smoothed out. If the ink needs more spreadability, sprinkle a drop or two of water on the glass before rerolling. Once the brayer is inked, the student is ready to roll! Have the students roll the inked brayer on top of the carved styrofoam so that it is thoroughly covered in ink. The ink should not go into the carved design. Lay the colored paper on top of the inked styrofoam surface and have the student gently rub the paper with the flat of their hand. After peeling off the paper, the student is left with a fabulous ink transfer print! Save plates with the accompanying ink transfer print. If art piece will be used for the end of year art show, both plate and transfer print will need to be mounted side by side. 2
