Lab Techniques & Conversions Intro Name Date ______ Block
advertisement
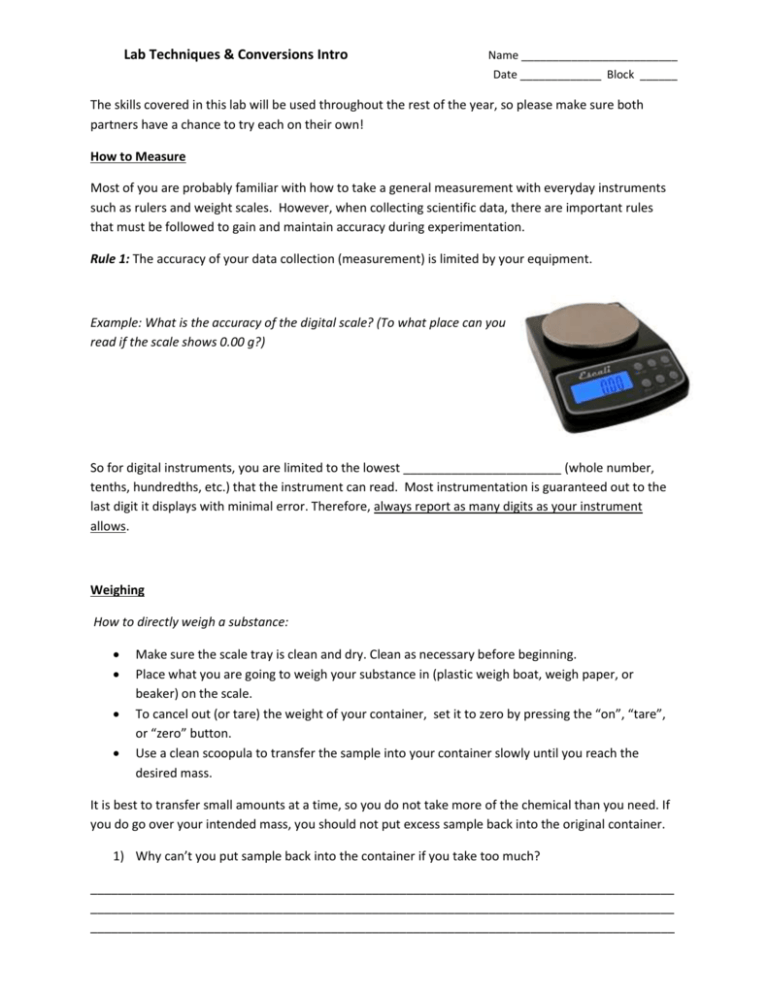
Lab Techniques & Conversions Intro Name _________________________ Date _____________ Block ______ The skills covered in this lab will be used throughout the rest of the year, so please make sure both partners have a chance to try each on their own! How to Measure Most of you are probably familiar with how to take a general measurement with everyday instruments such as rulers and weight scales. However, when collecting scientific data, there are important rules that must be followed to gain and maintain accuracy during experimentation. Rule 1: The accuracy of your data collection (measurement) is limited by your equipment. Example: What is the accuracy of the digital scale? (To what place can you read if the scale shows 0.00 g?) So for digital instruments, you are limited to the lowest _______________________ (whole number, tenths, hundredths, etc.) that the instrument can read. Most instrumentation is guaranteed out to the last digit it displays with minimal error. Therefore, always report as many digits as your instrument allows. Weighing How to directly weigh a substance: Make sure the scale tray is clean and dry. Clean as necessary before beginning. Place what you are going to weigh your substance in (plastic weigh boat, weigh paper, or beaker) on the scale. To cancel out (or tare) the weight of your container, set it to zero by pressing the “on”, “tare”, or “zero” button. Use a clean scoopula to transfer the sample into your container slowly until you reach the desired mass. It is best to transfer small amounts at a time, so you do not take more of the chemical than you need. If you do go over your intended mass, you should not put excess sample back into the original container. 1) Why can’t you put sample back into the container if you take too much? _____________________________________________________________________________________ _____________________________________________________________________________________ _____________________________________________________________________________________ Try it! Use the directions above to weigh out 0.20g of sodium chloride (NaCl) in a plastic weigh boat. Set it aside and use full sentences to describe at least 2 things that you noticed were either difficult or could cause errors for you in the future if you aren’t careful. 2) 3) Great! Now you have 0.20g of NaCl. Use the factor label method to convert the mass to milligrams. Be sure to show your work! 4) Quantitative Transfer Quantitative transfer simply means that all of the material being transferred from one place to another must make the trip. For example, every particle of the solid sodium chloride you weighed out previously in a weigh boat could be quantitatively transferred into clean glassware to make a solution from it. How to quantitatively transfer a substance: Carefully tip the creased weigh paper or weigh boat and pour the solid into the beaker. Gently tap the weigh paper/boat with a scoopula to knock particles into the beaker. Rinse the weigh paper/boat with deionized water (diH2O), collecting all of the rinsate in the beaker. o If you are transferring a solution instead of a solid, follow the same procedure. (Pour, gently tap, rinse). Try It! Make a 50 mL solution containing 0.20g of sodium chloride (NaCl) by quantitatively transferring it into a 50mL volumetric flask. Include a picture in the box below of what the finished solution level looks like in the neck of your flask. 5) Where should your meniscus be when the solution is done? 6) You now have a 50 mL solution. How many liters is that? Use the factor label method to solve. Pipetting Transfer Pipettes: made from unbreakable polyethylene with the bulb connected to the stem as a single unit. How to use a transfer pipette: Squeeze the bulb of the pipette to expel the air and insert the tip into the sample. Release the applied hand pressure to the bulb until the sample is completely drawn up. Insert the tip of the filled pipette into a beaker or flask and gently squeeze the bulb to dispense the entire sample. Repeat the procedure in instances that require additional draws to transfer the desired volume. The volume dispensed from a transfer pipette can vary with each transfer in accordance with operator manipulation of the bulb. 7) Examine the neck of the transfer pipette. What do you notice about the markings on the side? 8) Try transferring exactly 1mL of diH2O from a beaker to a flask. Is this tool dependable to transfer exact volumes? Explain. Transfer pipettes can be used to transfer a solution when an exact quantity is not critical, but their most important role is bringing solutions to an exact volume. (“bringing to volume”) 9) Think back to when you were making your 50mL NaCl solution. How could the transfer pipette have been helpful during that procedure? Try It! Pour out some of your NaCl solution until the level is at the bottom of the volumetric flask’s neck. Use a transfer pipette to add diH2O to the solution until a final volume of 50.0mL is obtained. Volumetric Pipettes: a glass pipet that uses a separate bulb to draw solution up into the pipette. Liquids are then allowed to drain from the pipet in a controlled manner. Volumetric pipetting is used to quantitatively transfer a liquid from one container to another. The volumetric pipet has a single graduated mark that allows it to deliver one specific volume accurately. There are many different sizes of volumetric pipets (1-, 5-, 10-, 25-, 50-, and 100-mL volumetric pipets are common). A volumetric pipet is accurate at the temperature at which it has been calibrated. The temperature where the volume is accurate is usually printed on the neck of the pipet. Volumetric pipettes labeled TD (to deliver) at the upper end are designed to deliver the volume stated on the pipette using just gravity. There will always be a small amount of liquid inside the tip after pipetting. How to use a volumetric pipette: Rinse the pipette before use by filling it about half full with diH20. Rotate the pipette while holding it horizontally. Be sure that the water makes contact with all sides. Discard the water. Repeat the previous two steps with the liquid to be pipetted. While holding the pipette in the liquid you want to transfer, gently squeeze the pipette bulb to push out the air inside and place it over the top of the pipette. Slowly release the bulb to draw liquid into the volumetric pipette until the volume reaches just over the graduated line on the neck. DO NOT COMPLETELY FILL THE PIPETTE! Liquid will pourover into the bulb and contaminate it. Plug the end of the pipette with your thumb and slowly release the seal to allow the liquid level to drop down until the bottom of the meniscus is touching the graduated line. Transfer the liquid to its intended container, allowing gravity to displace the liquid from the pipette. DO NOT force the liquid out with your pipette bulb and DO NOT blow out the last drop remaining in the pipette tip. If a drop of liquid hangs on the outside tip of the pipette, the pipette tip should be gently touched against the wall of the container you are pipetting into to remove this drop. When finished, always rinse/wash the pipette with D.I. at least two to three times before returning it to the pipette container. 10) What would happen to the volume delivered if you forced out the liquid in the pipette tip, causing it to be transferred to the container as well? One of the most important things to remember when pipetting (transfer or volumetric) is to avoid cross contamination. That means, if a pipette has touched a specific solution, or even glassware containing a solution, you must be careful not to allow it to touch a different type of solution. 12) Read through the volumetric pipetting directions again and come up with two specific situations where cross contamination from pipettes is possible. Glassware Accuracy Take out a 50mL beaker, a 50mL graduated cylinder, and a 10 mL volumetric pipette. 10) Jot down some comparisons of the graduated lines on each piece of glassware below: Try it! Practice pipetting exactly 10.0 mL of diH2O into a 50 mL beaker. To do this, place your empty beaker on a scale and tare (zero) the mass. Pipette 10.0 mL of diH2O into the beaker and record the mass. Knowing that the density of water is 1.00 g/mL, calculate the volume you pipetted into the beaker. Repeat two more times, taring the scale before each measurement. Volumetric Pipette: Trial 1 __________ g Trial 2 ___________ g Trial 3 __________ g = __________ mL = __________ mL = __________ mL = __________ L = __________L = __________ L Show your work in this space Let’s Compare Use the graduated cylinder to add 10.0 mL diH2O into the beaker and record the mass. Then use the beaker to measure 10 mL diH2O into the beaker and record the mass. Have each lab partner do one trial. Graduated cylinder: Trial 1 _________ g Trial 2 ___________ g = __________ mL Beaker: Trial 1 __________ g = __________ mL Trial 2 ___________ g = __________ mL = __________ mL 13) Which will provide a more accurate volume? A. B. 50 mL beaker or 10 mL volumetric pipette 50 mL volumetric flask or 10 mL graduated cylinder More Conversions Practice: 14) How many liters (L) are in 1239 milliliters (mL)? 15) How many milligrams (mg) are in 4.76 grams (g)? 16) How many milligrams (mg) are in 0.907 liters (L)?
