Google Drive Daily Life Help Guide
advertisement
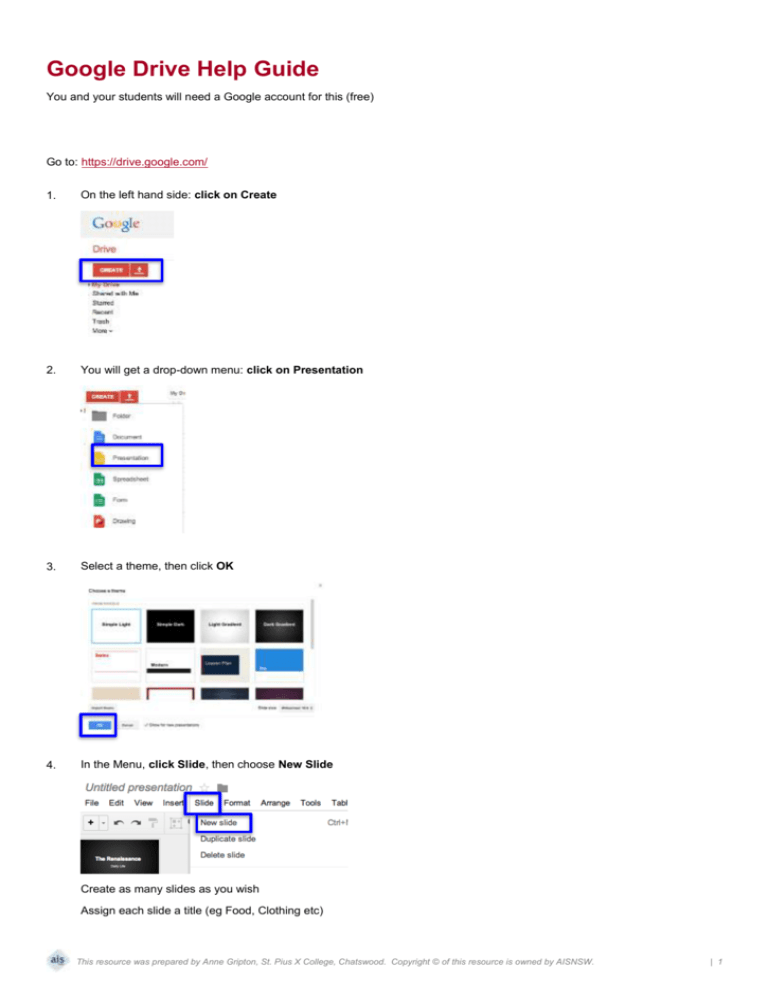
Google Drive Help Guide You and your students will need a Google account for this (free) Go to: https://drive.google.com/ 1. On the left hand side: click on Create 2. You will get a drop-down menu: click on Presentation 3. Select a theme, then click OK 4. In the Menu, click Slide, then choose New Slide Create as many slides as you wish Assign each slide a title (eg Food, Clothing etc) This resource was prepared by Anne Gripton, St. Pius X College, Chatswood. Copyright © of this resource is owned by AISNSW. | 1 5. When done, go to File and click Rename. Create the name of your file. Click OK 6. In the top right corner, click Share You are then able to share the link for others to view. You can insert the emails of others that you want to be able to edit – so insert the email addresses of your class. They will then be able to edit and work on their own slides. Click DONE. NOTE: It is important to note that this is a live document, and that others can accidentally wipe other slides if they are not careful. It is advisable to instruct students to ONLY work on their own slides. Also, advise students to create their slide in a W ord document and copy and paste when complete. If someone does delete a slide, request students to “Undo”. This may retrieve the lost slide. This resource was prepared by Anne Gripton, St. Pius X College, Chatswood. Copyright © of this resource is owned by AISNSW. | 2
