Helen Frankenthaler Color Field Painting
advertisement
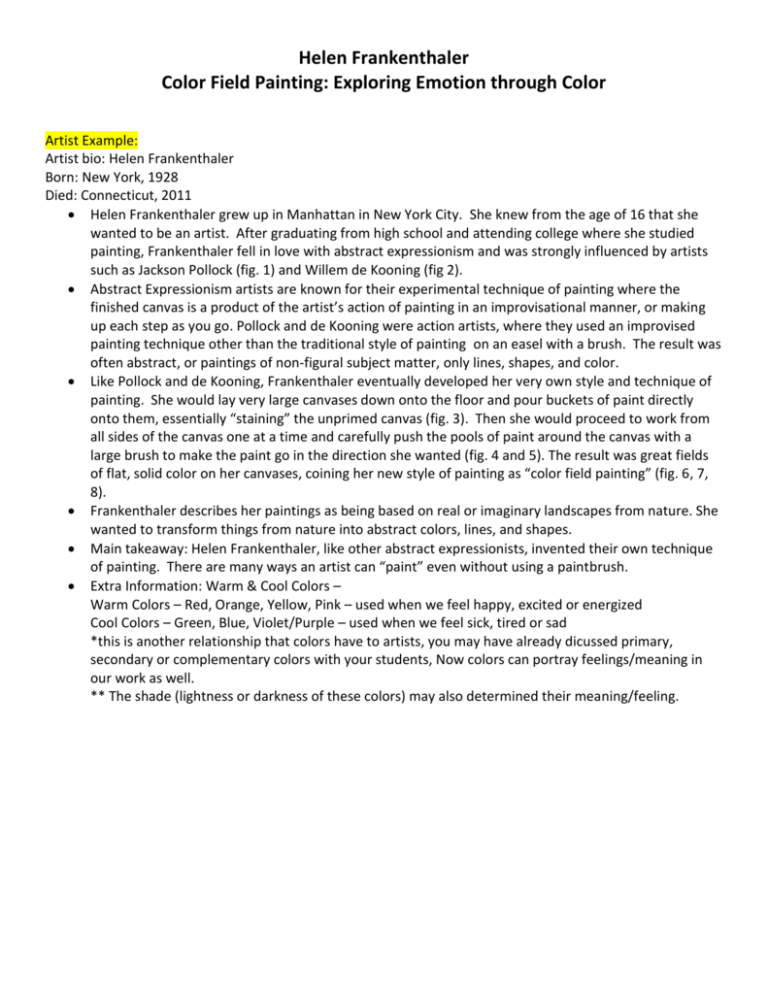
Helen Frankenthaler Color Field Painting: Exploring Emotion through Color Artist Example: Artist bio: Helen Frankenthaler Born: New York, 1928 Died: Connecticut, 2011 Helen Frankenthaler grew up in Manhattan in New York City. She knew from the age of 16 that she wanted to be an artist. After graduating from high school and attending college where she studied painting, Frankenthaler fell in love with abstract expressionism and was strongly influenced by artists such as Jackson Pollock (fig. 1) and Willem de Kooning (fig 2). Abstract Expressionism artists are known for their experimental technique of painting where the finished canvas is a product of the artist’s action of painting in an improvisational manner, or making up each step as you go. Pollock and de Kooning were action artists, where they used an improvised painting technique other than the traditional style of painting on an easel with a brush. The result was often abstract, or paintings of non-figural subject matter, only lines, shapes, and color. Like Pollock and de Kooning, Frankenthaler eventually developed her very own style and technique of painting. She would lay very large canvases down onto the floor and pour buckets of paint directly onto them, essentially “staining” the unprimed canvas (fig. 3). Then she would proceed to work from all sides of the canvas one at a time and carefully push the pools of paint around the canvas with a large brush to make the paint go in the direction she wanted (fig. 4 and 5). The result was great fields of flat, solid color on her canvases, coining her new style of painting as “color field painting” (fig. 6, 7, 8). Frankenthaler describes her paintings as being based on real or imaginary landscapes from nature. She wanted to transform things from nature into abstract colors, lines, and shapes. Main takeaway: Helen Frankenthaler, like other abstract expressionists, invented their own technique of painting. There are many ways an artist can “paint” even without using a paintbrush. Extra Information: Warm & Cool Colors – Warm Colors – Red, Orange, Yellow, Pink – used when we feel happy, excited or energized Cool Colors – Green, Blue, Violet/Purple – used when we feel sick, tired or sad *this is another relationship that colors have to artists, you may have already dicussed primary, secondary or complementary colors with your students, Now colors can portray feelings/meaning in our work as well. ** The shade (lightness or darkness of these colors) may also determined their meaning/feeling. Figure 1. Jackson Pollock¸Number 8 1949. Oil, enamel, and aluminum paint on canvas. Neuberger Museum, State University of New York. Figure 2. Willem de Kooning, Excavation 1950. Art Institute of Chicago, Chicago, IL. Figure 3. Helen Frankenthaler in action, pouring paint onto her canvas. Figure 4. Helen Frankenthaler carefully manipulating the pools of poured paint with a large brush. Figure 5. Helen Frankenthaler painting on a very large canvas. Figure 6. Helen Frankenthaler, Causeway 2001. Zane Bennett Contemporary Art. Figure 7. Helen Frankenthaler, Nature Abhors a Vacuum 1973. Figure 8. Helen Frankenthaler photographed in 1956, surrounded by her color field works of art. Photograph: Gordon Parks/Getty Images Project Overview: After introducing Helen Frankenthaler and color field painting, students will make their very own color field or “stain painting.” Before you begin the project, introduce or review warm and cool colors. Teach students how certain colors of the color wheel evoke certain emotions such as happy, sad, clam, energetic, etc. Artists often use certain colors to express certain emotions. Warm and cool colors have certain characteristics and are chosen carefully by artists to create certain desired effect. Warm colors tend to pop out of the canvas whereas cool colors tend to recede and fade into the painting. For this project, you may also tie in teaching a little bit about gravity to your students. For this project each student will paint their own color field painting with water color. Students will not use brushes to paint a color field but drop small amounts of paint onto their paper, and will tilt their paper in whatever directions they want their paint to go. Materials Butcher paper, plastic cloth or newspaper to cover desks Pipettes or straws Paintbrushes Wax drawing utensil-clear wax crayon that will resist paint Liquid Watercolor (this works best when not using pod paints, use paints that are in a tube) Paper cups Watercolor paper/canvas Paper towels or sponges for dabbing up paint *teachers may wish to have images of various landscapes which are not included in this lesson plan, for students to reference (Art teachers may be able to work with science or geography teachers when planning landscape lessons and tie into what they are teaching) Vocabulary Abstract Expressionism Warm Colors Cool Colors Color Feelings Landscape Gravity Color Stain Line Painting Loosely – try not to control your paint or image, let it flow slowly and carefully. Procedures 1. Cover tables or desks in butcher or news paper. 2. Distribute one watercolor paper and one wax crayon, to each student. 3. Distribute an array of liquid watercolors poured into paper cups (you can set this up ahead of time), among the students along with pipettes and paint brushes for each cup. They will be sharing between them. 4. To begin, have kids imagine a certain landscape in nature that they want to represent in their painting (teacher may choose for students to all do same “type” of landscape, ex Mountains, Beach, ahead of time. Refer back to Helen Frankenthaler and how she would often represent certain landscapes that she had visited or seen, through abstract colors and shapes. Remind students, that the idea is to keep their paintings abstract, students are not painting a tree, but evoking the feeling of a tree in their pieces. Maybe a tree is blue because its winter and cold. 5. Once they have chosen their landscape of choice, remind them that they are not trying to be accurate in portraying a real looking landscape in their painting, but just loosely representing that landscape through their choice of warm or cool colors. 6. The student will then draw on their canvas, using the clear wax crayon, one thing on their canvas to represent their landscape of choice. They can use this one object and portray it several times, or just once. For example: if the student wants to represent a sunset sky, or the ocean and beach, they may want to divide their paper into three divisions using lines (review of abstract lesson) so that their colors won’t bleed into each other (suggested for younger students grades k-2). OR for older student grades 3-5, they could choose as their object a leaf, or birds, or seashells, and draw them as best as they can across their canvas. Remind them that this is abstract so if their drawings are difficult to make perfect with the clear crayon, its ok. It doesn’t have to be perfect. Remind them that drawing is just shapes and lines that create an image. This painting is more about color than figures. 7. Once they have their divisions or objects drawn, students will pick either 3 or 4 colors, making at least one of them a warm color or at least one of them a cool color. 8. Working with one color at a time, students will slowly build up their painting by dropping dots of color with the pipette into one pool of color. Students may need to use the brushes, sponges or paper towels to rub the color into the canvas so the canvas will absorb the color “stain.” 9. Once the color is rubbed into the canvas and the canvas is wet, it will absorb better. Working with that same color they can use the pipette to drop the color onto the color block they have made on their paper and then tilt their canvas very gently to let the color ‘travel’ to where they want. 10. Students can experiment with blowing on their paint. Students can also experiment with layering/overlapping of colors. ***This is a good opportunity to incorporate talking about gravity, and how gravity will pull the paint always downwards, so they can predict where the paint will go according to how they tilt the canvas. This is the messy part, keep it on the paper! Continue with the 3 or 4 other colors they have chosen. Be sure to warn students that if they let too many of their colors mix or over paint their canvas, then they will most likely end up with one pool of grayish brown. – limit color choice to 4? Encourage students to try and leave areas of unpainted white canvas. Collect paintings before students get too carried away with mixing their colors, and let dry on a flat surface. Based on Utah State Visual Arts Core Curriculum Requirements (4th grade) Standard 1 (Making): The student will explore and refine the application of media, techniques, and artistic processes. Objective 1 Explore a variety of art materials while learning new techniques and processes. Use value, color, and texture to create interest. Objective 2 Handle art materials in a safe and responsible manner. Provide proper ventilation when working with art materials that give off fumes. Dispose and/or recycle art material wastes in a safe and appropriate manner. Clean and store art materials and equipment in a way that extends their life and usability. Clean and put back to order art making areas after projects. Respect other students' artworks as well as one's own. Standard 2 (Perceiving): The student will analyze, reflect on, and apply the structures of art. Objective 1 Analyze and reflect on works of art by their elements and principles. Determine the overall value key for several significant works of art. Analyze how artists have varied the space divisions to create a more interesting composition. Identify evidence of depth, shadow, color, and mood in artwork. Objective 2 Create works of art using the elements and principles. Repeat elements to create movement in artwork. Alter the intensity of any color by adding gray to it. Create dominance in a painting by adding gray to all the colors but one. Standard 3 (Expressing): The student will choose and evaluate artistic subject matter, themes, symbols, ideas, meanings, and purposes. Objective 1 Explore possible content in art prints or works of art. Determine and explore a variety of sources of inspiration for making art; e.g., panoramic view, microcosm, people, imagination, experimentation, decoration, celebration, events, interpretation of emotions, education, religion. Examine the overall value key of significant works of art and relate the key of each work to a mood. Objective 2 Discuss, evaluate, and choose symbols, ideas, subject matter, meanings, and purposes for artworks. Create a work of art using inspiration from hobbies or interests. Interpret how artists use symbols to express moods, feelings, and ideas in art. Create and invent symbols to represent ideas, moods, or thoughts in artwork. Classify works of art according to media and genre; e.g., portrait, landscape, abstract, realistic, painting, sculpture, drawing, print. Identify themes in works of art. Predict why some people enjoy significant works of art that don't convey a story. Standard 4 (Contextualizing): The student will interpret and apply visual arts in relation to cultures, history, and all learning. Objective 2 Connect various kinds of art with particular cultures, times, or places. Find stylistic similarities between local and international works of art. Objective 3 Recognize the connections of visual arts to all learning. Explain how scientific information can be communicated by visual art.
