Pressing for Explanations—the tool
advertisement
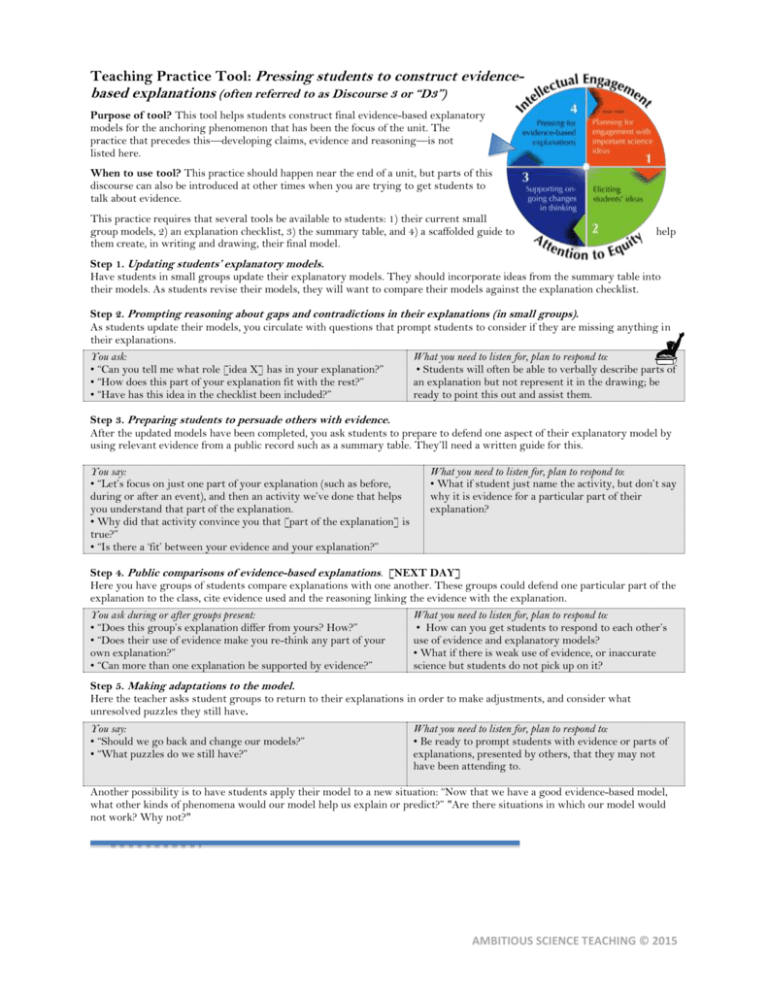
Teaching Practice Tool: Pressing students to construct evidence- based explanations (often referred to as Discourse 3 or “D3”) Purpose of tool? This tool helps students construct final evidence-based explanatory models for the anchoring phenomenon that has been the focus of the unit. The practice that precedes this—developing claims, evidence and reasoning—is not listed here. When to use tool? This practice should happen near the end of a unit, but parts of this discourse can also be introduced at other times when you are trying to get students to talk about evidence. This practice requires that several tools be available to students: 1) their current small group models, 2) an explanation checklist, 3) the summary table, and 4) a scaffolded guide to them create, in writing and drawing, their final model. help Step 1. Updating students’ explanatory models. Have students in small groups update their explanatory models. They should incorporate ideas from the summary table into their models. As students revise their models, they will want to compare their models against the explanation checklist. Step 2. Prompting reasoning about gaps and contradictions in their explanations (in small groups). As students update their models, you circulate with questions that prompt students to consider if they are missing anything in their explanations. You ask: • “Can you tell me what role [idea X] has in your explanation?” • “How does this part of your explanation fit with the rest?” • “Have has this idea in the checklist been included?” What you need to listen for, plan to respond to: • Students will often be able to verbally describe parts of an explanation but not represent it in the drawing; be ready to point this out and assist them. Step 3. Preparing students to persuade others with evidence. After the updated models have been completed, you ask students to prepare to defend one aspect of their explanatory model by using relevant evidence from a public record such as a summary table. They’ll need a written guide for this. You say: • “Let’s focus on just one part of your explanation (such as before, during or after an event), and then an activity we’ve done that helps you understand that part of the explanation. • Why did that activity convince you that [part of the explanation] is true?” • “Is there a ‘fit’ between your evidence and your explanation?” What you need to listen for, plan to respond to: • What if student just name the activity, but don’t say why it is evidence for a particular part of their explanation? Step 4. Public comparisons of evidence-based explanations. [NEXT DAY] Here you have groups of students compare explanations with one another. These groups could defend one particular part of the explanation to the class, cite evidence used and the reasoning linking the evidence with the explanation. You ask during or after groups present: • “Does this group’s explanation differ from yours? How?” • “Does their use of evidence make you re-think any part of your own explanation?” • “Can more than one explanation be supported by evidence?” What you need to listen for, plan to respond to: • How can you get students to respond to each other’s use of evidence and explanatory models? • What if there is weak use of evidence, or inaccurate science but students do not pick up on it? Step 5. Making adaptations to the model. Here the teacher asks student groups to return to their explanations in order to make adjustments, and consider what unresolved puzzles they still have. You say: • “Should we go back and change our models?” • “What puzzles do we still have?” What you need to listen for, plan to respond to: • Be ready to prompt students with evidence or parts of explanations, presented by others, that they may not have been attending to. Another possibility is to have students apply their model to a new situation: “Now that we have a good evidence-based model, what other kinds of phenomena would our model help us explain or predict?” "Are there situations in which our model would not work? Why not?" AMBITIOUS SCIENCE TEACHING © 2015 Generic questions for each step Step 1. Updating students’ explanatory models. Step 2. Prompting reasoning about gaps and contradictions in their explanations. Step 3. Preparing students to persuade others with evidence. Step 4. Public comparisons of evidence-based explanations. Step 5. Making adaptations to the model. Designing your specific questions/prompts for each step of the practice Specific questions or prompts you’ll What to listen for and plan to respond to pose in this step Then you need to plan for: • You’ll need 4 tools at hand: 1) students’ models, 2) the explanation checklist, 3) the summary table, 4) a guide for students to write about evidence and explanation. What you need to listen for, plan to respond to: • Students will often be able to verbally describe parts of an explanation but not represent it in the drawing; be ready to point this out and assist them. • What if students have gaps, contradictions or inaccuracies in their models? What you need to listen for, plan to respond to: • What if student just name the activity, but don’t say why it is evidence for a particular part of their explanation? What you need to listen for, plan to respond to: • How can you get students to respond to each other’s use of evidence and explanatory models? • What if there is weak use of evidence, or inaccurate science but students do not pick up on it? What you need to listen for, plan to respond to: • Be ready to prompt students with evidence or parts of explanations, presented by others, that they may not have been attending to. After you teach What did you actually say to prompt students about what to focus on (the actual words you used)? What did you actually say to students (the actual words you used)? What did you actually say to students (the actual words you used)? What did you actually say to students (the actual words you used)? What did you actually say to students (the actual words you used)? AMBITIOUS SCIENCE TEACHING © 2015
