LESSON PLAN TEMPLATE Your Name: Jessica Kimling Title of
advertisement
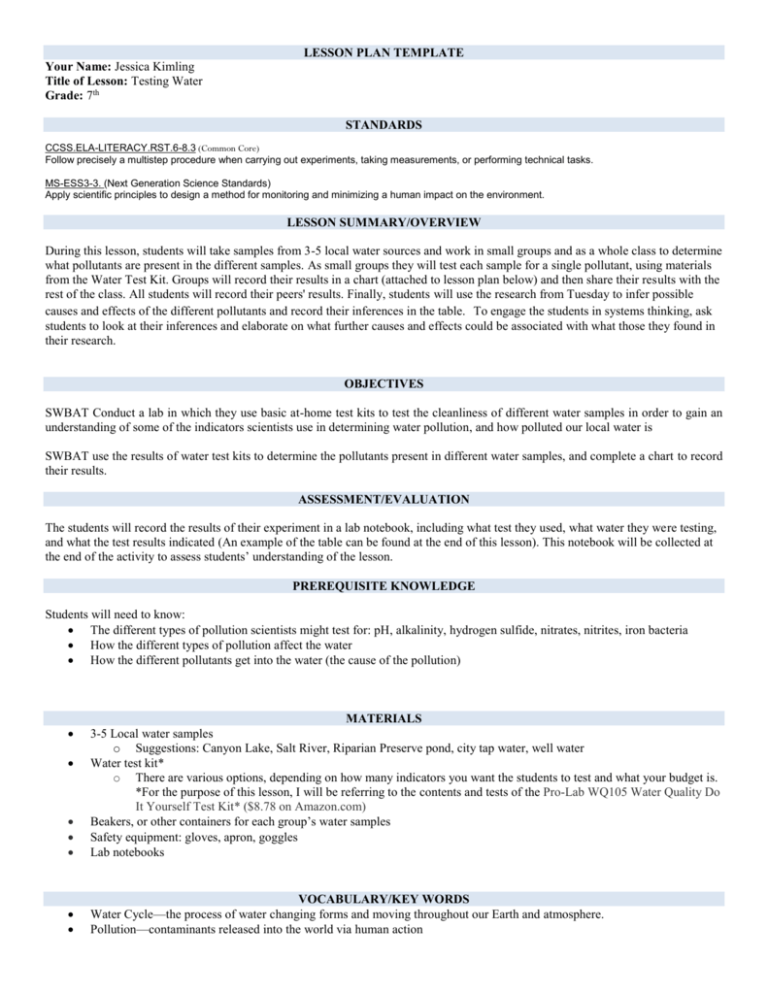
LESSON PLAN TEMPLATE Your Name: Jessica Kimling Title of Lesson: Testing Water Grade: 7th STANDARDS CCSS.ELA-LITERACY.RST.6-8.3 (Common Core) Follow precisely a multistep procedure when carrying out experiments, taking measurements, or performing technical tasks. MS-ESS3-3. (Next Generation Science Standards) Apply scientific principles to design a method for monitoring and minimizing a human impact on the environment. LESSON SUMMARY/OVERVIEW During this lesson, students will take samples from 3-5 local water sources and work in small groups and as a whole class to determine what pollutants are present in the different samples. As small groups they will test each sample for a single pollutant, using materials from the Water Test Kit. Groups will record their results in a chart (attached to lesson plan below) and then share their results with the rest of the class. All students will record their peers' results. Finally, students will use the research from Tuesday to infer possible causes and effects of the different pollutants and record their inferences in the table. To engage the students in systems thinking, ask students to look at their inferences and elaborate on what further causes and effects could be associated with what those they found in their research. OBJECTIVES SWBAT Conduct a lab in which they use basic at-home test kits to test the cleanliness of different water samples in order to gain an understanding of some of the indicators scientists use in determining water pollution, and how polluted our local water is SWBAT use the results of water test kits to determine the pollutants present in different water samples, and complete a chart to record their results. ASSESSMENT/EVALUATION The students will record the results of their experiment in a lab notebook, including what test they used, what water they were testing, and what the test results indicated (An example of the table can be found at the end of this lesson). This notebook will be collected at the end of the activity to assess students’ understanding of the lesson. PREREQUISITE KNOWLEDGE Students will need to know: The different types of pollution scientists might test for: pH, alkalinity, hydrogen sulfide, nitrates, nitrites, iron bacteria How the different types of pollution affect the water How the different pollutants get into the water (the cause of the pollution) MATERIALS 3-5 Local water samples o Suggestions: Canyon Lake, Salt River, Riparian Preserve pond, city tap water, well water Water test kit* o There are various options, depending on how many indicators you want the students to test and what your budget is. *For the purpose of this lesson, I will be referring to the contents and tests of the Pro-Lab WQ105 Water Quality Do It Yourself Test Kit* ($8.78 on Amazon.com) Beakers, or other containers for each group’s water samples Safety equipment: gloves, apron, goggles Lab notebooks VOCABULARY/KEY WORDS Water Cycle—the process of water changing forms and moving throughout our Earth and atmosphere. Pollution—contaminants released into the world via human action Ecosystem—the plants, animals, landforms, weather and geography of a certain area which all interact with and affect each other. Indicator—something, such as a test or observation, we use to determine the presence of substance. pH—the level of acidity or baseness of a substance (“5.4 pH), 2012) Alkalinity—a measurement of water’s ability to neutralize acid (5.4 pH, 2012) Hydrogen Sulfide—the byproduct of bacteria feeding off of the sulfur (which may be naturally present) in water (Hayes) Nitrates—nitrogen-oxygen chemical units (“Basic Information about Nitrates…”, 2014) Nitrites—nitrates which have been converted by being taken into a body ((“Basic Information about Nitrates…”, 2014) Iron Bacteria—small living organisms which occur naturally and combine iron with oxygen to create rust, bacteria, and a slimy substance (MDH) TEACHING PROCEDURES Preparing the Lesson: 1. For this lab, you will need to collect 3-5 local water samples. This could be time consuming, or even require a small road trip, depending on what sources you want to use. Some suggestions: Canyon Lake, Salt River, ponds at the riparian preserve, tap water from different cities, collected rain water. 2. Make sure you have enough testing supplies for students to test each sample. That means you need half the number of kits as the number of samples you have (each kit contains 2 of each test). Have the tests already separated for easy dispensing. Also have directions for each test to give to the groups. 3. Each group will need a sample from each source, so make sure you collect enough for everyone! 4. Divide your water so that each group will have a sample from each site. Make sure to label the samples, with numbers or letters, so that you know which source it belongs to but the students do not. For example, each cup labeled “1” contains water from Canyon Lake; each cup labeled “2” contains Gilbert tap water, etc. 5. Either have these supplies already on tables or already grouped so that each group of students can find and gather their supplies quickly and efficiently. Day of the Lesson: 1. Introduce the lesson to your students by telling them that you will be conducting a lab to test water samples for pollutants. Let them know that the samples are all from local water sources, tell them which sources, but don’t tell them which sample is from which site. 2. Review safety rules with your students: No running in the lab; no throwing materials; don’t put any of the materials in your mouth; wear safety gear at all times; keep long hair tied back; listen to or read all directions before using/touching any of the materials. 3. Tell that students that each group will be testing all of the samples of water for the pollutant that they researched the day before. 4. Give each group their materials a. 3-5 local water samples, each in its own container b. The test for their specific pollutant, as well directions for using that test c. Water test chart 5. Instruct students to test each of their samples and record their results in their charts. 6. Tell students that once they have tested all of their samples, they should interpret their results to determine whether or not the pollutant was present (or at what level), what possible causes of that pollutant would be, and what effect it might have. 7. Once all students have completed their tests and cleaned up from the lab, have them share their results with the rest of the class. Instruct students to record their peers’ results in their science notebook (or on the back of their chart). 8. After all of the results have been shared, instruct students to discuss in their groups which source they think each sample came from based on which pollutants were present in each. 9. Have students discuss their hypotheses as to which sample belongs to which source, requiring that they justify their answers. 10. Share with students the actual sites for each sample and ask them discuss in their groups whether they want to change their answers for possible causes of the pollutant in each sample (e.g. once you know it’s tap water, does that change your inference of why iron bacteria is present?) 11. Have students discuss their hypotheses of the pollutant causes with the class. 12. To wrap up, inform students that you will be using this information the next day for a follow-up lab, so they need to hold on to their charts. RESOURCES "5.4 PH." Home. Environmental Protection Agency, 4 Oct. 2012. Web. 12 Apr. 2014 "Basic Information about Nitrate in Drinking Water." Home. Environmental Protection Agency, 5 Feb. 2014. Web. 10 Apr. 2014. Hayes, Woody. "Ohio State University Extension Fact Sheet." Hydrogen Sulfide in Drinking Water, AEX-319-97. Ohio State University, n.d. Web. 10 Apr. 2014. MDH. "Well Management: Iron Bacteria in Well Water." MDH. Minnesota Department of Health, n.d. Web. 12 Apr. 2014. WAYS OF THINKING CONNECTION This lesson employs systems thinking by having the students analyze the chain reaction of pollutants in water. Systems thinking is considering all of the steps involved in a process, and the chain reactions caused by events or actions. The students start by determining what pollutant is present in water samples, but then have to consider what caused those pollutants, and in turn what affects those pollutants will have. In this way, the students are considering the system in which humans create a pollutant and send it to the water, and how the pollutant then affects the organisms exposed, including the humans who created the pollutant in the first place. Water Test Chart to be Recorded in Notebook Water Sample being tested Test being used Results of test Interpretation of results: if test was positive give possible causes and effects
