File - Design Communication Graphics
advertisement
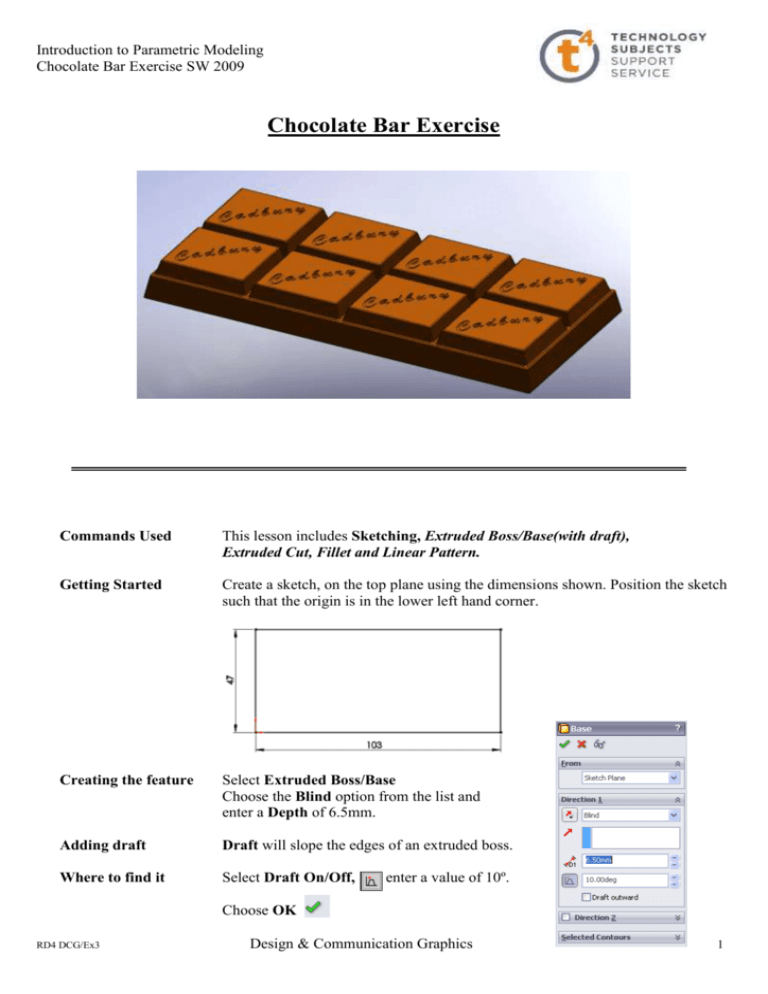
Introduction to Parametric Modeling Chocolate Bar Exercise SW 2009 Chocolate Bar Exercise Commands Used This lesson includes Sketching, Extruded Boss/Base(with draft), Extruded Cut, Fillet and Linear Pattern. Getting Started Create a sketch, on the top plane using the dimensions shown. Position the sketch such that the origin is in the lower left hand corner. Creating the feature Select Extruded Boss/Base Choose the Blind option from the list and enter a Depth of 6.5mm. Adding draft Draft will slope the edges of an extruded boss. Where to find it Select Draft On/Off, enter a value of 10º. Choose OK RD4 DCG/Ex3 Design & Communication Graphics 1 Introduction to Parametric Modeling Chocolate Bar Exercise SW 2009 Adding the top blocks Creating the sketch Create the rectangular sketch on the top face and dimension as shown. A sketch may be defined using edges and features which are not on the active sketch plane. Extrude Boss/Base Extrude Feature Settings End Condition = Blind Depth = 4mm Draft Angle = 15º Choose OK Text Generating the text Adding Text Create a sketch on the top surface of the chocolate block. Add a diagonal line as a Centerline. Draw another line on the surface and add a Paralell Relation. Select Tools/Sketch Entities/Text or select text from the sketch toolbar. Select the parallel centerline as the text guide Type Cadbury into the text window Use Document Font will be selected by default. Deselect by clicking on the tick next to it. Font is no longer greyed out. RD4 DCG/Ex3 Design & Communication Graphics 2 Introduction to Parametric Modeling Chocolate Bar Exercise SW 2009 Font Details Choose Font and make the selections as shown. Select OK Text Spacing SolidWorks will not extrude a sketch with overlapping lines or regions. Script text utilises such overlapping regions, as shown opposite. To eliminate these, the spacing between the letters must be increased. Increasing spacing Increase the spacing to 120% to eliminate the overlapping regions, as shown below. Choose OK Creating the feature Extrude Cut the text to a depth of 0.2mm Fillet Create a fillet of 0.35mm radius on all of the edges of the top block. Create a second fillet of 0.35mm on the edges of the lower block, excluding the base edges. RD4 DCG/Ex3 Design & Communication Graphics 3 Introduction to Parametric Modeling Chocolate Bar Exercise SW 2009 Note These fillets were created individually because, the edges of fillet1 must be copied to form the remaining top blocks whereas the edges of fillet2 are not. If they were formed in one feature it would prove more difficult to select them. Patterns Patterns are used when creating multiple instances of one or more features. Linear Array This can be a one or two directional array. Where to find it On the features toolbar click the Linear Pattern tool Select the linear edge of the base in front as Direction 1, with a Spacing of 25mm and Number of Instances = 4 Select the linear edge on the side as Direction 2, with a Spacing of 22mm and Number of Instances = 2 To select Features to Pattern click in the Features to Pattern Window, it turns pink. Flyout Feature Manager Design Tree Expand the Feature Manager Design Tree by clicking on the plus ‘+’ sign next to the file name on the top left hand side of the Drawing Area. It expands as shown on the right. Choose the Chocolate block, extruded text and the fillet1 features as features to pattern A preview is displayed in the drawing area. RD4 DCG/Ex3 Design & Communication Graphics 4 Introduction to Parametric Modeling Chocolate Bar Exercise SW 2009 Reverse Direction If necessary, select Reverse Direction the direction shown. next to each Pattern Direction, to set Choose OK Edit Colour With the cursor positioned over the file name at the top of the Feature Manager Design Tree, right click Select Appearance Choose an appropriate colour from the colour swatch. Select OK Lesson Complete! RD4 DCG/Ex3 Design & Communication Graphics 5 Introduction to Parametric Modeling Chocolate Bar Exercise SW 2009 RD4 DCG/Ex3 Design & Communication Graphics 6

