ISE370 ProE Revolved Project2
advertisement
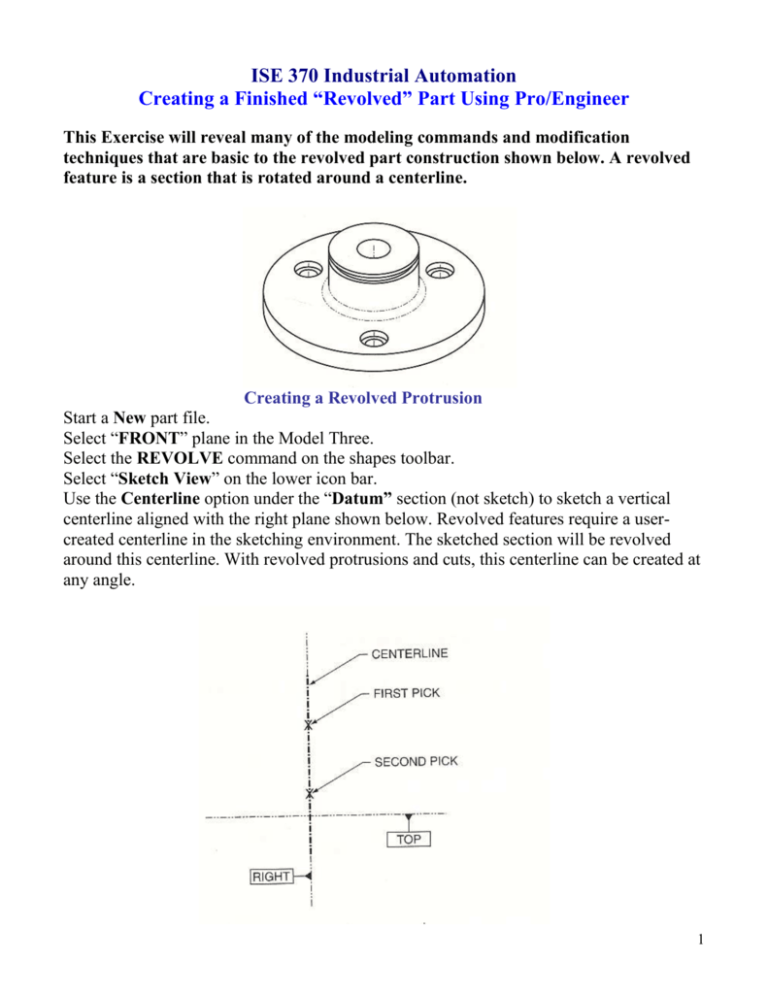
ISE 370 Industrial Automation Creating a Finished “Revolved” Part Using Pro/Engineer This Exercise will reveal many of the modeling commands and modification techniques that are basic to the revolved part construction shown below. A revolved feature is a section that is rotated around a centerline. Creating a Revolved Protrusion Start a New part file. Select “FRONT” plane in the Model Three. Select the REVOLVE command on the shapes toolbar. Select “Sketch View” on the lower icon bar. Use the Centerline option under the “Datum” section (not sketch) to sketch a vertical centerline aligned with the right plane shown below. Revolved features require a usercreated centerline in the sketching environment. The sketched section will be revolved around this centerline. With revolved protrusions and cuts, this centerline can be created at any angle. 1 Use the Line command to sketch the section shown below. Align the bottom of the sketch with the Top plane. Use the Circular Fillet command to create the fillet. (Notice cues on screen for alignment of start & end points.) Warning: If you must return to complete or modify this sketch, R-click on this entity in the model tree and select Edit Definition. Diameter Dimensions automatically appear after pressing ESC (back to select mode). Use the “NORMAL” Dimension command to create the dimensioning scheme shown below. Select the part and “ALL” dimensions (Part & dimensions turn green). Select Modify (editing) which opens the “Modify Dimensions” box. Next: You need to “SCALE” your part to one of the part’s dimensions. On the work screen part, select the dimension defining the height of the flange (.075). In the “Modify Dimensions” box, select the Lock Scale option first then change the dimension to (0.75) to lock & scale the part. Click the green check mark to exit. (All part dimensions should now be scaled). Change the remaining dimensions by clicking on each dimension then click the green OK. 2 On the dashboard, ensure that the Variable Angle of Revolution icon is selected. On the dashboard, enter 360 as the variable of revolution as shown below. Build the feature. (Green check mark on dashboard). Creating a Diameter Placed Sketched Radial Hole: Select the TOP plane for a reference plane. Select the Hole command on the toolbar. >Ensure that Drill up to Next Surface is selected as the hole type on the dashboard. On the Hole dashboard, select the PLACEMENT (red) option. >Select (L-click) the hole’s placement plane on the dashboard as shown below. The primary reference for a diameter or radial placed hole is the hole’s placement plane. >Also, under the Placement menu, select the Diameter as the hole’s placement type. Other options available include Linear and Radial. The linear option will locate a hole from two reference edges while the Radial option will place the hole’s centerline coincident with an existing axis. 3 Diameter Angle >Within the Placement menu, select within the Offset References field. On the work screen, pick center axis of the revolved protrusion feature as shown above. On the placement menu, enter 6.0 as the diameter distance value for the diameter hole in the textbox. The diameter value will be twice the corresponding radial value. Using the Control Key (hold down), pick the Front plane as the angle reference, then enter 45.0 as the angular value from the plane as seen above. (Note: To select multiple secondary references, you must use the Control Key). >On the dashboard, L_click Use Sketch To Define Hole. You will sketch the section for this hole feature on the following page. 4 Select the activate sketcher to create icon on the dashboard (Grid on far right). >The sketched option will require you to sketch the hole’s cross section. Within the sketching environment, use the Centerline command to create the vertical centerline shown below in the left figure. A vertical centerline is a requirement for a sketched hole feature. The section will be revolved around the centerline. Geometric Use the Line command to sketch the section shown above in the figure on the right. >Start on the bottom left and sketch counterclockwise. This method yields the centerline as a reference to keep lines at right angles at the end. >Section sketched holes have to be completely enclosed. >The section will be sketched on top of the previously created centerline. >The centerline does not serve as an entity to close the section. You will receive an error message when exiting the sketcher environment if the section is not closed. Use the Dimension command to match the scheme above. >Holes are dimensioned with diameter values. Use the Modify command to change dimension values to match. Or double click & change dimensions. Select the Green OK when the section is correct. >The Diameter option under placement will locate the hole at a distance of 3 from axis A-1 and at an angle of 45 degrees to the FRONT plane. Select the Build feature on the dashboard. 5 Creating a Radial Hole Pattern Select the Hole feature (just created) on the model tree. Select the Pattern command on the pop-up menu or the toolbar. Select Dimension on the dashboard as the pattern type. >Dimension is selected by default. Other options include Table, Reference, Fill, Axis, Direction, and Curve. Within the Dimension menu on the dashboard (above Dimension pattern type): >Pick the 45 degree angular dimension on the part (work screen) as the leader dimension for use in varying the feature as shown below. This dimension will be varied to create the pattern. >Under the Increment option in the same dialog box, Enter 90 as the dimension increment value. The leader dimension will be varied 90 degrees per instance of the hole feature. On the dashboard, enter 4 as the number of instances in the pattern as shown above. Under the Options menu, select Identical as the pattern option. The Identical option allows several assumptions in the pattern creation process. Features patterned with this option must lie on the same placement plane, instances cannot intersect the placement plane’s edge, and instances cannot intersect other instances. Build the feature. 6 Creating a Revolved Cut: Select the Revolve command on the toolbar. Select the Remove Material option on the revolve dashboard. The revolve command defaults to the creation of a positive space protrusion. Select the Placement >> Define option on the dashboard. Select the Front plane as the sketching plane and the Right plane to orient to the right as shown below. Select “Sketch View” to enter 2D sketch mode. 7 Select Line. Hold Alt. Key and click on the two edges and one centerline that will be used as a dimensional reference. The lines will be used for momentarily referencing the edge of the object. (Note: Use Edge References or Pro-E will dimension from the Axis). Use the Line command to sketch the section as shown above. >To better view the entities being sketched, use a zoom option to match the zoom extents. >By aligning with the outside edge of the existing flange, a closed section is not necessary. >After sketching the section, apply the dimensioning scheme shown, then Modify values. Delete the three momentarily entity reference lines. Use the Centerline command to create a centerline aligned with the Right plane. This centerline will serve as the required axis of revolution. Select the green check OK icon to exit the sketcher environment. Dashboard: Choose A_1 for Axis of Revolution. On the dashboard under Options, select Variable as the Revolve option. >Enter 360 as the variable angle value. On the dashboard turn on the Remove Material button. Build the feature. Select the keyboard shortcut combination Control-D to view the model’s default orientation. 8
