Tips for Creating a Great Science Lab
advertisement
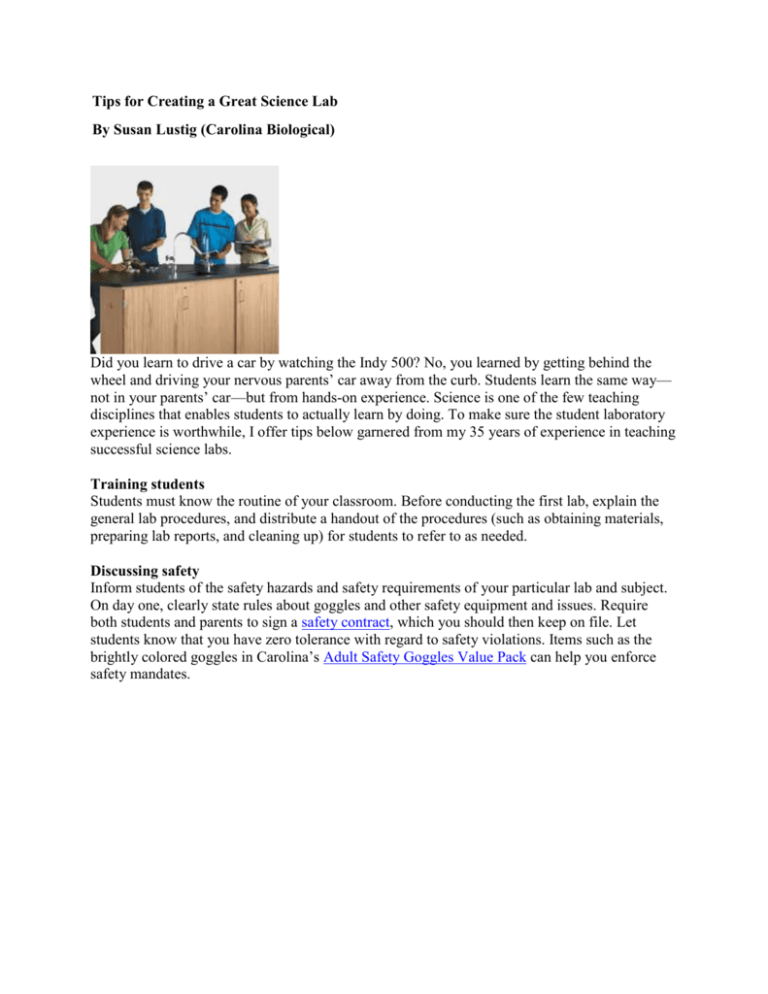
Tips for Creating a Great Science Lab By Susan Lustig (Carolina Biological) Did you learn to drive a car by watching the Indy 500? No, you learned by getting behind the wheel and driving your nervous parents’ car away from the curb. Students learn the same way— not in your parents’ car—but from hands-on experience. Science is one of the few teaching disciplines that enables students to actually learn by doing. To make sure the student laboratory experience is worthwhile, I offer tips below garnered from my 35 years of experience in teaching successful science labs. Training students Students must know the routine of your classroom. Before conducting the first lab, explain the general lab procedures, and distribute a handout of the procedures (such as obtaining materials, preparing lab reports, and cleaning up) for students to refer to as needed. Discussing safety Inform students of the safety hazards and safety requirements of your particular lab and subject. On day one, clearly state rules about goggles and other safety equipment and issues. Require both students and parents to sign a safety contract, which you should then keep on file. Let students know that you have zero tolerance with regard to safety violations. Items such as the brightly colored goggles in Carolina’s Adult Safety Goggles Value Pack can help you enforce safety mandates. Forming lab groups There is no set rule for forming lab groups, but doing so is often an issue. Differing dynamics from class to class make standardizing lab group selection nearly impossible. Below are suggestions and comments based on my experiences. 1. Station size Most lab tables accommodate 4 students, so I formed groups accordingly. Some flexibility is still required for activities that work better with pairs or other configurations. Adjust group size based on the activity. 2. Alphabetically I didn’t normally like dividing the class by the alphabetical order of students’ names. However, to vary group formation, I have taken 2 students whose names fell at the beginning of the alphabet and paired them with 2 students whose names fell at the end of the alphabet. 3. Randomly This was my method of choice. Students received a randomly drawn number that determined which group they joined. 4. Paring opposite academic levels This method was never successful for me. In theory, the higher achieving student “helps” the other student. In practice, the higher achieving student often does most of the work, while the other student barely participates. 5. Students’ choice This has worked in classes of students with similar interests and academic levels. However, careful monitoring is essential to prevent lab time from turning into solely “fun time.” 6. Flexibility Lab group membership isn’t written in stone. You can regroup students each quarter so they have a chance to work with multiple lab partners. Reassign students whenever you notice a group’s dynamics are failing. But remember, lab time provides students opportunity for talking in a less restrictive setting. Talking between students, even if it is not about science, is a good thing. Just keep it under control. Materials 1. Discuss the activity before students begin. Point out and, if needed, discuss common errors and cautions. 2. Train students to obtain materials. They should know where to locate basic equipment (beakers, graduated cylinders, etc.), plus how to clean and put it away after completing an activity. 3. As the activity progresses, periodically alert students to the amount of class time remaining. 4. Don’t forget cleanup. Allot sufficient time for students to clean their areas after the activity. Keeping your sanity 1. Perform the lab yourself before doing it in class with students. Preferably, enlist the help of a non-science colleague. Troubleshoot the directions, explanations, questions, etc. 2. Assemble small kits of materials. I purchased different colored baskets, one for each group, and often placed materials and/or chemicals in them. This made for easier and faster distribution. Additionally, it was simple to inventory all unused items left in the baskets at the end of class. 3. Do not leave large bottles of chemicals accessible to students. Labeled dropper bottles are safer for students to use and make chemicals easier for you to inventory after use. 4. Count before the bell rings. Science materials can easily “walk” away. Before students leave, be sure you have everything you started with. Lock up expensive items such as balances and microscopes. Carolina offers the excellent Ohaus® Balance Security Device for locking your balance. You can also number such items to correspond with group numbers. 5. Take advantage of other programs at your school. My school had a “work” program for special needs students. Their teacher and I scheduled a period every week for the students to collect glassware, then wash and return it. They neatly organized the equipment cabinet each time. I rewarded them periodically by doing experiments (e.g., making ice cream and super balls, etc.) in their classroom. 6. Coordinate with colleagues. If you share a room, as I did, make sure all teachers using the room have the same expectations. The worst scenario is going into your room and finding it in disarray or missing items. Generate a plan as soon as school begins. Be a good neighbor! Summing it up Each year and each class is a new beginning. Remember what worked and what didn’t. Be creative and make the lab experience enjoyable for both you and your students. Visit Carolina at Lab Supplies & Equipment to see everything Carolina offers to support you in the science lab.
