Joint Mobilization Techniques: Definition, Grades, and Application
advertisement
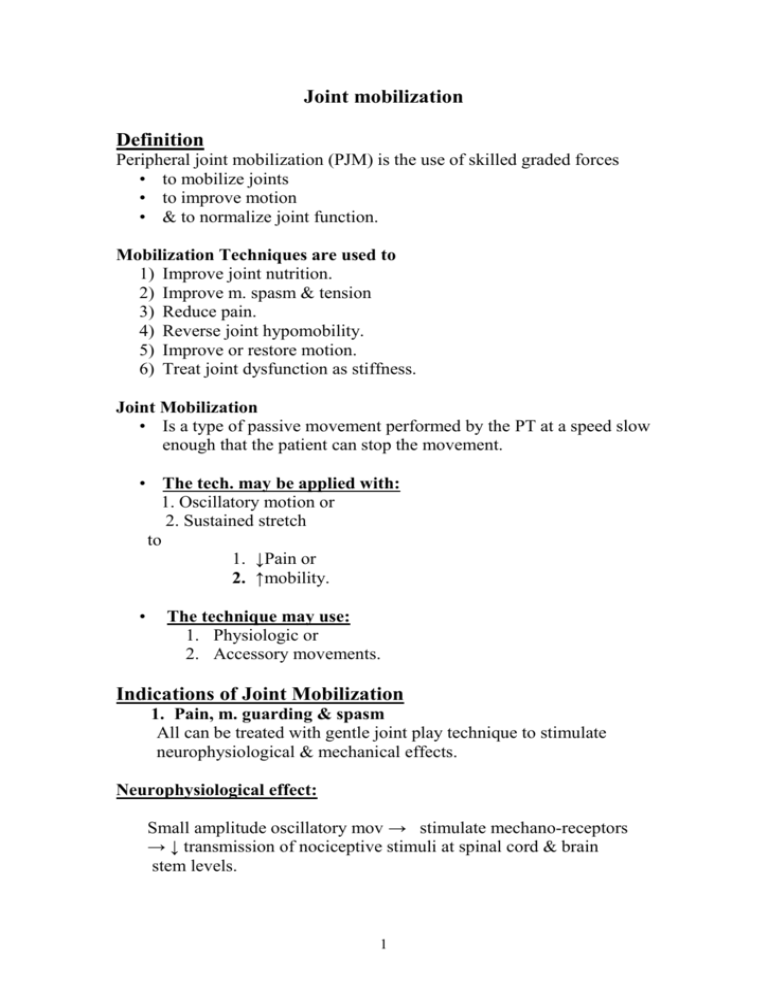
Joint mobilization Definition Peripheral joint mobilization (PJM) is the use of skilled graded forces • to mobilize joints • to improve motion • & to normalize joint function. Mobilization Techniques are used to 1) Improve joint nutrition. 2) Improve m. spasm & tension 3) Reduce pain. 4) Reverse joint hypomobility. 5) Improve or restore motion. 6) Treat joint dysfunction as stiffness. Joint Mobilization • Is a type of passive movement performed by the PT at a speed slow enough that the patient can stop the movement. • The tech. may be applied with: 1. Oscillatory motion or 2. Sustained stretch to 1. ↓Pain or 2. ↑mobility. • The technique may use: 1. Physiologic or 2. Accessory movements. Indications of Joint Mobilization 1. Pain, m. guarding & spasm All can be treated with gentle joint play technique to stimulate neurophysiological & mechanical effects. Neurophysiological effect: Small amplitude oscillatory mov → stimulate mechano-receptors → ↓ transmission of nociceptive stimuli at spinal cord & brain stem levels. 1 a. Mechanical effects: Small-amplitude distraction or gliding movement → synovial fluid motion→ bring nutrients to the avascular portions of articular cartilage. (↓ pain of ischemia) Gentle joint play → maintain nutrient exchange → prevent painful effects of stasis when a joint is painful or swollen & can’t move through a ROM. (but not in acute or massive swelling) Precautions • In most cases joint mobilization is safer than passive angular stretching. But Sometimes Joint mobilization can be used with extreme care in: 1. Malignancy -» spread & growth. 2. Excessive pain -» muscle guarding, prevent movement. 3. Total joint replacement -» dislocation or loosen internal fixation. 4. Bone disease (Osteoporosis, TB, Rickets). 5. Unhealed # (site & stabilization) -» re-fracture. 6. Hypomobility (in associated joints & muscle weak) -»↑ capsule laxity, ligament. Weakness & joint dislocation. Procedure for Applying Joint Mobilization Technique 2 Possibilities for pain: While moving or mobilizing & found! 1. Before tissue limitation (after acute injury or active stage of a disease), use pain inhibiting joint technique to relieve pain & maintain joint play. 2. With tissue limitation as damaged tissue begins to heal) (subacute), use gradual gentle stretching technique to tight tissue, but Don’t exacerbate pain by injuring the tissues. 3. After tissue limitations (as stretching a tight capsule or a periarticular tissue of chronic stiff joints), use ↓ force of the stretching techniques. Grades of movement. (Dosage, Amplitude) systems of techniques: 1. Graded oscillation. 2. Sustained translatory joint Play. 1. Graded Oscillation Tech. Dosage: Small amplitude rhythmic oscillations at the beginning of ROM. Grade I Grade II Large amplitude rhythmic oscillations within the ROM, but not reaching the limitation. Grade III Large amplitude rhythmic oscillations up to the limit of available motion & stressed into tissue resistance. Grade IV Small amplitude rhythmic oscillations, up to the limit of the available motion & stressed into tissue resistance. Grade V Small amplitude, high velocity, thrust technique.. Performed to break adhesions at the level of available motion (manipulation or chiropractic). (Stretch) 3 Techniques: Oscillations may be done using: 1- Physiologic (osteokinematic) motions. 2- Joint play (arthrokinematic) techniques. Sustained Translatory joint Play Technique Grade I (Loosen): Small amplitude distraction, applied where no stress is placed on the capsule. 1. Equalizes cohesive force, 2. M. tension 3. Atmospheric pressure acting on the jt. Grade II (Till tightness): Distraction or glide applied to tightened tissues around joint. Grade III: Distraction or glide with large enough amplitude to place a stretch on joint capsule & surrounding peri-articular structures. Uses • Grade I: Used with gliding motions to relieve pain. • Grade II: Used to determine how sensitive the joint is. • Grade III: Used to stretch joint structures & ↑ joint play. Technique: This grading system describes joint play techniques that separate or glide (slide) joint surfaces. N.B. • The consistency between the dosage of the two grading systems is grade I (no tension on the joint capsule or surroundings). • Grade III (sustained stretch) & IV (oscillation) are similar in dosage as they are applied with a stretch force at the limit of the motion. • Using oscillating or sustained technique, depends on the patient’s response. • Pain management: use oscillating technique. • Loss of jt. play & ↓ function: use sustained stretch. • To maintain available R.: Use either grade II! oscillating or II sustained technique. 4 Patient Position: Patient Position The patient. & treated extremity should be carefully positioned & relaxed. The joint is positioned so that the capsule has greatest laxity. Stabilization Stabilization: • Firm & comfortable stabilization for proximal parts by using: 1. Belt. 2. PT hand. 3. External assistance. Force: • Treatment force (gentle or strong) is applied as close to the opposing joint surfaces as possible. • The larger the contact surface of PT hand → the more comfortable procedure will be. e.g. use flat surface of the hand instead of forcing with the thumb. Direction of Movement: • Either parallel to, or perpendicular to treatment plane. • Joint traction: Perpendicular to treatment plane. The entire bone is moved → joint surfaces are separated. • Gliding technique: Parallel to the treatment plane. This is determined by using the convex-concave rule. • If the surface of moving bone is convex -→ opposite direction glide • If the surface of moving bone is concave → glide in the same direction. The entire bone is moved, so there’s gliding of one joint surface on the other. No swing of the bone that causes rolling & compression of the joint Surfaces. 5 6
