Montage instruktion Pontere 8404, G
advertisement
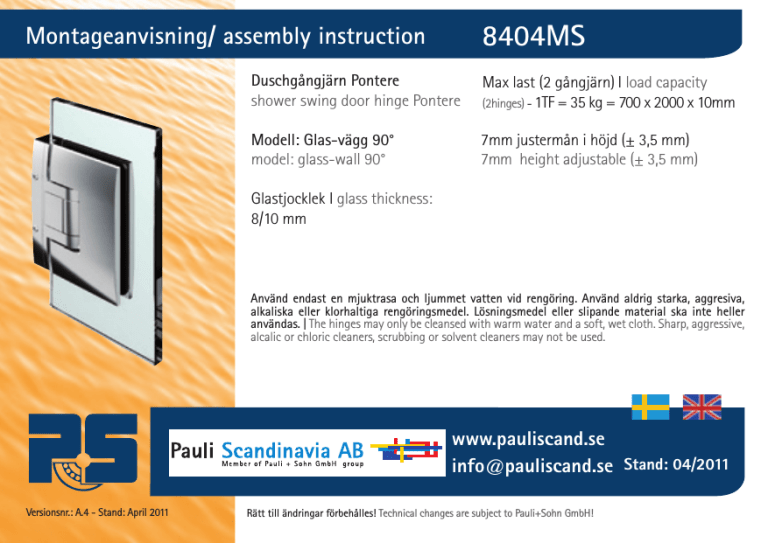
8404MS Montageanvisning/ assembly instruction Duschgångjärn Pontere shower swing door hinge Pontere Max last (2 gångjärn) I load capacity (2hinges) - 1TF = 35 kg = 700 x 2000 x 10mm Modell: Glas-vägg 90° model: glass-wall 90° 7mm justermån i höjd (± 3,5 mm) 7mm height adjustable (± 3,5 mm) Glastjocklek I glass thickness: 8/10 mm Använd endast en mjuktrasa och ljummet vatten vid rengöring. Använd aldrig starka, aggresiva, alkaliska eller klorhaltiga rengöringsmedel. Lösningsmedel eller slipande material ska inte heller användas. | The hinges may only be cleansed with warm water and a soft, wet cloth. Sharp, aggressive, alcalic or chloric cleaners, scrubbing or solvent cleaners may not be used. www.pauliscand.se info@pauliscand.se Stand: 04/2011 Versionsnr.: A.4 - Stand: April 2011 Rätt till ändringar förbehålles! Technical changes are subject to Pauli+Sohn GmbH! 1 1 4 per gångjärn 4x per hinge På grund av den lilla anläggningsytan, ska 8404MS bara monteras mot hårda plana ytor som kakel, betong och metall. Ett stopp ska alltid monteras som förhindrar att dörren öppnar mer än max 90°. Due to the small bearing surface, 8404MS shall only be installed on a hard, plane ground e.g. tiles, concrete or metal. A stopper for limitation of opening of large door wings shall be used, to avoid over pushing. Låsskruvarna till nolläget får endast dras åt med monterat bakstycke. The clamping wedges of the zero-position adjustment shall be tightened only with assembled back part. Back part = mounting plate or glass fixation side panel. Innan montaget påbörjas ska väggblecket demonteras. För detta krävs en 2,5 mm insexnyckel. Before starting the assembling the wall bracket should be demounted from the hinge. Internal hexagon mounting key with WS2,5mm is required 2 Tjocklek på packningar som ska användas beror på glastjocklek: 8 mm glas : 3,7 mm packning 10 mm glas : 2,7 mm packning The required thickness of the rubber inserts (made of a rubber-cellulose composite material) depends on the glass thickness: 8mm Glas: 3,7 mm rubber inserts 10mm Glas: 2,7 mm rubber inserts 3 max 10 N.m 2 per gångjärn 2x per hinge Beroende på om klämskruvar på beslaget ska sitta åt höger eller vänster vrids bakstycket 180° så justerskruven alltid hamnar uppåt. En 4 mm insexnyckel behövs för detta. The adjustment screw has to be on top. Therefore back part of the shower swing door hinge has to be turned by 180° when changing from left to right fixation, in order to that the screws are in the inside of the shower. Allen key with WS4mm is required Placera gångjärnet i centrum av glasuttaget i dörrbladet för att få maximal justermöjlighet under montaget. Dra åt växelvis till maximalt moment på 10 Nm. Efter ca. 15 minuter ska skruvarna efterdras till maximalt moment. 4 mm insexnyckel behövs till detta. Tighten alternately until the maximum torque of 10 N·m is achieved. After approx. 15 minutes, retighten alternately to the maximum torque. Position the housing of the shower door hinge in the centre of the glass cutout to ensure a maximum adjustment range for the shower. Allen key with WS4mm is required. Montagekloss (använd rätt tjocklek beroende på ert avstånd) | mounting blocks (height depends on the sealing solution) ± 3,5 höjdjustering ± 3,5 height adjustment För att markera ut borrhål ritar ni med tvättbar penna runt beslagen och använd sedan ritning bredvid (bild 6). For marking the drillings holes please use following drawing (picture6) with the dimensioning of the wall mounting plates. A washable pen should be used. justerskruv adjustment screw 5 6 väggbleck Wall mounting plate 4 * visar användning av tätningslist 8861KU0-8 * using sealing profilel 8861KU0-8 För att förhindra vridning/lutning av rotationsaxeln ska alltid gångjärnet monteras så väggplattan ligger an mot en hel kakelplatta. To prevent tilting of the rotational axis, always mount the shower door hinge in such a way, that its entire surface contacts the tile. För att dörren ska hamna på rätt nivå över golv så använd montageklossar med det mått ni önskar. Position the door wing with the pre-assembled shower hinges on the bath tub resp. shower tray edge to mark the drillings for the wall mounting plates. To ensure the right distance for the lower sealing solution, mounting blocks with a height of the reduction measurement shall be put below the door wing. 7 Viktigt: Använd rätt typ av plugg och skruv för din aktuella montage situation! Välj rätt borrdiameter som passar till den plugg du ska använda. Skruvarna ska vara av rostfritt stål A2 eller A4 med försänkt huvud med min. 10 mm diameter och max 12 mm. För att kunna montera fast gångjärnet på väggblecket för skruvarna inte sticka ut utanför väggblecket. Important: Screws and dowels must be suitable for the corresponding structural situation! Select a drill bit that corresponds to the size of the dowels. The screws should be made of stainless steel 304 or 316 and provide a countersink diameter of at least 10 mm and 12 mm at most. To be able to put the door wing with the assembled shower hinge on the wall bracket, the head of the fixation screw must not protrude above the bracket. 8 Kontrollera att väggblecken är monterade lodrätt och att de linjerar varandra. Ett långpass är ett utmärkt hjälpmedel. Hålen i väggblecket tillåter en liten justermöjlighet i sidled. 9 Please ensure that the wall mounting plates are vertical and in alignment to one another. As a auxiliary tool a long level can be used. Oblong holes offer a small adjustment range to adjust the wall mounting plates. 4 per gångjärn 4x per hinge 10 11 12 2 per gångjärn 2x per hinge max 5 N.m När dörren med de förmonterade gångjärnen lyfts på plats dras de fyra små låsskruvarna fast men inte hårdare än att dörren kan glida vertikalt mot väggblecken. Här behövs en 2,5 mm insexnyckel. Dra åt höjdjusterskruven så att den ligger emot väggblecket (för detta behövs en 3 mm insexnyckel). När detta är gjort kan de 4 låsskruvarna dras fast för fullt. Dra åt höjdjusterskruven så att den ligger emot väggblecket (för detta behövs en 3 mm insexnyckel). När detta är gjort kan de 4 låsskruvarna dras fast för fullt. After the door wing with pre-assembled shower hinges is positioned on the wall mounting plates, the grub screws shall be tightened insofar that the door wing can still be moved vertically. Allen key with WS2,5mm is required Once the height of the door wing is aligned (angled Allen key with WS 3mm is required) lateral screws, as described on page 10, can finally be tightened. Caution: The upper screws are not allowed to be used for raising the door wing! To determine the zero-position loosen first the fixation screws of the clamping wedges. Afterwards align the door wing to the desired angle and tighten the screws alternately to the maximum torque of 5 N.m. Finally all sealing profiles have to be fitted on the shower. med tätningslist 8861KU-8 utan tätningslist / without DP Glasuttaget skiljer sig beroende på om ni ska använda tätningslist eller inte. Alla mått gäller för 8 mm glas. Viktigt: Med glasuttag utan tätningslist måste glaset demonteras helt för att komma åt höjdjusteringsskruven. (Se sidan 10) The glassprocessing differs with each kind of sealing profile. Caution: All measurements are valid for 8 mm glass thickness. Caution: In the variant without sealing profile the shower hinges have to be demounted completely from the door wing to be able to adjust the height (see sheet 11)
