Working with Acrylic - Thurso High Technologies
advertisement

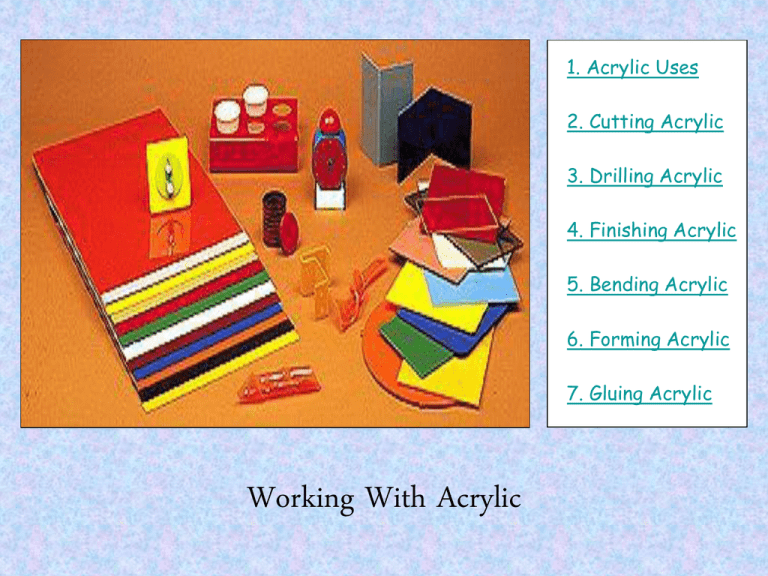
1. Acrylic Uses 2. Cutting Acrylic 3. Drilling Acrylic 4. Finishing Acrylic 5. Bending Acrylic 6. Forming Acrylic 7. Gluing Acrylic Working With Acrylic Acrylic Uses Opaque Acrylic Dial Transparent Acrylic Salad Servers Acrylic is available in both transparent and opaque forms. It is used for Baths, sinks and fish tanks... from colourful clocks to replacement skylights... Clear Boxes Menu Stands Acrylic Properties Acrylic is classed as a Thermoplastic. This means that it becomes soft and mouldable on heating without undergoing any significant chemical change. This process can be repeated many times. Acrylic is available in a wide range of colours. Acrylic sheet is supplied with a protective film covering attached to each side. This is to prevent the acrylic being scratched and should be left in place as long as possible. Protective covering Bending Acrylic on a strip heater Letter Rack model Cutting Acrylic Coping Saw Cut close to the vice to reduce the risk of the acrylic cracking While the Coping Saw can be used to cut simple curves in acrylic sheet it tends to leave a coarser finish. Cutting Acrylic Piercing Saw The teeth on a Piercing saw blade should point backwards. This will help prevent blade breakages. The Piercing Saw is used to cut tight curves in thin metal and acrylic sheet Cutting Acrylic Hacksaw The Hacksaw can be used to cut straight lines in metal and plastic. Cutting Acrylic Junior Hacksaw The Jnr Hacksaw can be used to cut straight lines in small pieces of metal and plastic. Cutting Acrylic Scroll Saw When replacing the blade, make sure the teeth point downward. This helps hold the work on the table as you cut. The quickest method of cutting intricate shapes in acrylic is the Scroll Saw. This machine is capable of producing an excellent finish. Drilling Acrylic To obtain the best results when drilling Acrylic it is better to use a special drill bit. Conventional high speed drill bits do not work well with hard plastics. They will "ride up" a conventional drill bit and crack. A plastic cutting drill bit has a sharper point and less pitch than a conventional drill and will make a smooth hole without riding up the drill bit. Slow to medium speeds work best when working with acrylics. If customised plastics drill bits are unavailable then conventional twist drill bits can be used however great care must be taken to hold the Acrylic securely and you must lower the drill at a slow even rate. Filing Acrylic Chipped Edge When cutting Acrylic it is easy to chip the edges. To remove these chips and give the edge a good finish follow these steps. Stage 1 : Use a course file to remove the worst of the chips. Warding File Stage 2 : Switch to a finer file and repeat the process. Stage 3 : Hold the file at right angles to the work piece and Draw File the edge Wet & Dry Silicon carbide paper Stage 4: Finish the edge with silicon carbide paper (Make sure you remove all file marks) Acrylic Polish Stage 5: Finally apply a little acrylic polish to a soft cloth and polish the edge. Bending Acrylic Strip Heater The Strip Heater is used to bend sheet acrylic. The acrylic is held above the heating element and turned over every 30 seconds. After 2 to 3 min the plastic will bend easily. Remember the Strip Heater can get very hot Bending Acrylic Wooden Former To obtain more accurate results it is often better making a wooden former to bend the acrylic round. Hot Wire Strip Heater Forming Acrylic The oven can be used to heat a whole sheet of acrylic to make it soft and flexible. This soft acrylic can then be pressed into shape in a mould. A typical example is this acrylic windscreen shown on the right Oven Forming an Acrylic Handle Wooden Jig The Plastic blank must also be finished to a high standard. All holes drilled and edges polished Smooth finish required To form a plastic handle you first need to make a Jig. Great care must be taken to obtain a good finish on the jig as any imperfections will be picked up on the acrylic. Plastic Blank Oven Forming an Acrylic Handle Set the Oven to 160˚C When the oven has reached the correct temperature place the Acrylic blank inside and heat until it becomes soft and pliable (Keep a close watch on the plastic to prevent it overheating and burning) Wear Gloves when handling hot Acrylic Forming an Acrylic Handle Shaped Acrylic Handle Clamp the hot acrylic blank in the jig and allow to cool. Vacuum Forming Acrylic Acrylic Bath Moulds Acrylic Sink Vacuum Forming Machine Acrylic can also be Vacuum Formed to produce larger items like baths and sinks. (See Focus on Plastics for further details) Tensol Cement The adhesive used to stick Acrylic to Acrylic is called Tensol Cement. Gluing Process 1) Roughen the two surfaces to be glued with Emery cloth. 2) Apply a thin layer of glue. 3) Press two parts together and leave for 30 min. The End


